Your First Automation
Today, we'll explore your very first automation in action. We'll see a simple yet powerful workflow where a contact's lifecycle stage change in your CRM automatically triggers an email. This eliminates manual steps, ensuring timely communication with zero clicks from you.
Lifecycle Stage Change to Email
We're about to witness a live, end-to-end demonstration of a two-node workflow. The core concept is straightforward: when a contact's lifecycle stage changes within your CRM, an email is automatically sent to them. This showcases how Expedify can streamline your communication processes.
The Workflow on the Canvas
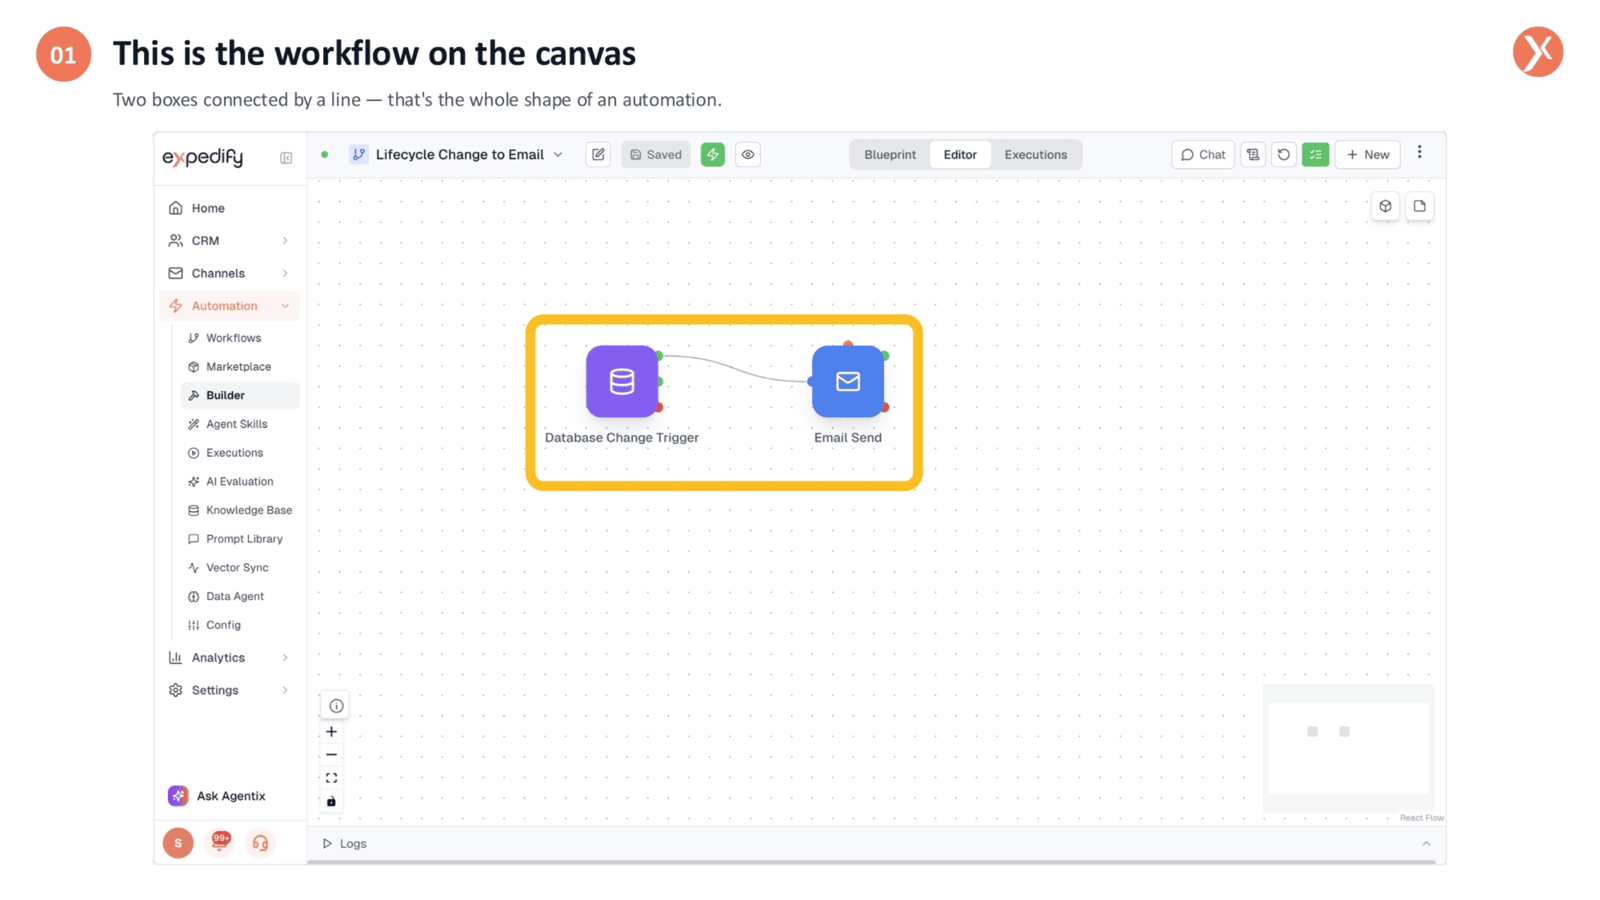
Here we have the workflow displayed in the Expedify Builder. Notice it's composed of just two interconnected boxes, which fundamentally represents the entire automation. This simple visual structure highlights how a few wired steps can create a powerful automated process. The first box acts as the trigger, initiating the workflow, while the second defines the action it performs.
Understanding the Trigger
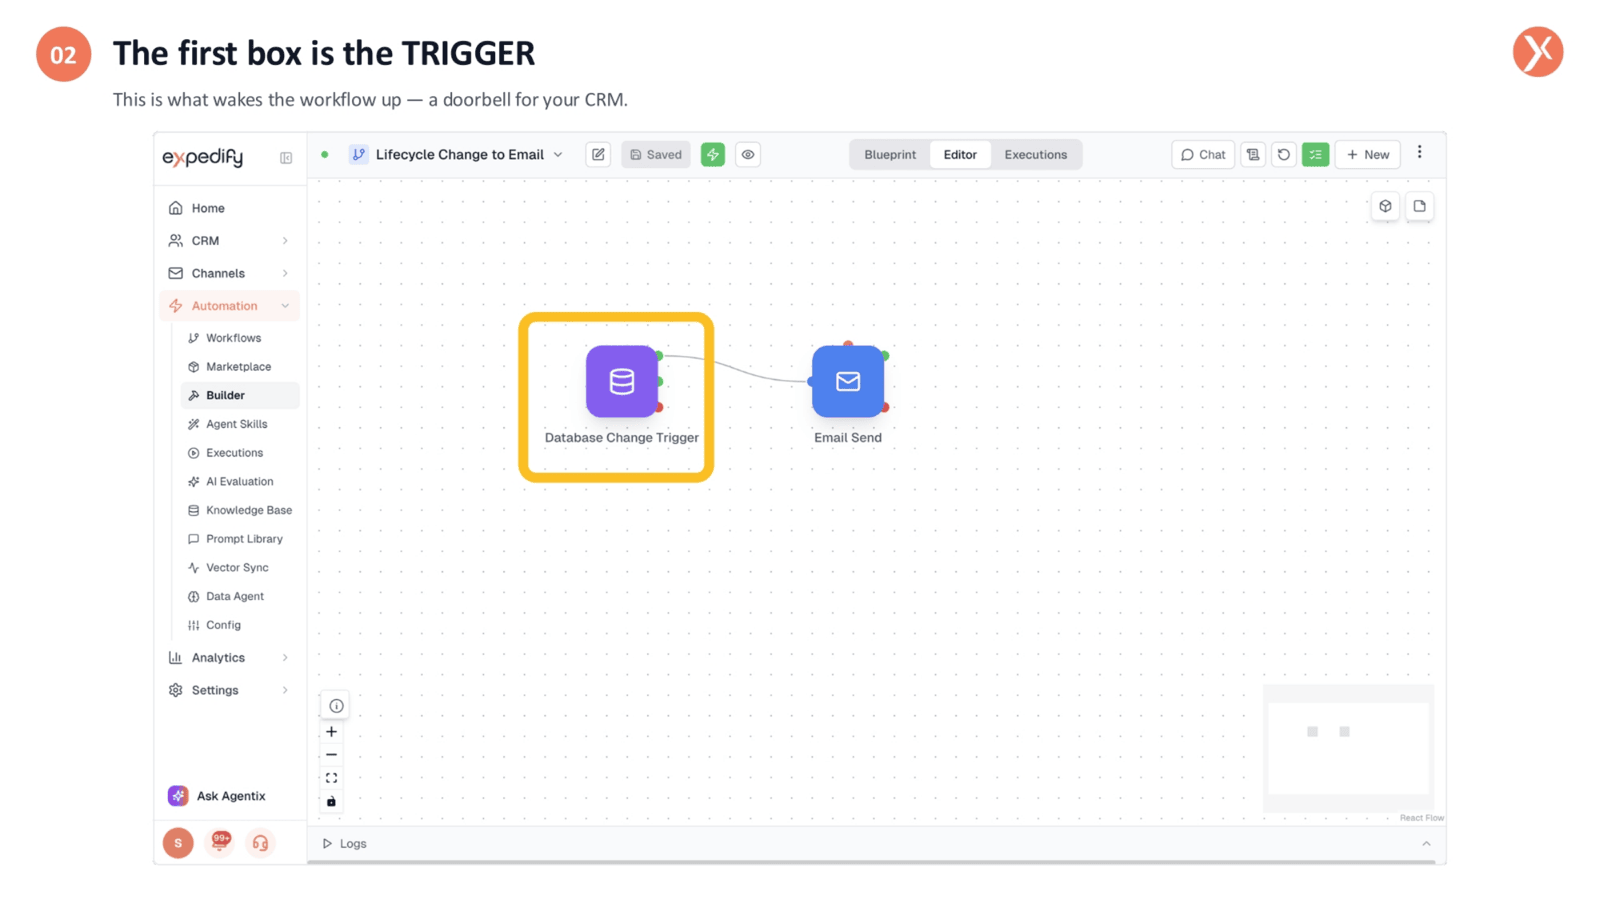
The initial box in our workflow is the trigger. Consider it the system's doorbell, constantly listening for a specific event to occur. In this particular setup, it's configured to detect any contact in your CRM transitioning to a new lifecycle stage. The moment this change is registered, the entire automation sequence is activated.
Examining the Trigger Configuration
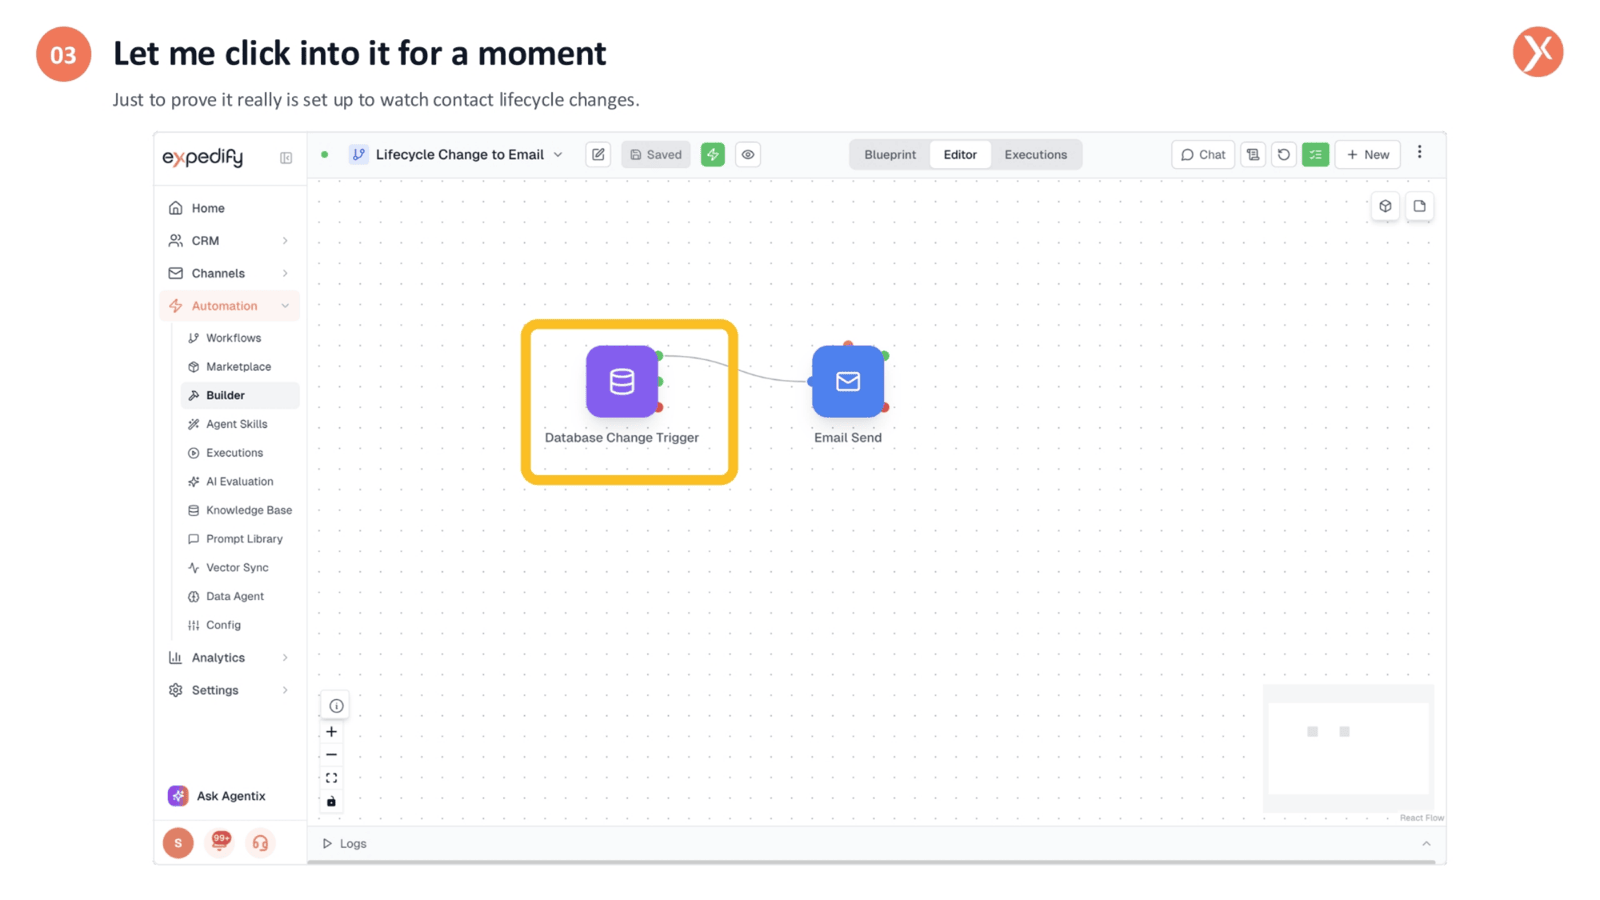
To demonstrate the authenticity of this setup, let's briefly delve into the trigger's configuration. This will allow us to confirm that it's genuinely designed to monitor and react to contact lifecycle changes, rather than being a placeholder. We'll see the specific parameters that make this trigger functional.
Double-Clicking the Trigger Node
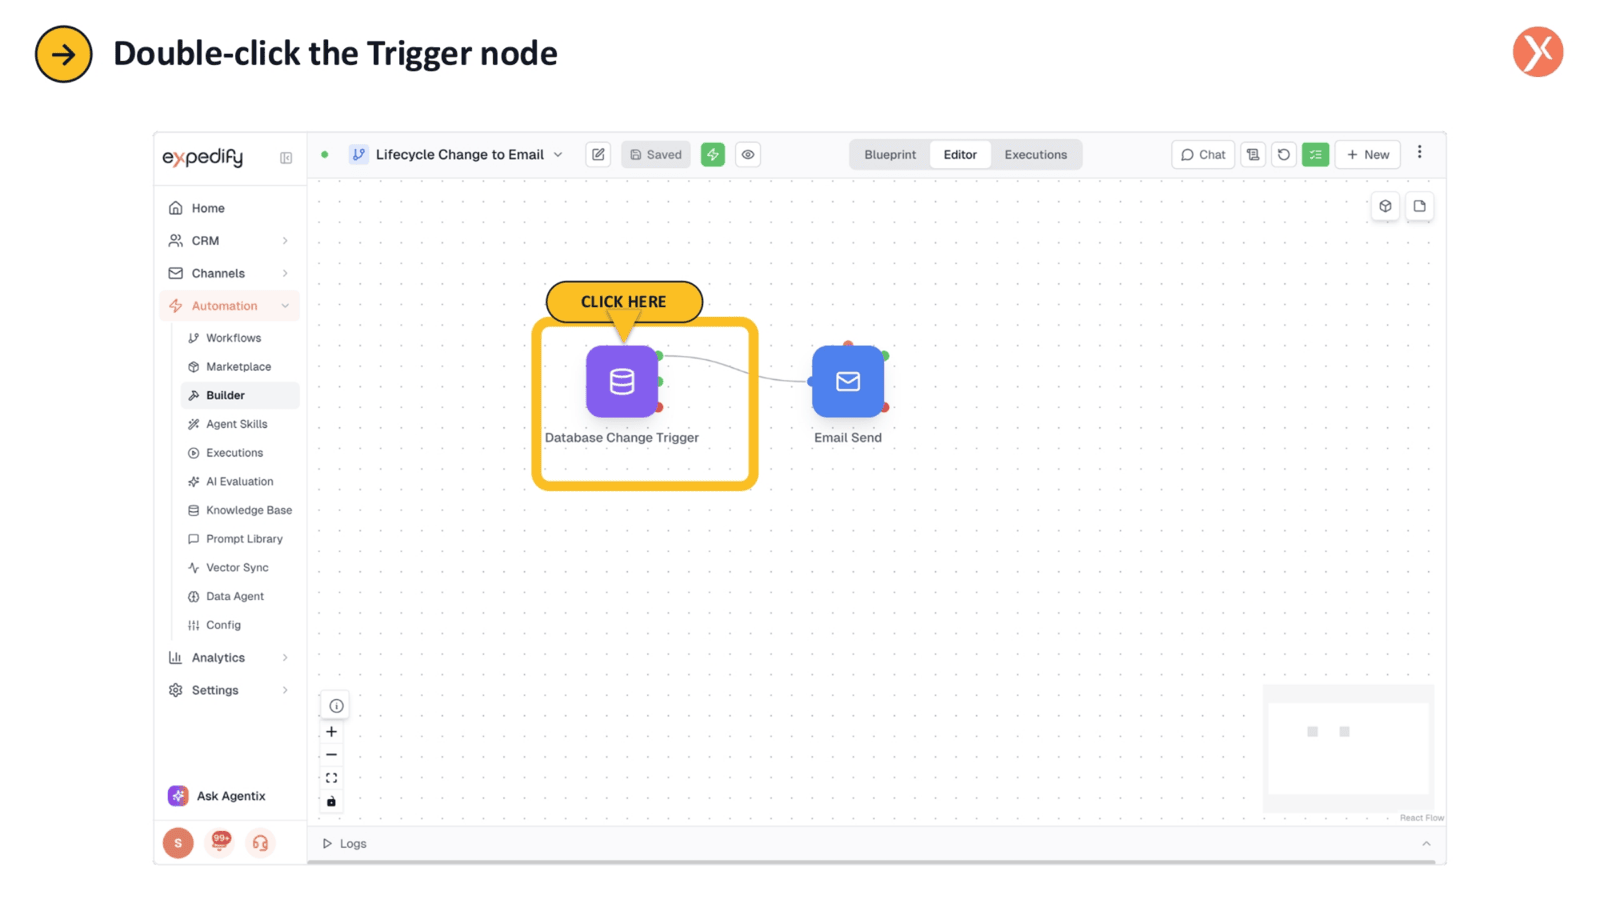
Let's double-click the trigger node to reveal its internal settings.
Trigger Configuration Details
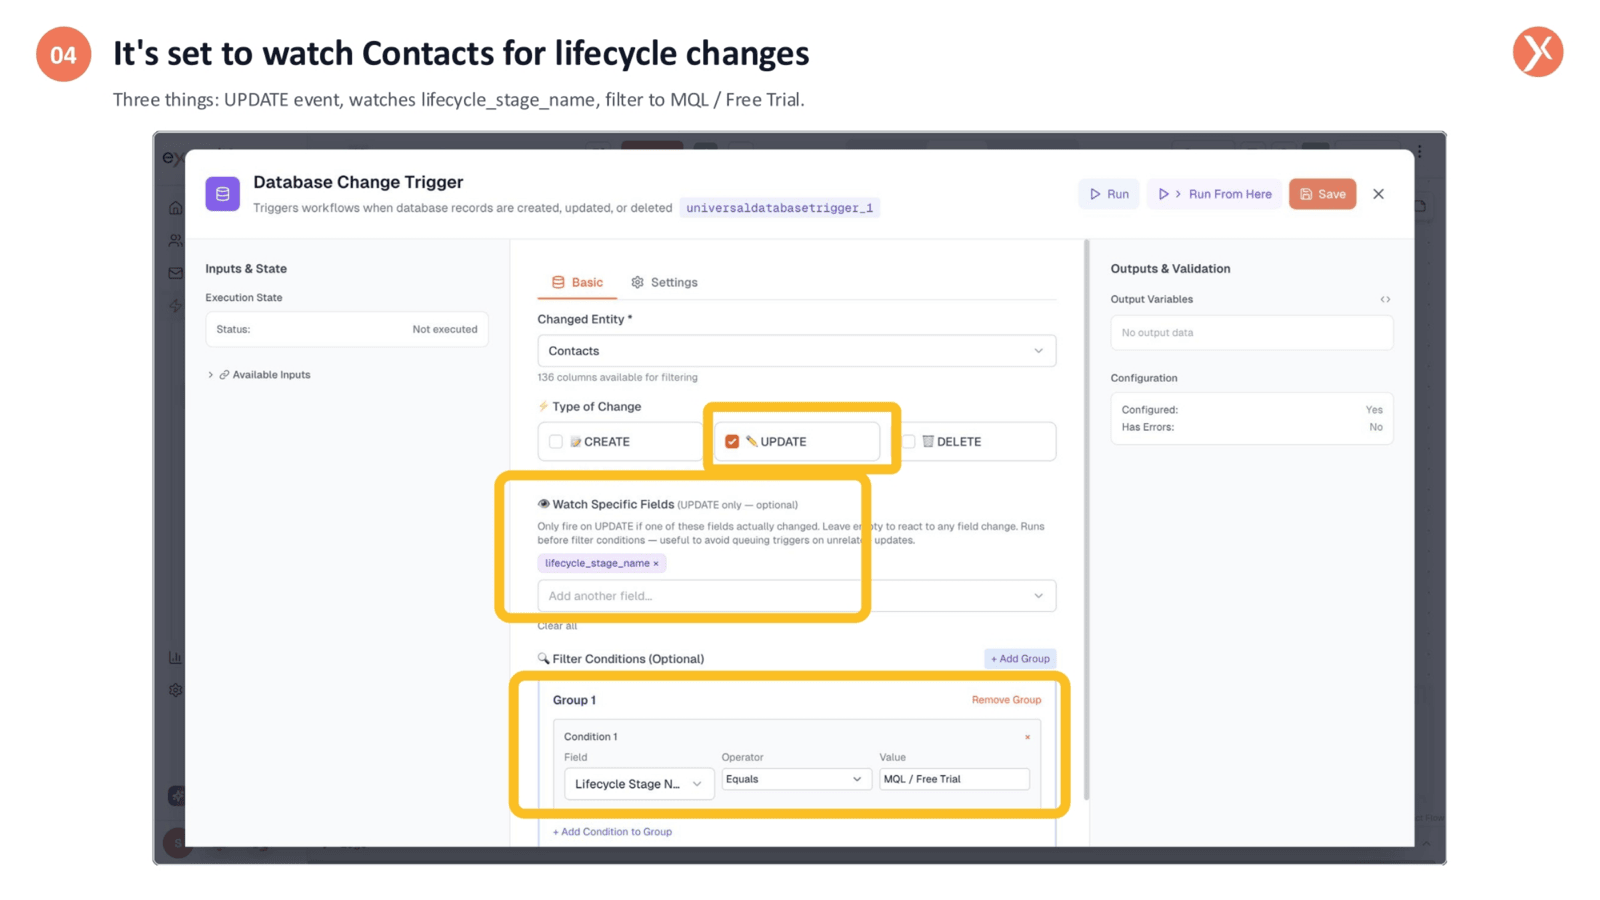
The trigger's configuration involves three key elements. First, it activates on "UPDATE" events specifically for "Contacts." Second, it precisely monitors the "lifecycle_stage_name" field. Third, a filter condition ensures it only fires when the value of this field becomes "MQL / Free Trial." This precise setup guarantees the trigger responds only to the intended lifecycle changes.
Defining the Action
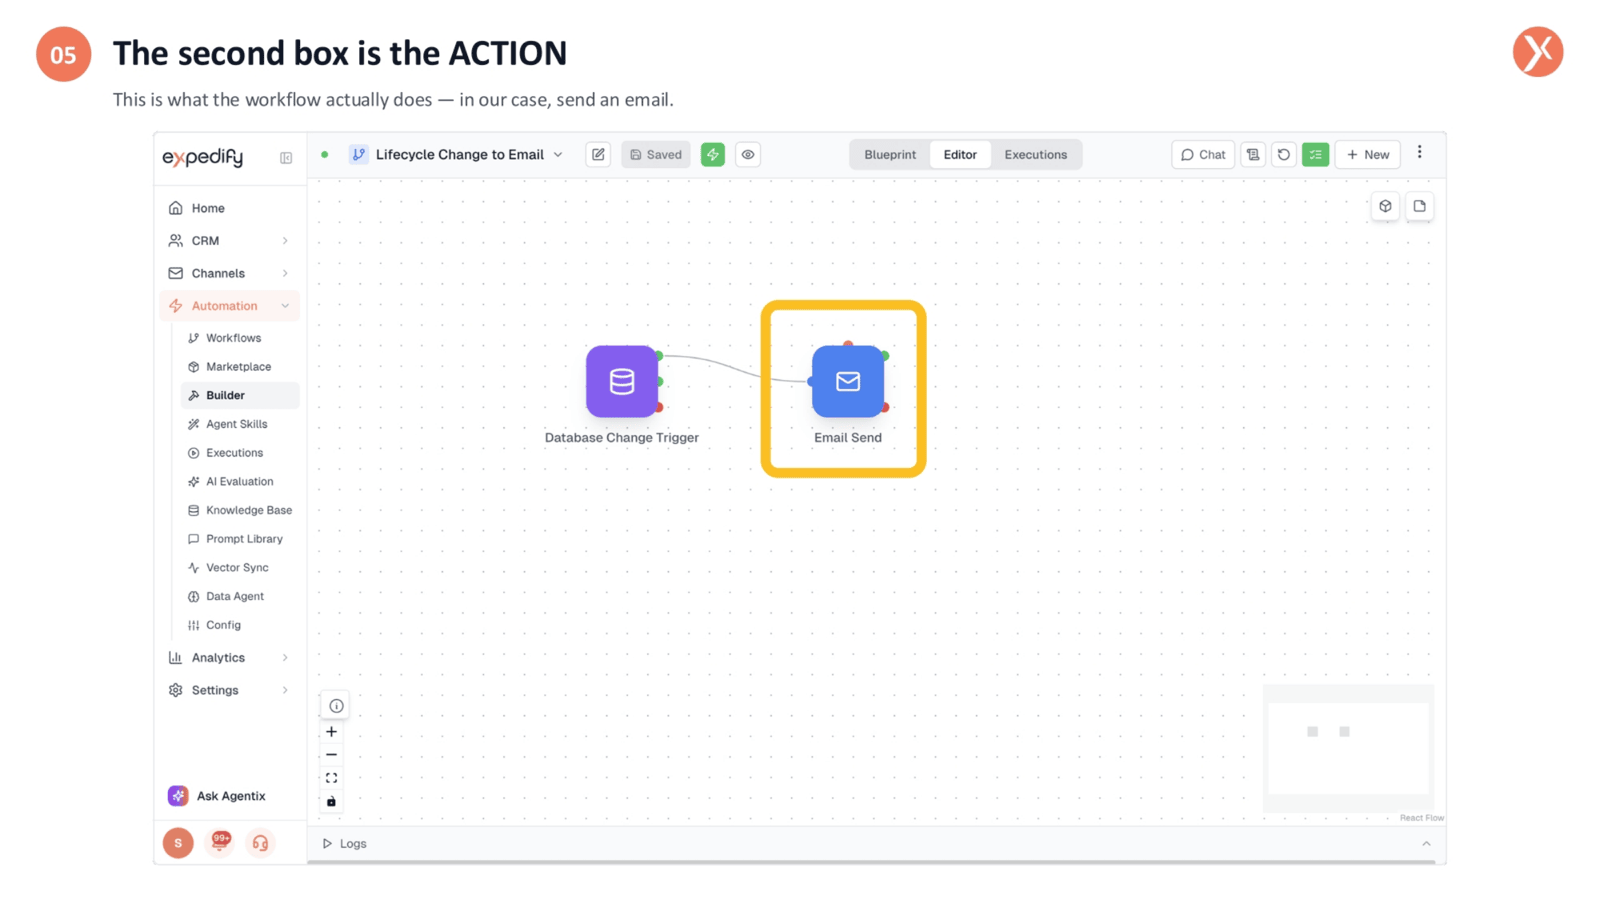
The second box in our workflow represents the action, which is the task the automation performs once activated. In this scenario, the action is to send an email directly to the contact. Together, this trigger and action form a complete, self-executing automation, streamlining your communication efforts.
Navigating to CRM Contacts
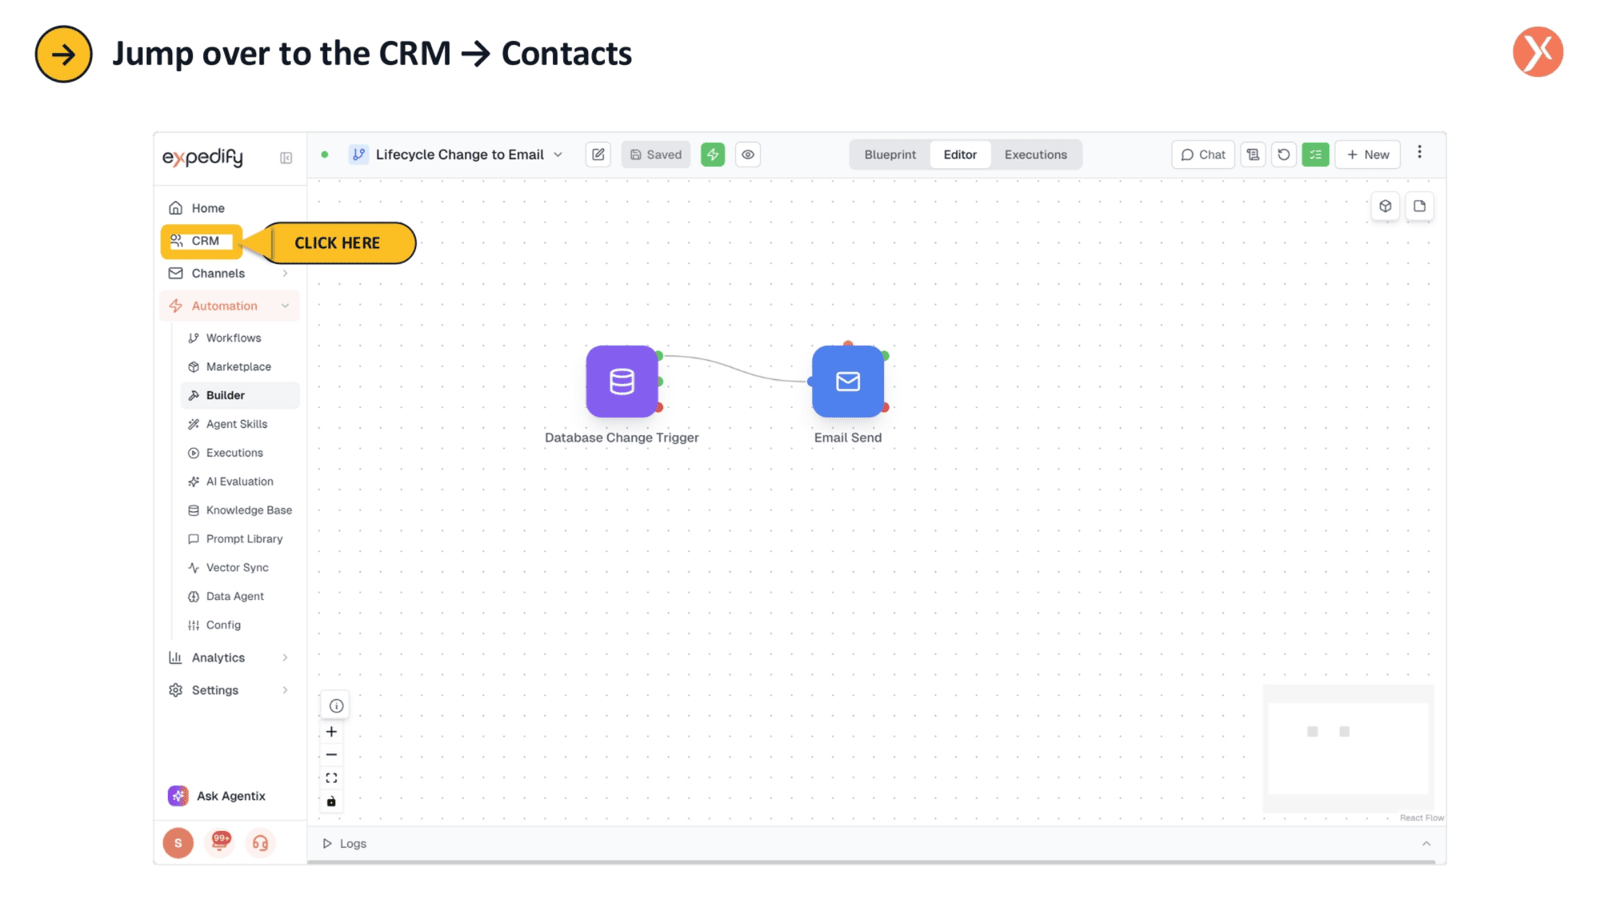
Now, let's navigate over to the CRM and access the Contacts section.
Preparing to Move a Contact
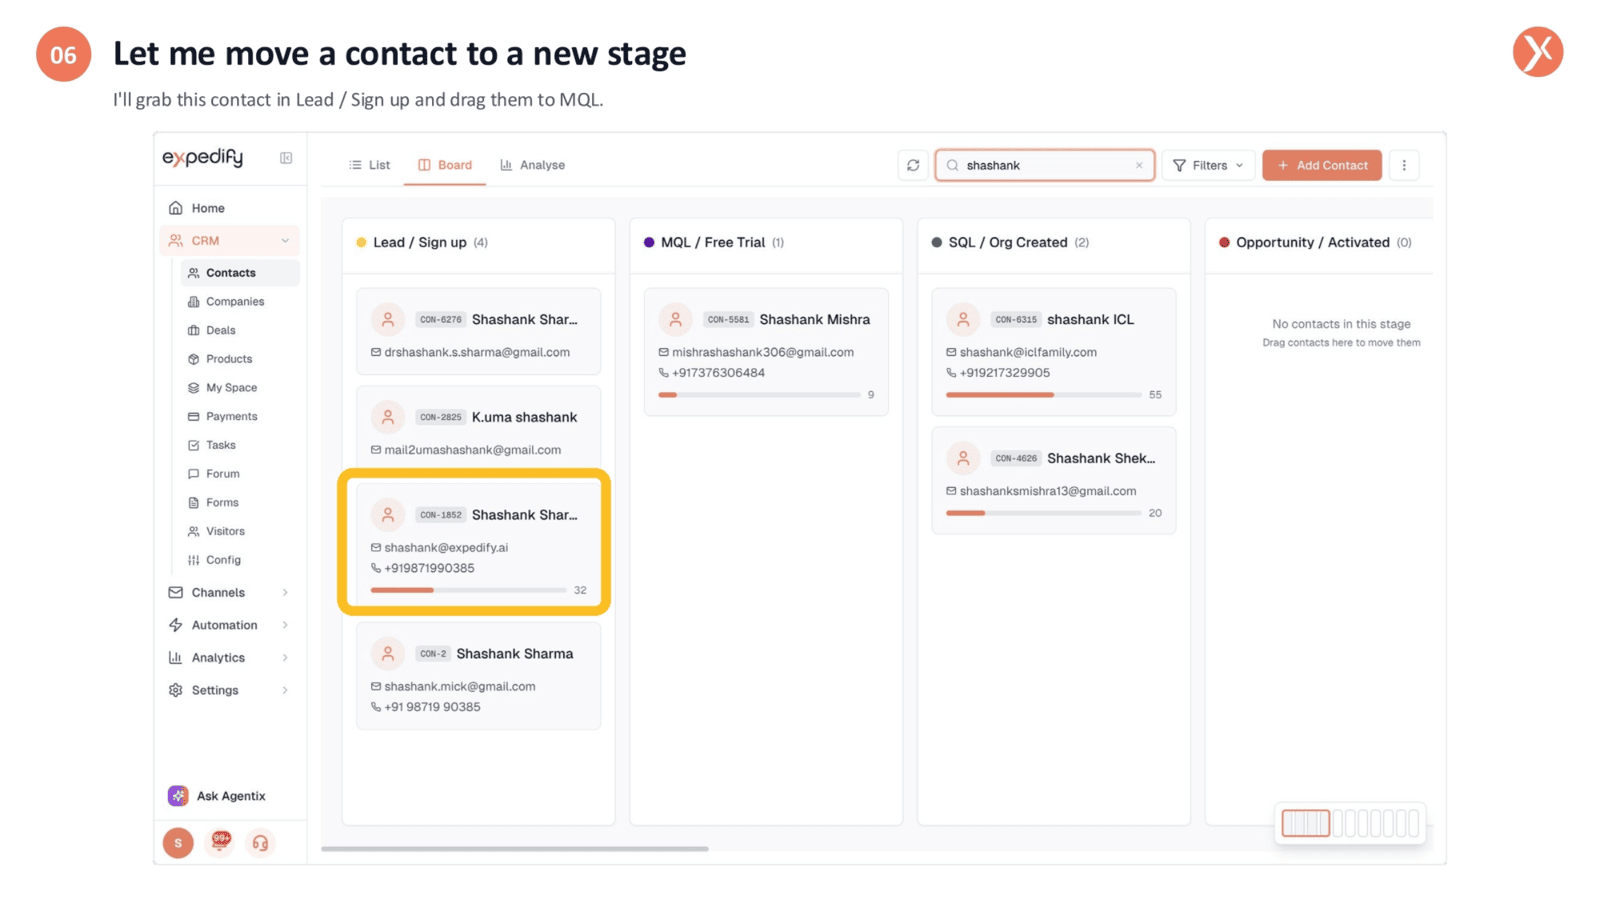
In the Contacts view, we have a test contact, shashank@expedify.ai, currently listed under the "Lead / Sign up" column. Observe closely as we move this contact from their current stage to the "MQL / Free Trial" stage, initiating our automated workflow.
Dragging Contact to MQL
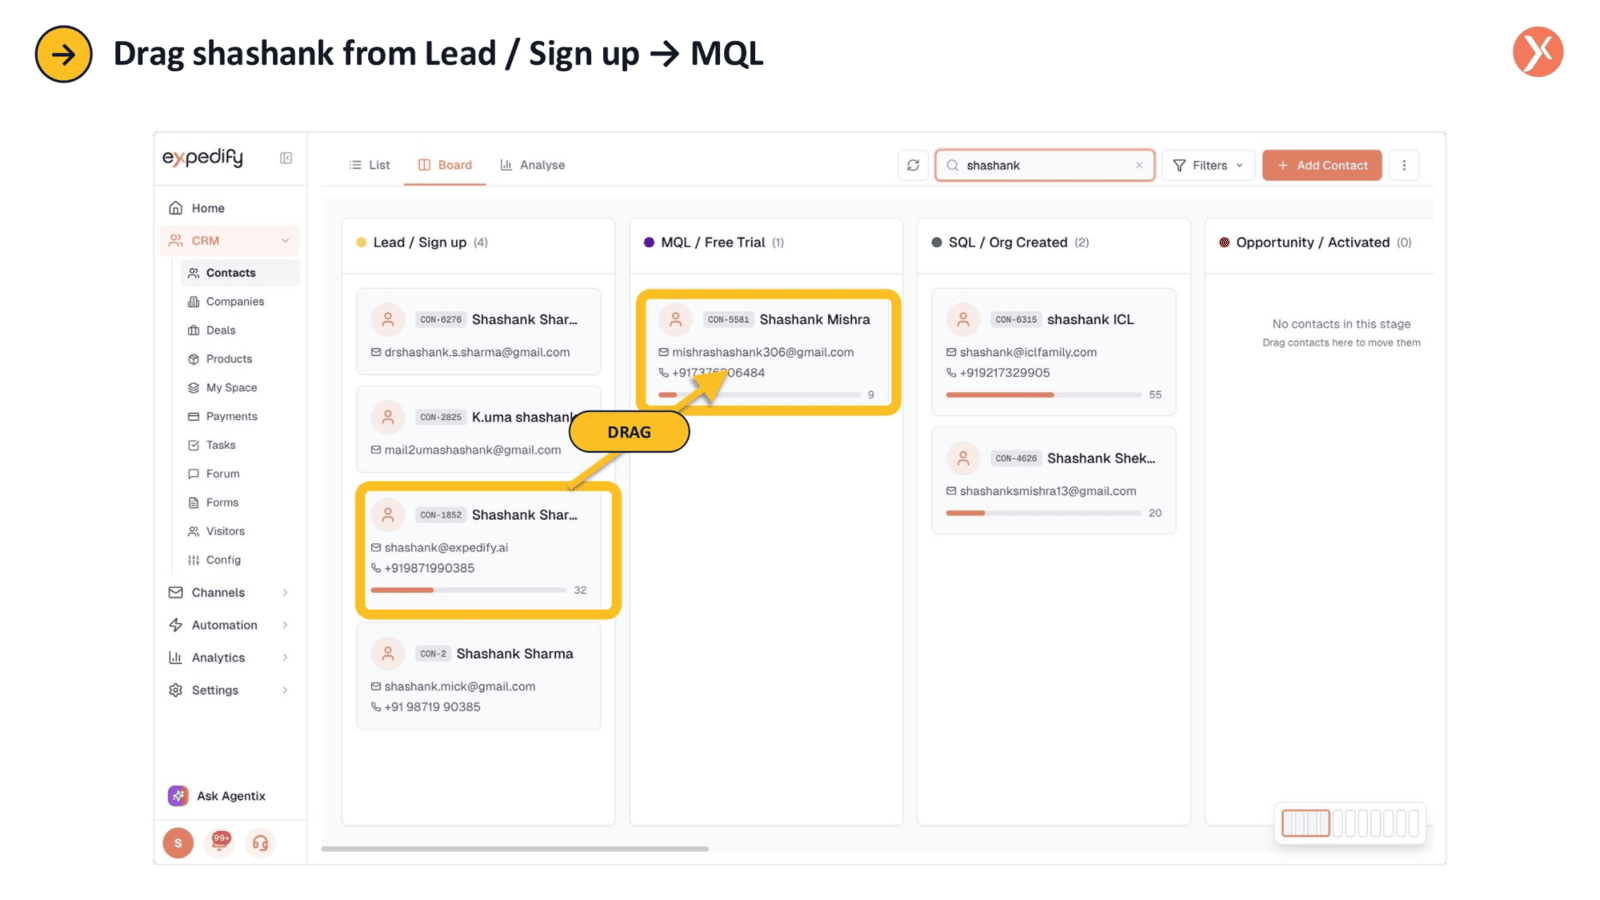
We'll now drag the contact card across to the "MQL / Free Trial" column.
Contact Now in MQL
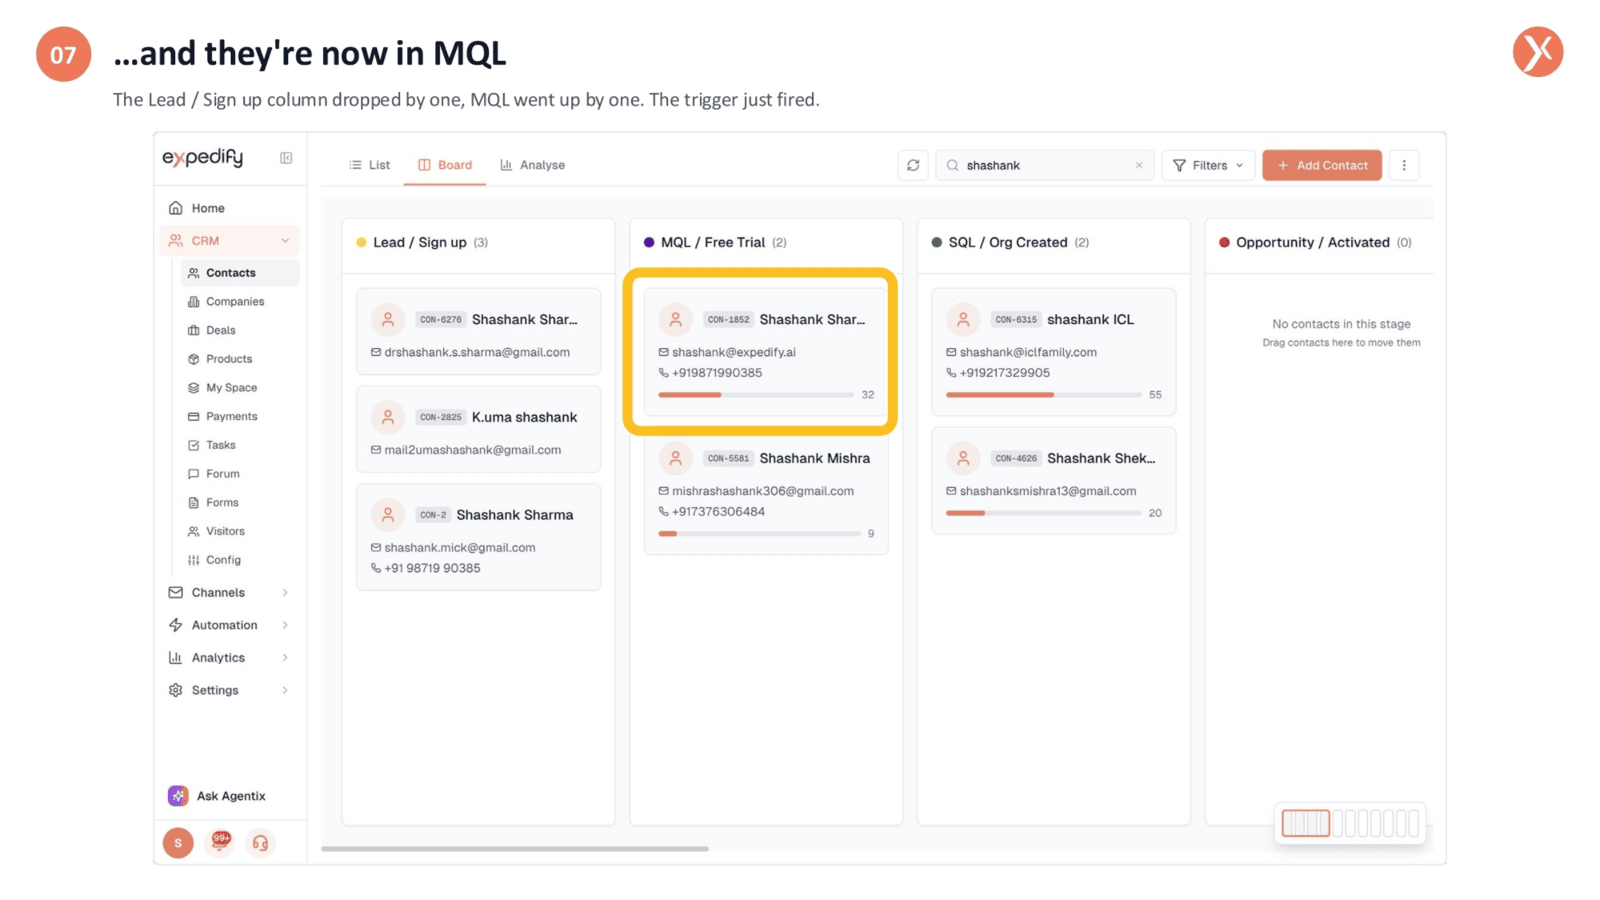
The contact has successfully moved to "MQL / Free Trial." The "Lead / Sign up" column decreased by one, while "MQL / Free Trial" increased. The instant that lifecycle stage changed, our workflow detected it and immediately triggered the email send, demonstrating real-time automation.
Checking the Inbox
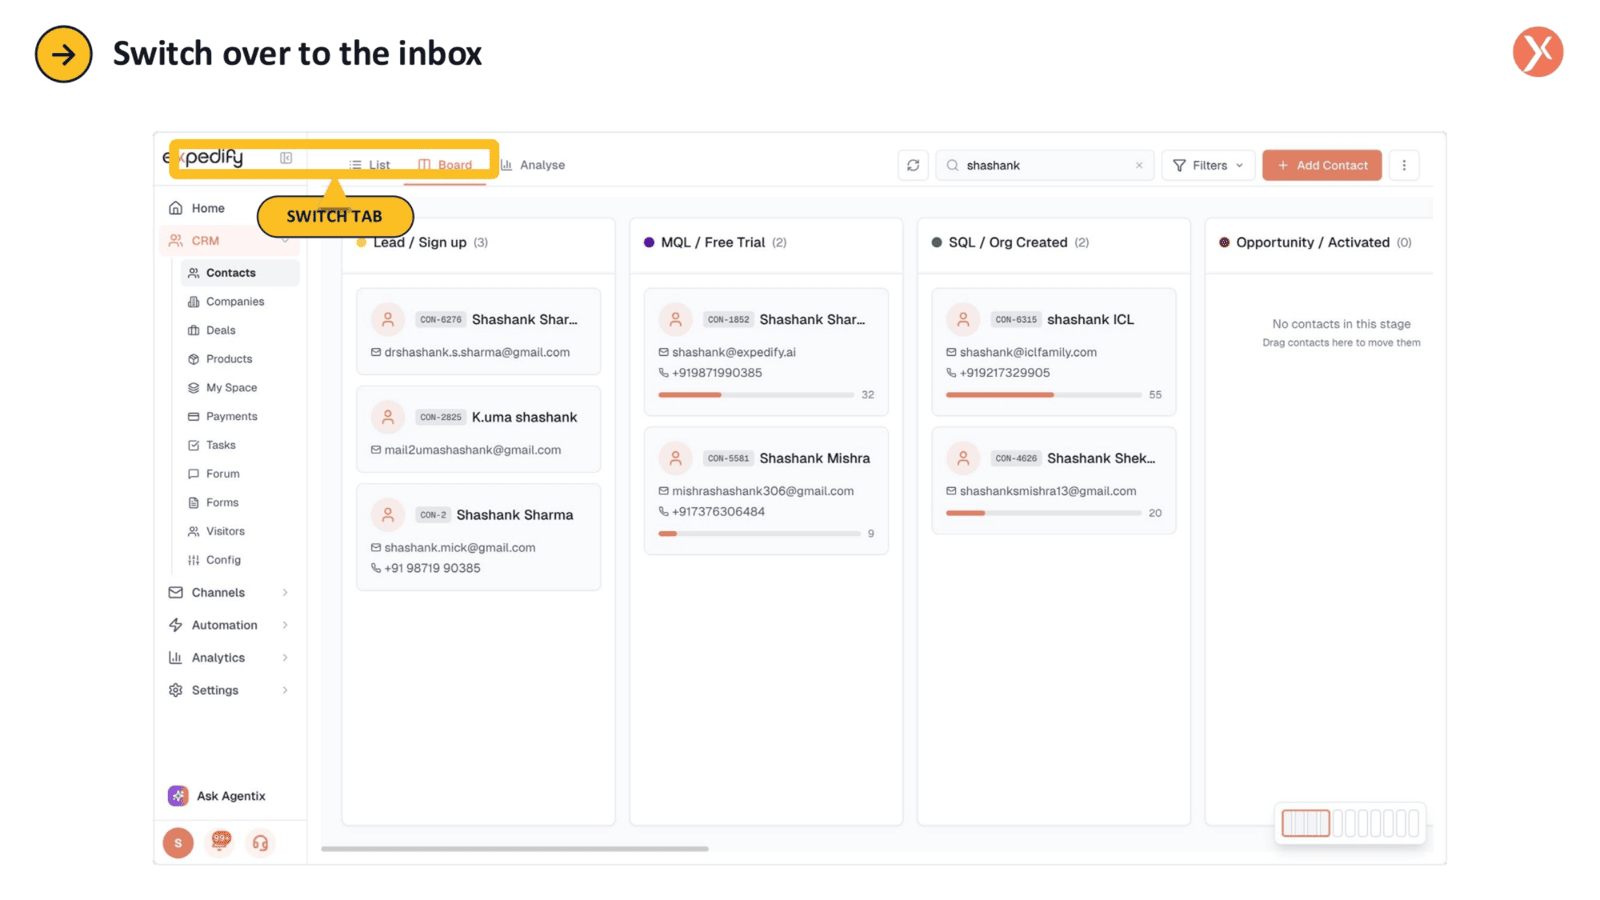
Let's switch over to the contact's email inbox.
Email Received Automatically
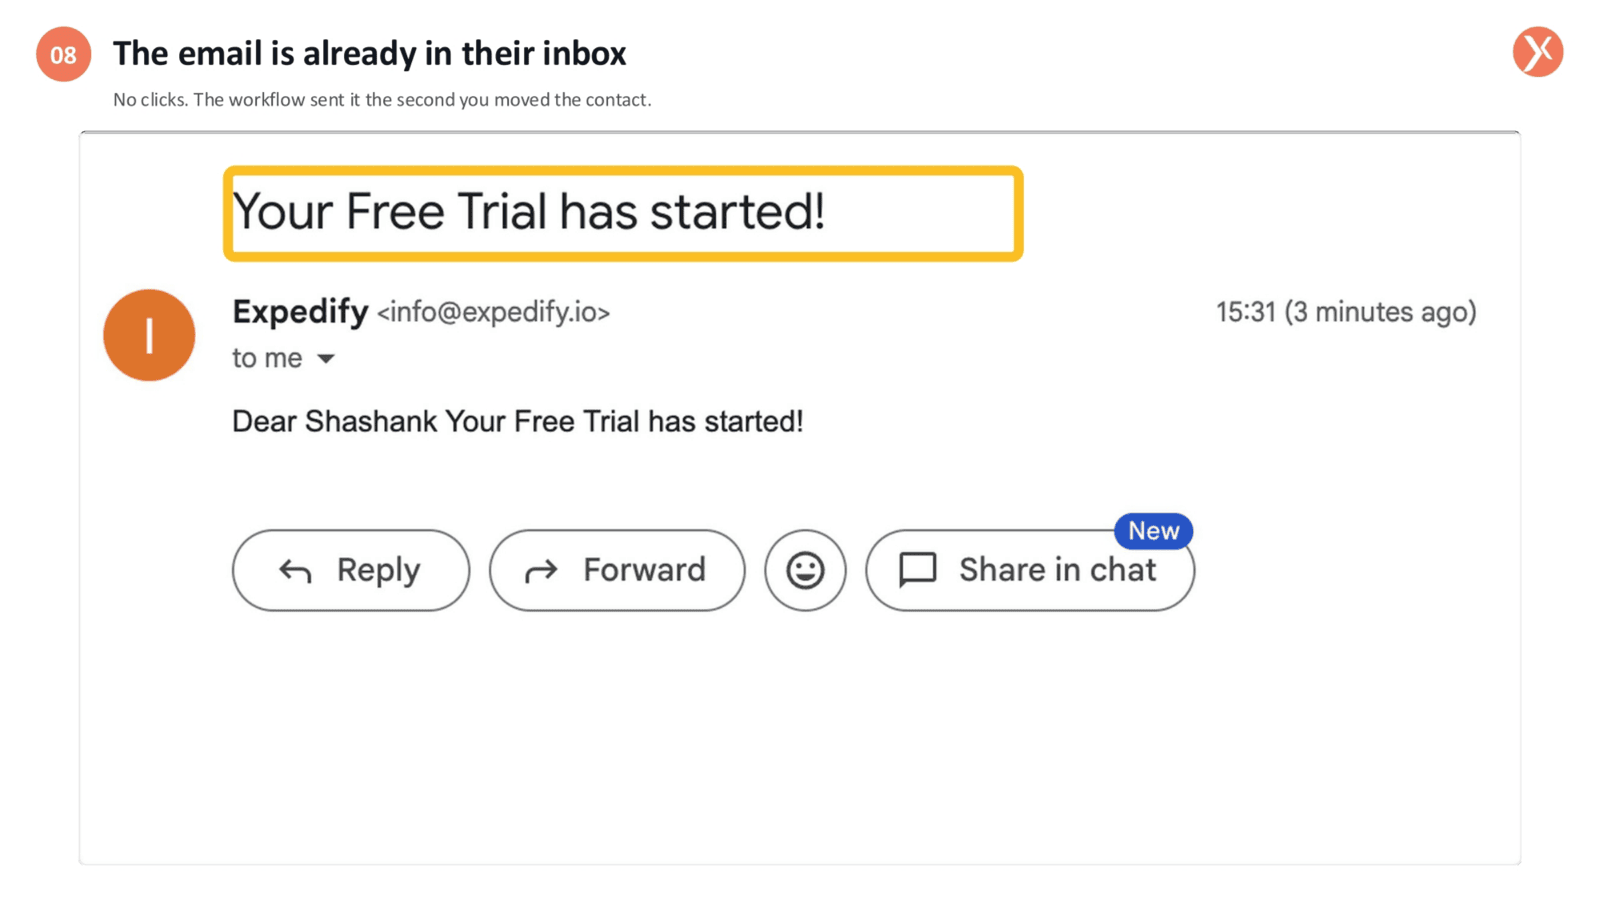
As you can see, the email, titled "Your Free Trial has started!", is already in the inbox. This happened without any manual intervention. The automation handled the entire process, sending the email the very second the contact's stage was updated, showcasing Expedify's efficiency.
Returning to the Builder
Now, let's jump back to the workflow Builder.
Workflow Run Logged
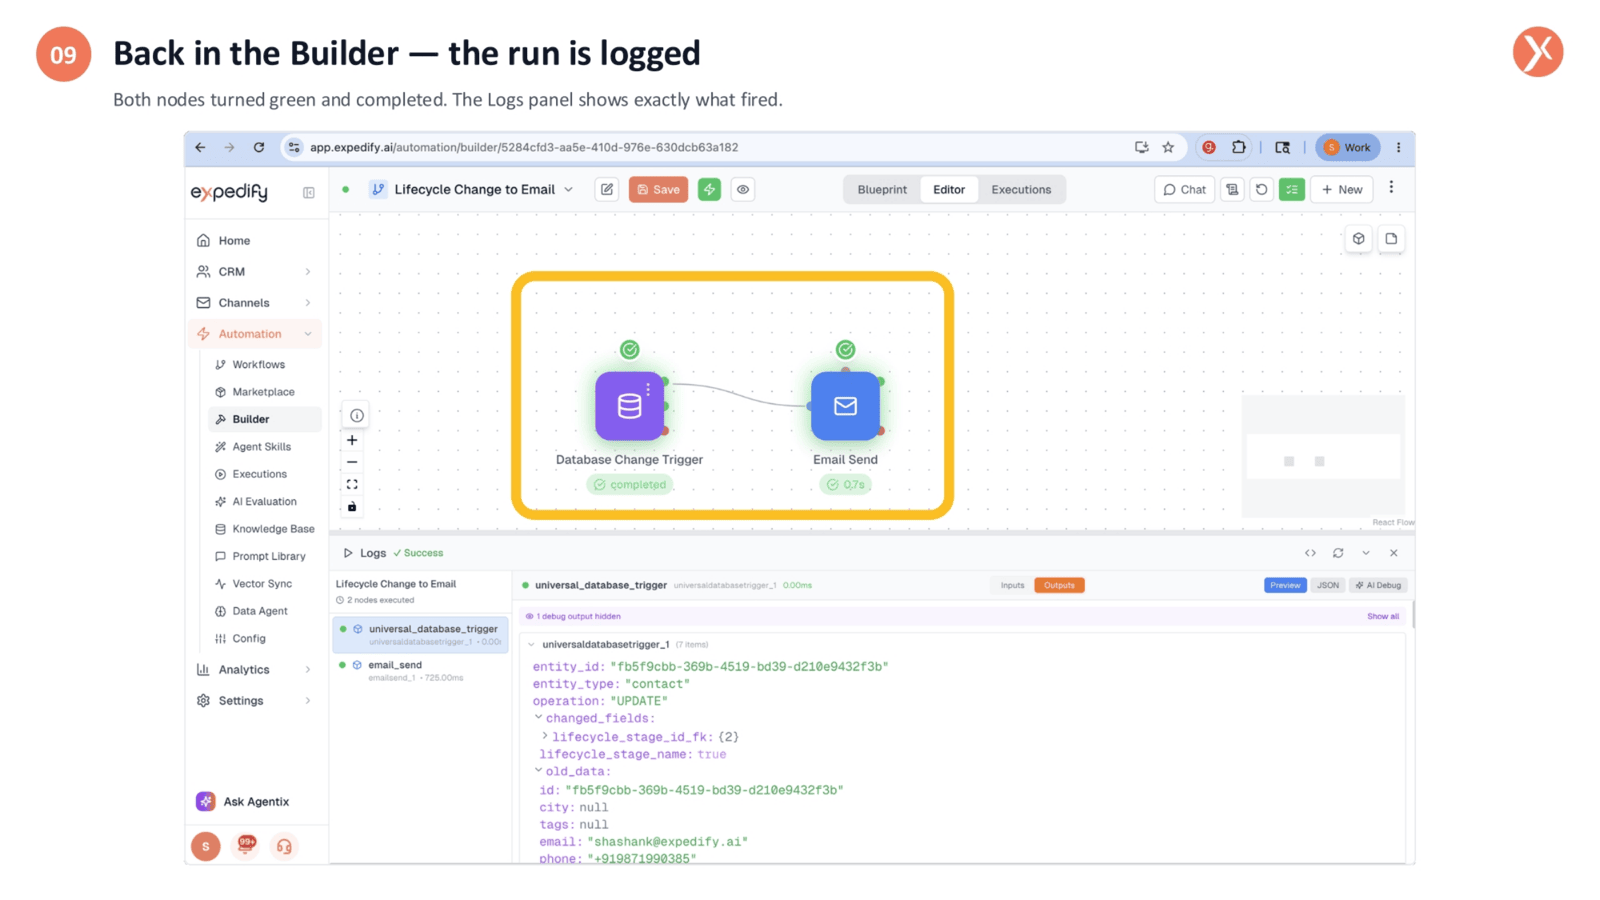
Both workflow nodes now display green checkmarks, indicating successful completion. The Logs panel at the bottom provides a detailed record of the execution: the trigger fired upon a contact update, specifically noting the lifecycle stage change, and the email node subsequently ran. This entire process was automated, requiring no manual input.
Workflow Recap
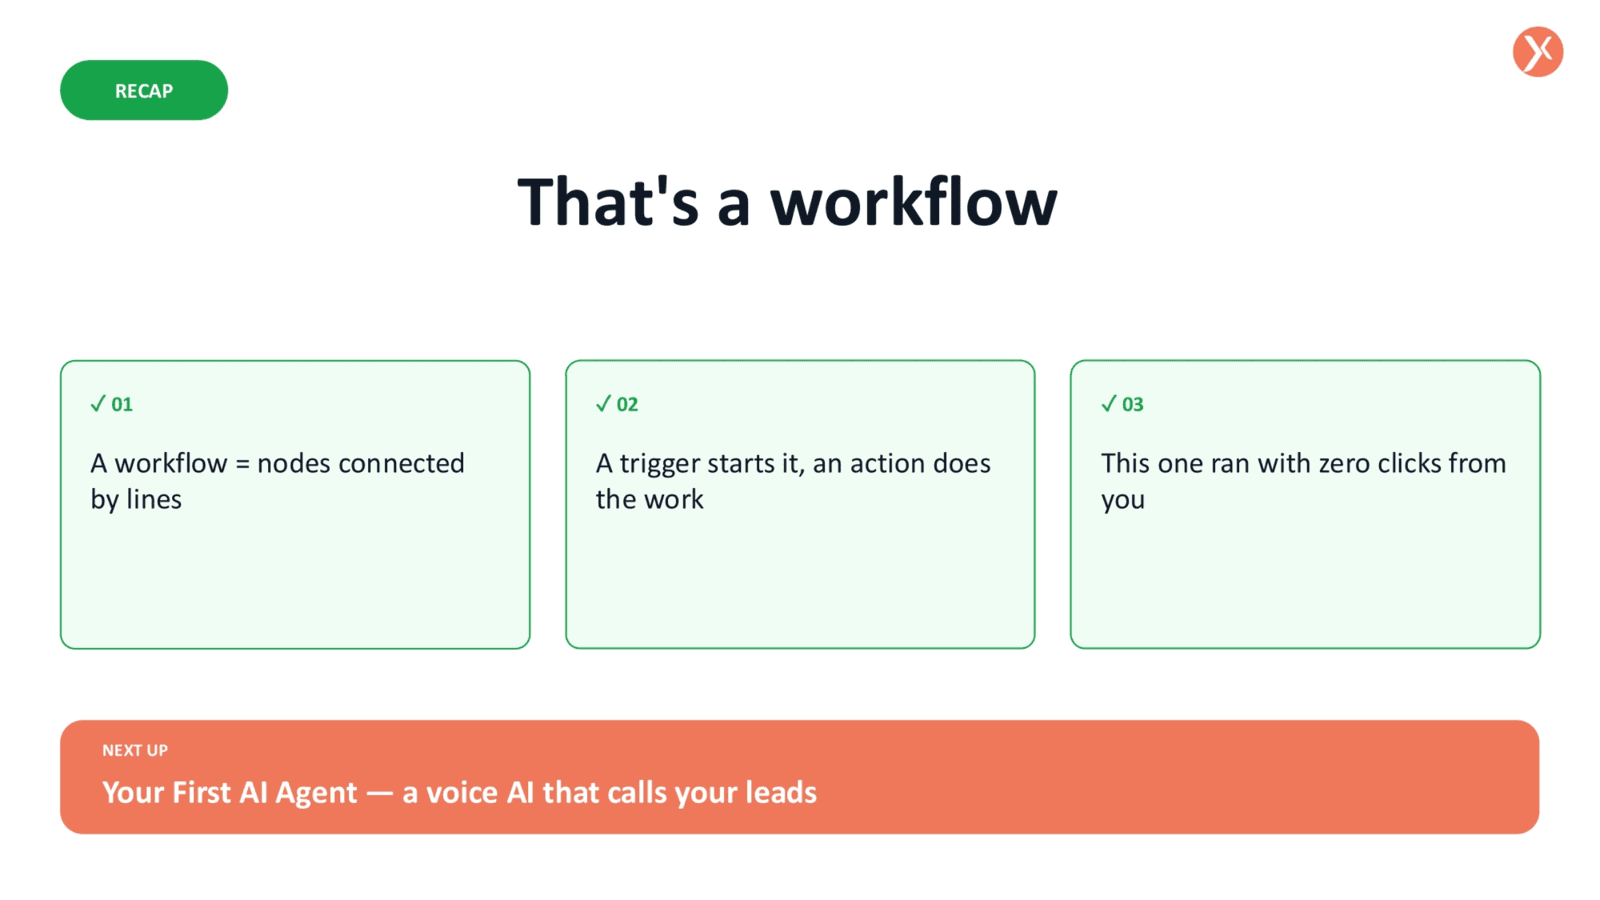
In summary, a workflow consists of interconnected nodes: a trigger to initiate the process and an action to perform the task. This demonstration successfully ran with zero manual clicks. Next, we'll explore how to integrate AI, specifically a voice agent, to engage with your leads.