Condition
The Condition node is essential for automating decision-making within your workflows. It allows you to branch your processes based on specific data, ensuring that different scenarios lead to appropriate actions. We'll explore how to set up these conditional routes effectively.
Understanding the Condition Node
The Condition node functions as the core of conditional logic in your automation. It evaluates a variable against a specified value using an operator, then directs the workflow down either a True or False output path. This powerful node supports over 22 operators, categorized into four families, allowing for highly flexible comparisons. You can define precise rules to ensure your workflows adapt dynamically to changing data.
Condition Node on the Canvas
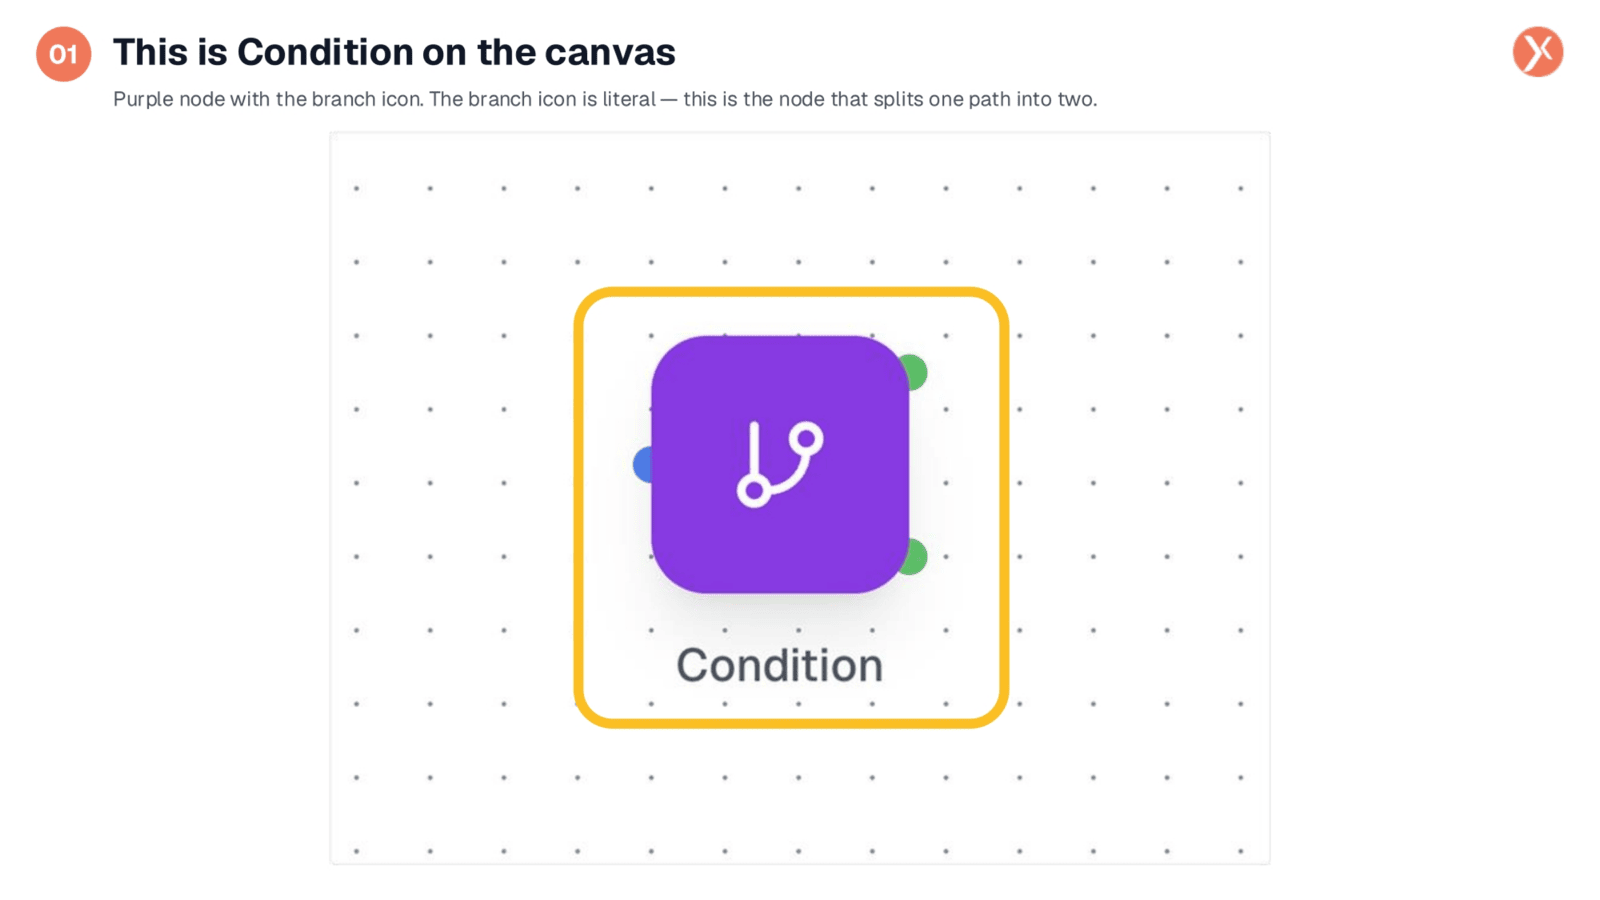
The Condition node is easily identifiable on the canvas by its purple color and distinct branch icon. This icon visually represents its function: splitting a single workflow path into two. Unlike most nodes with one output, Condition features two output handles, positioned vertically to prevent tangling when connecting downstream nodes. Place this node wherever you need to fork your workflow based on an upstream variable's value, then double-click to configure its settings.
Opening the Condition Node Configuration
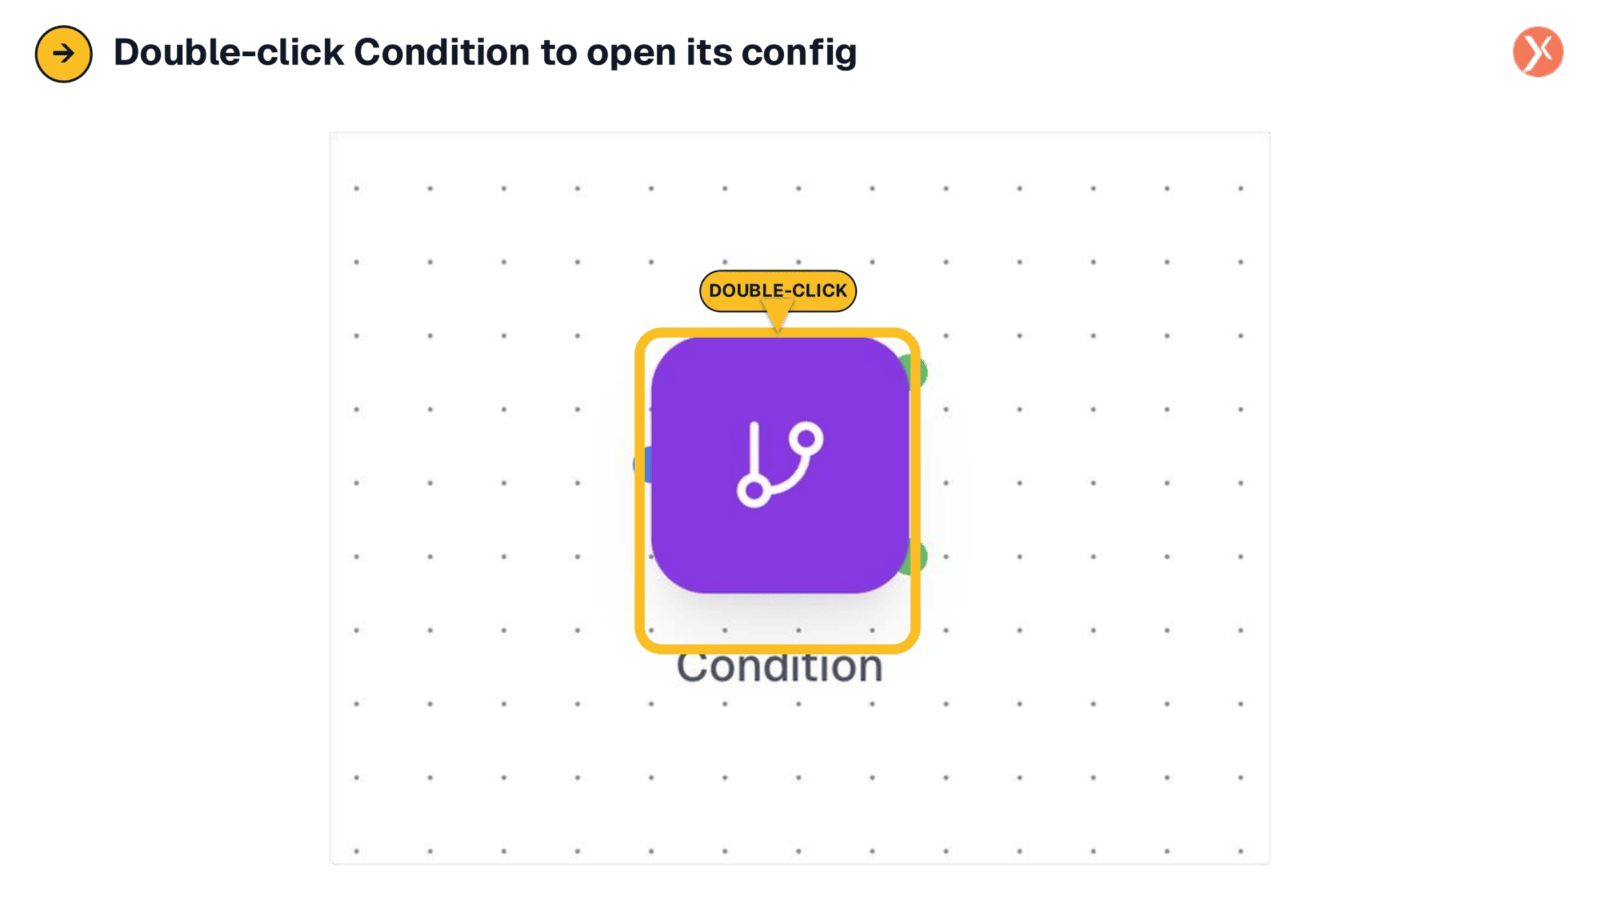
To configure the Condition node, simply double-click it on the canvas. This action opens its configuration panel, where you'll define the specific logic for your workflow branch. The panel provides all the necessary fields to set up your comparison, ensuring your automation behaves exactly as intended.
Overview of the Configuration Panel
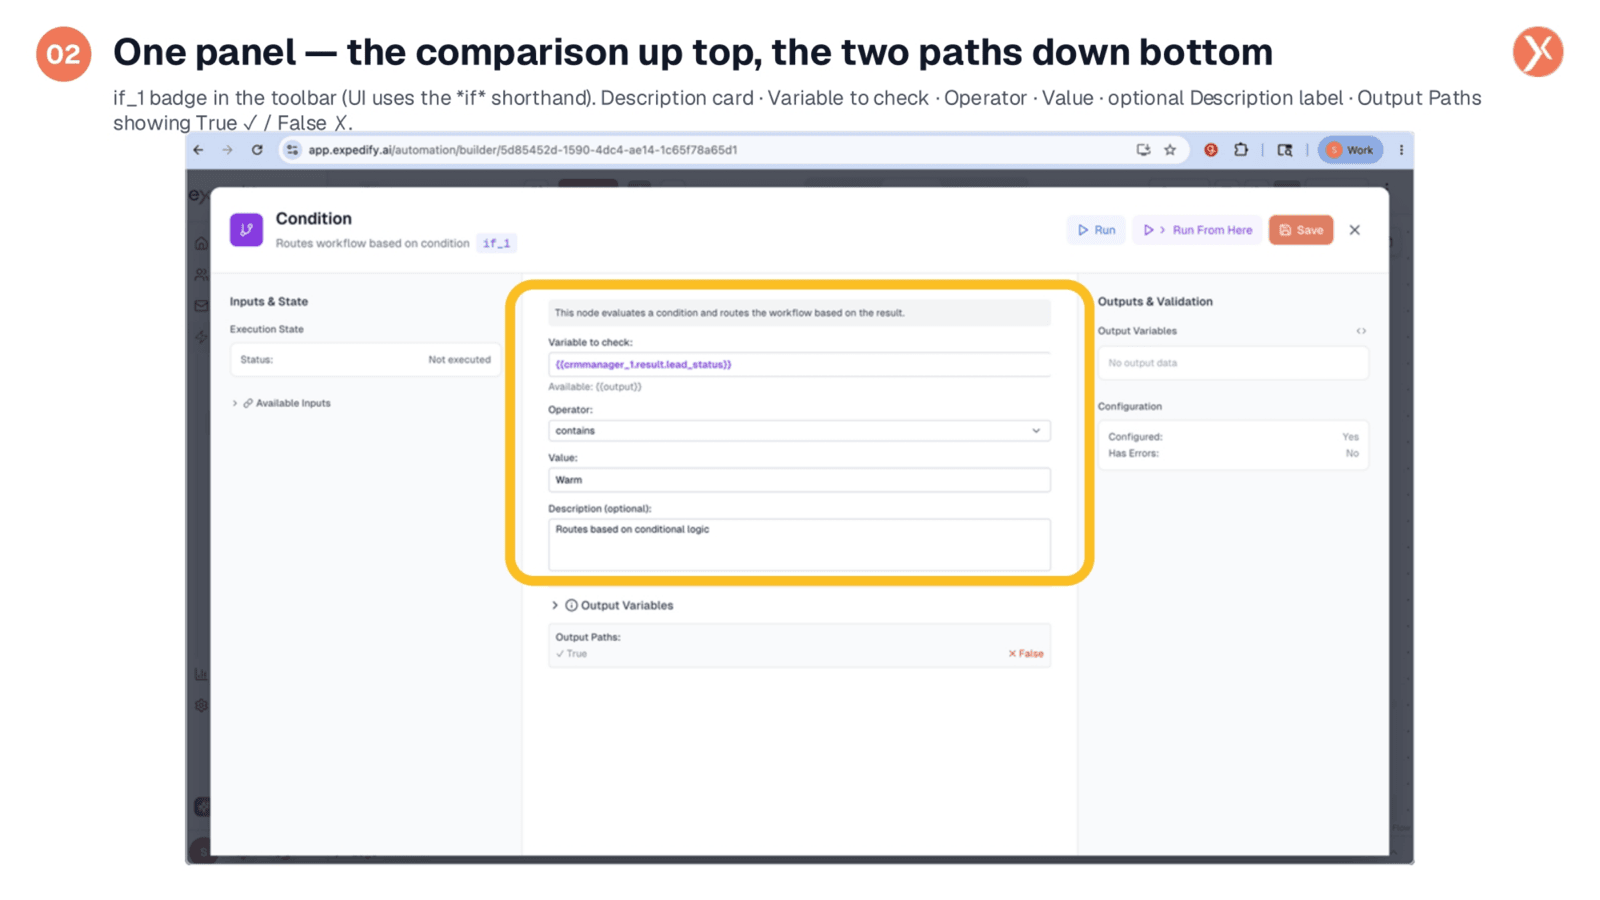
The configuration panel for the Condition node is organized into a single view. At the top, you'll find the comparison fields: "Variable to check," "Operator," and "Value," which define the core if-statement. An optional "Description" field allows for clear labeling. Crucially, the "Output Paths" section at the bottom displays the "True" and "False" outcomes, which are the two handles you'll use to wire subsequent nodes, routing your workflow based on the evaluation result.
Defining the Variable to Check
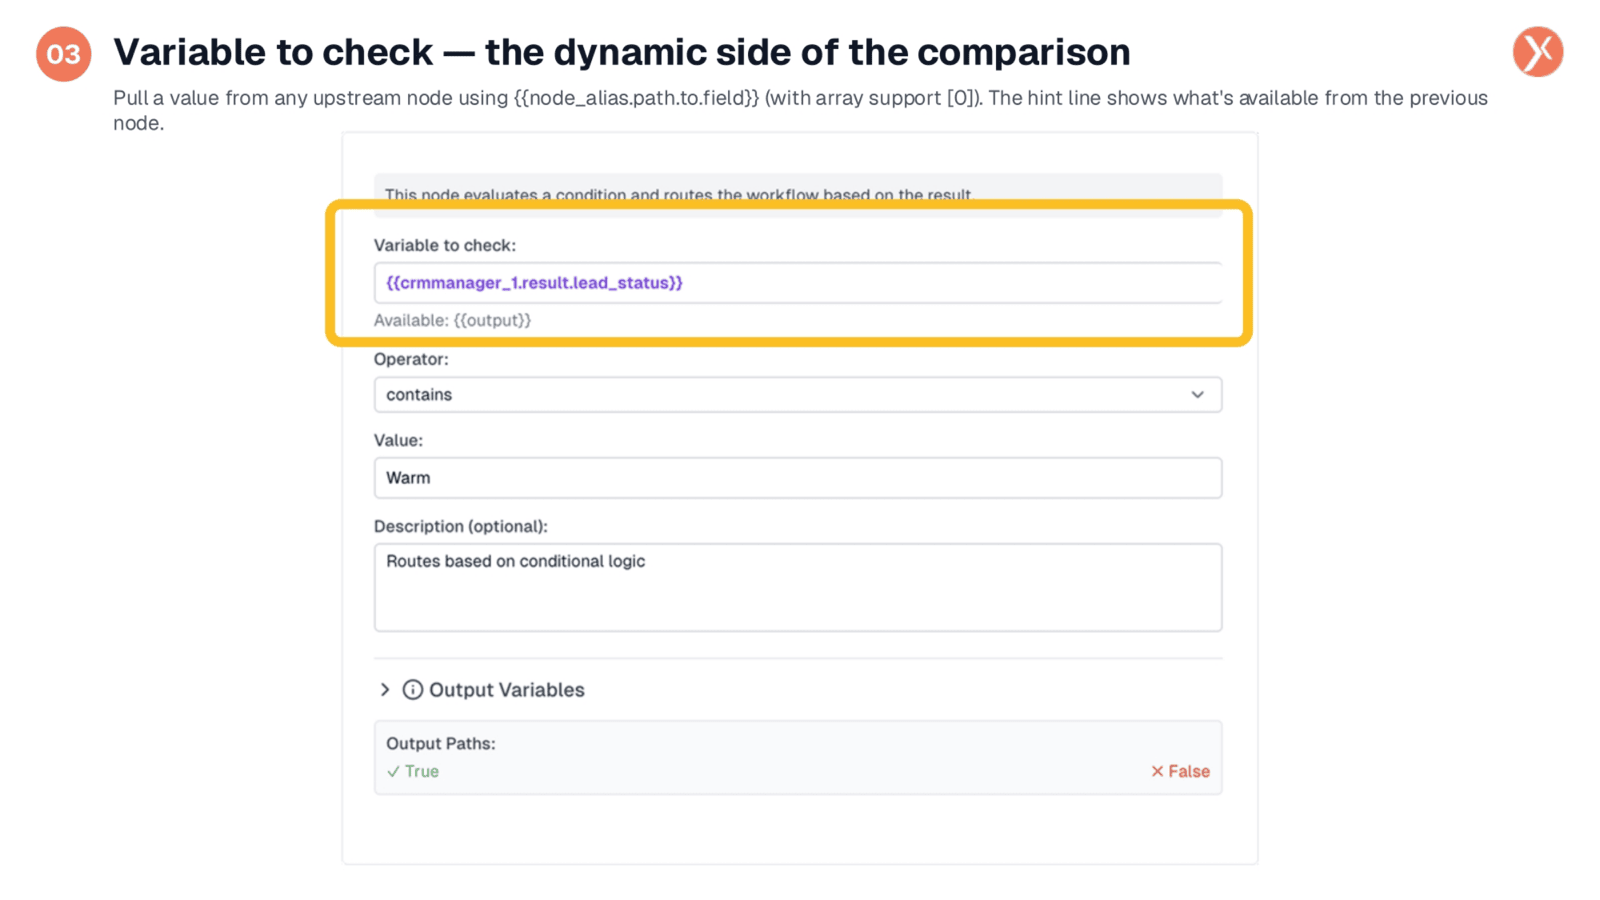
The "Variable to check" field represents the dynamic side of your comparison. Here, you'll input a double-curly template, such as {{crmmanager_1.result.lead_status}}, which resolves to an actual value during execution. The hint line below provides available outputs from the previous node, often {{output}}. This field supports dot-notation for nested fields and square brackets for array indexing, allowing access to complex data structures. This dynamic capability ensures your condition adapts to varying data inputs.
Exploring Comparison Operators
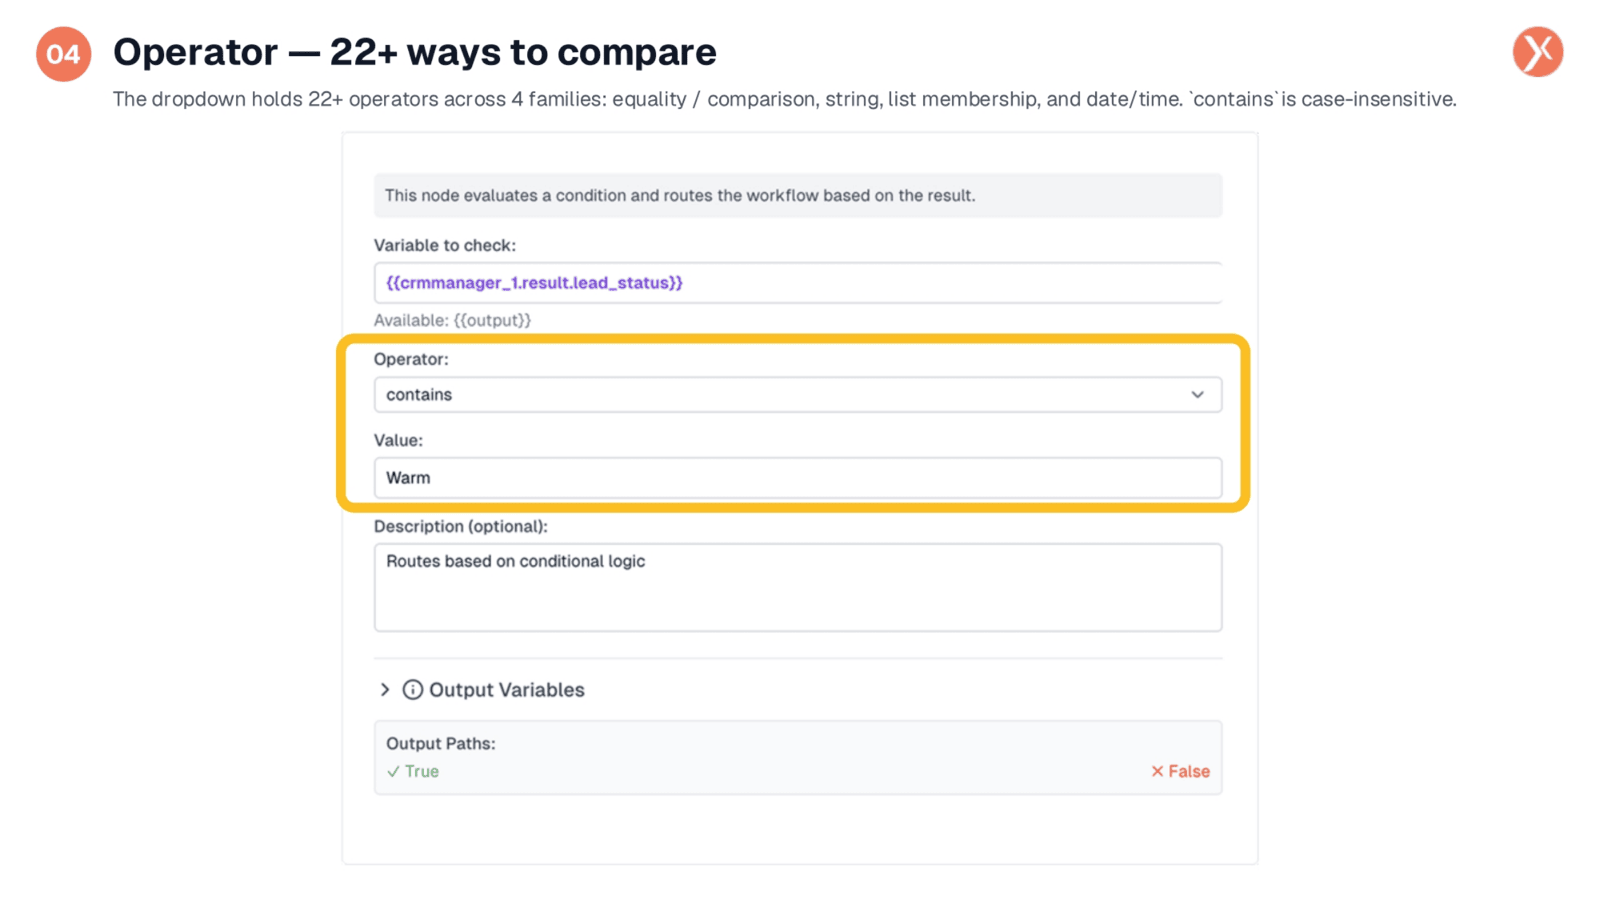
The "Operator" field defines the comparison's verb, offering over 22 options across four families. These include equality and numeric comparisons, string operators like "contains" (which is case-insensitive), list membership operators such as "in" or "not in," and a comprehensive suite of date and time operators. This extensive selection allows you to craft precise conditions for virtually any data type or scenario, ensuring your workflow logic is robust and accurate.
Setting the Value and Description
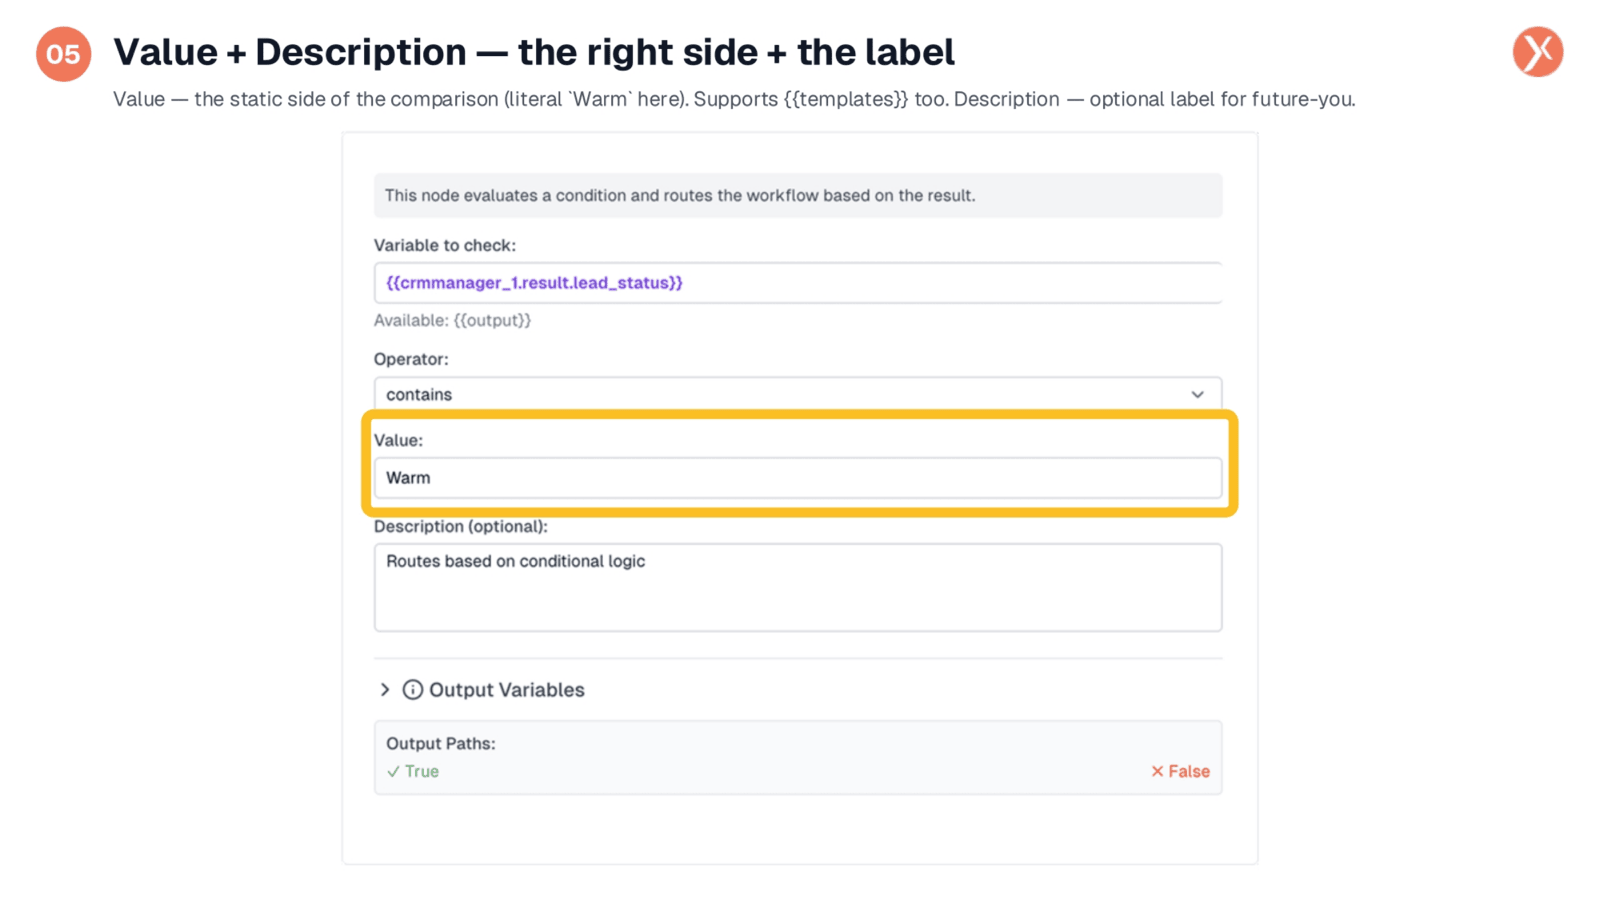
The "Value" field represents the static side of your comparison, often a literal string like "Warm." However, it also supports template variables, enabling comparisons between two dynamic elements. The node intelligently parses values as dates, then numbers, then strings, ensuring accurate comparisons. Below this, the optional "Description" field is crucial for readability. Labeling your conditions clearly, such as "lead is warm or hot," helps future you and your team quickly understand the logic at a glance.
Understanding Output Paths
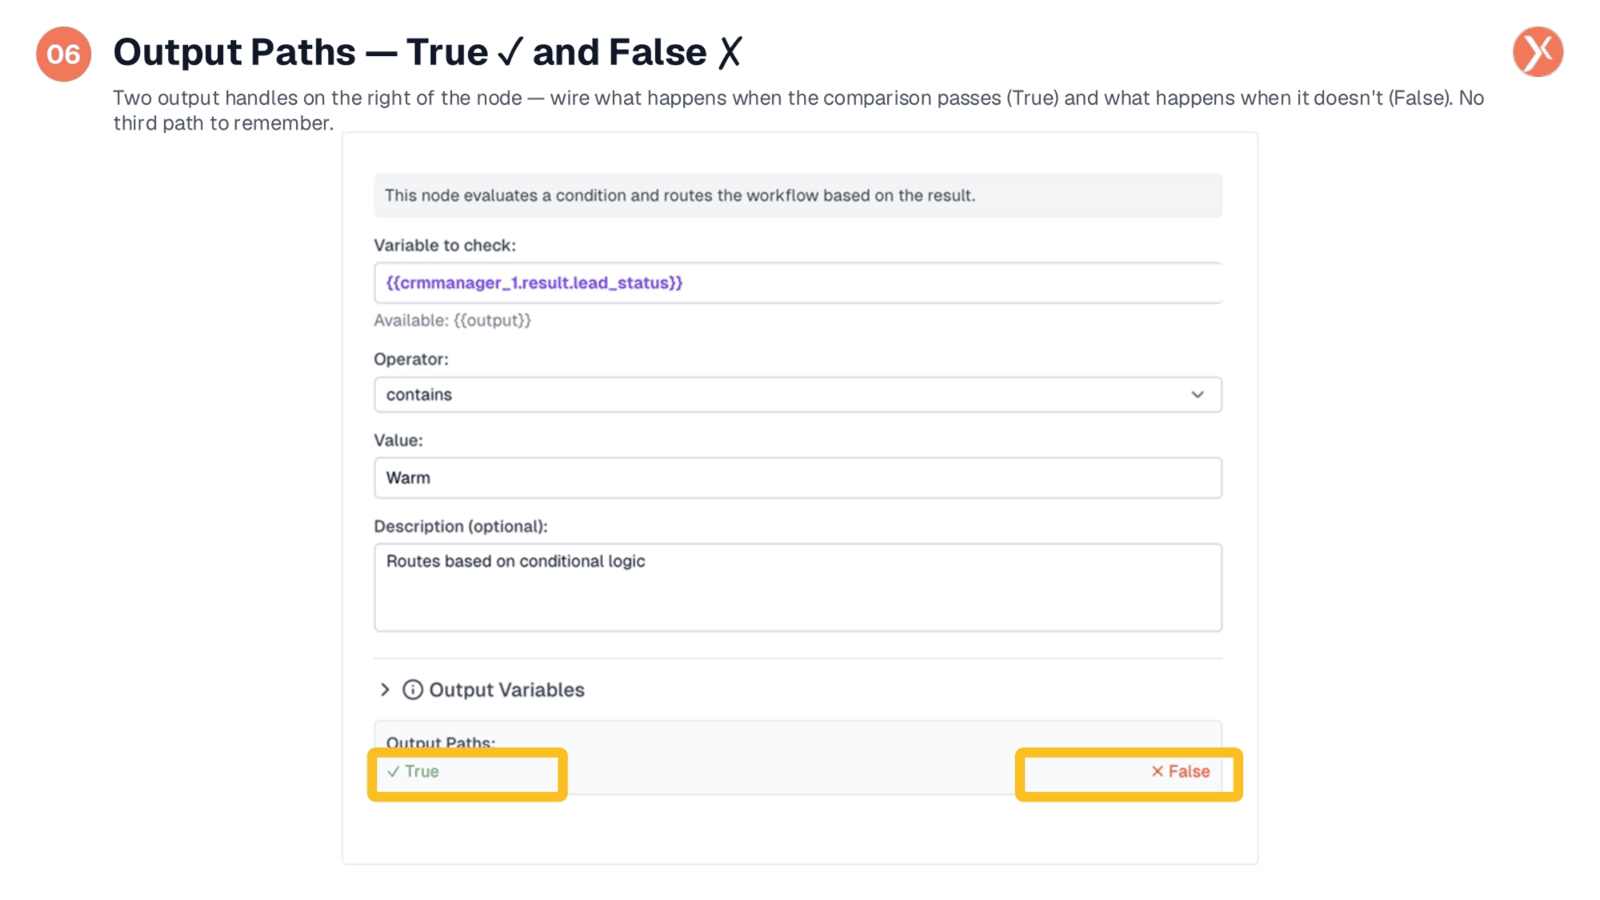
The Condition node provides two straightforward output paths: "True" and "False." These are represented by two distinct handles on the right side of the node, allowing you to wire different downstream actions for each outcome. There's no third error path or default to remember, simplifying workflow design. Even in edge cases, like a missing variable, the comparison predictably evaluates based on the operator's behavior with a "None" value, ensuring consistent routing.
Operator Cheat Sheet: Four Families
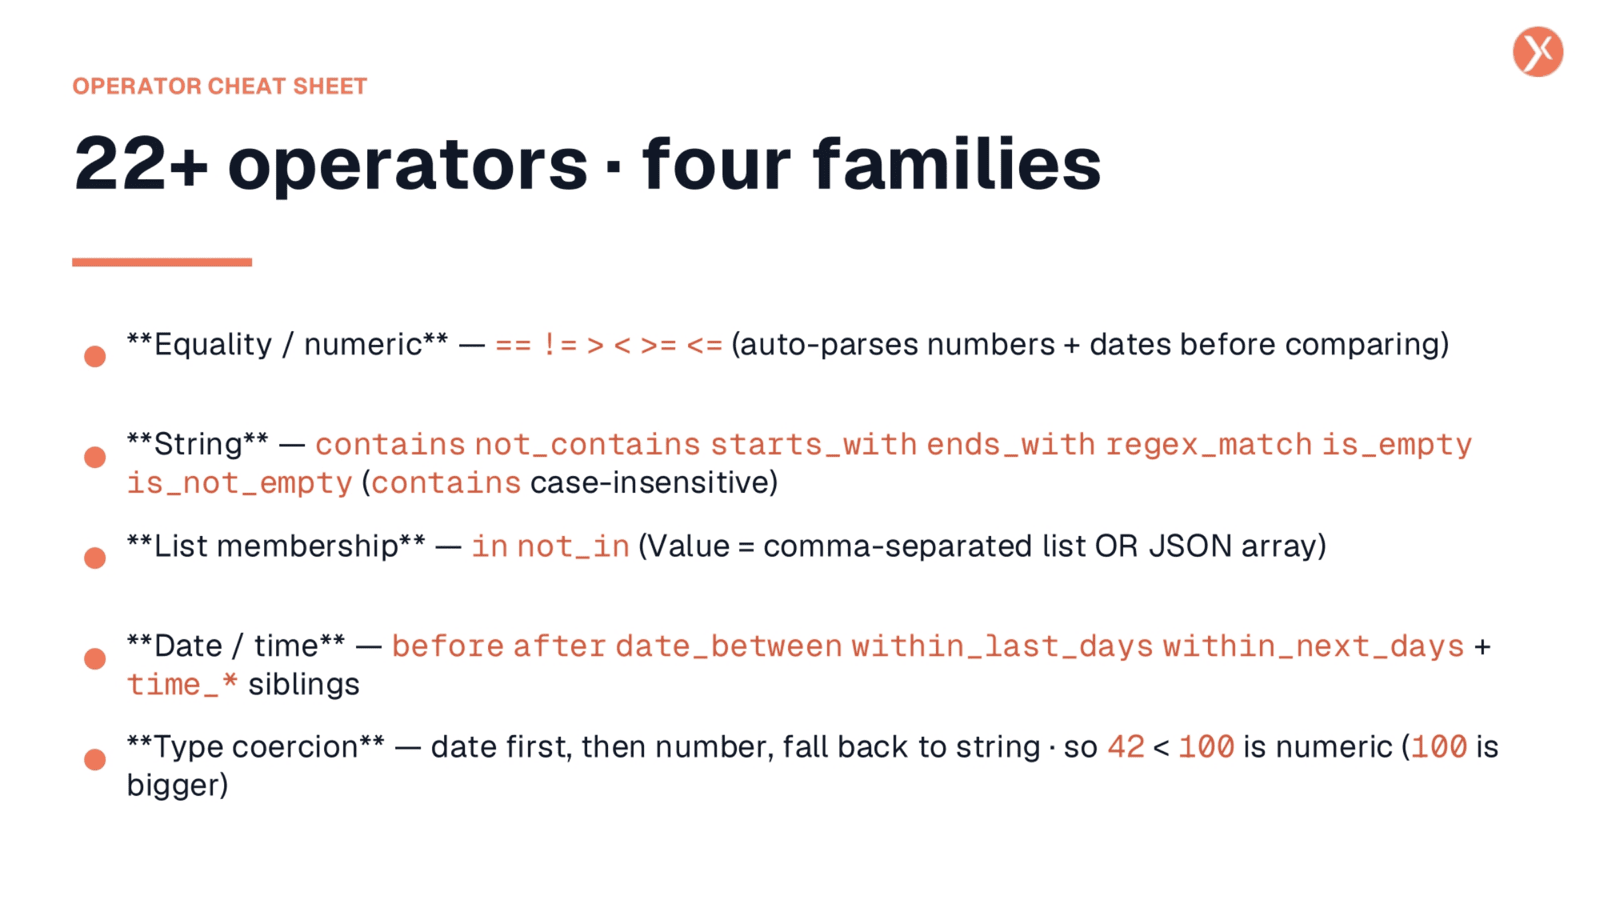
The operator cheat sheet details the 22+ operators across four families. For equality and numeric comparisons, the node intelligently parses values as dates, then numbers, before falling back to strings. String operators include "contains," "starts_with," and "regex_match," with "contains" being case-insensitive. List membership offers "in" and "not_in" for comma-separated lists or JSON arrays. Finally, the date and time family provides options like "before," "after," "between," and relative comparisons such as "within_last_days."
Condition Node Outputs
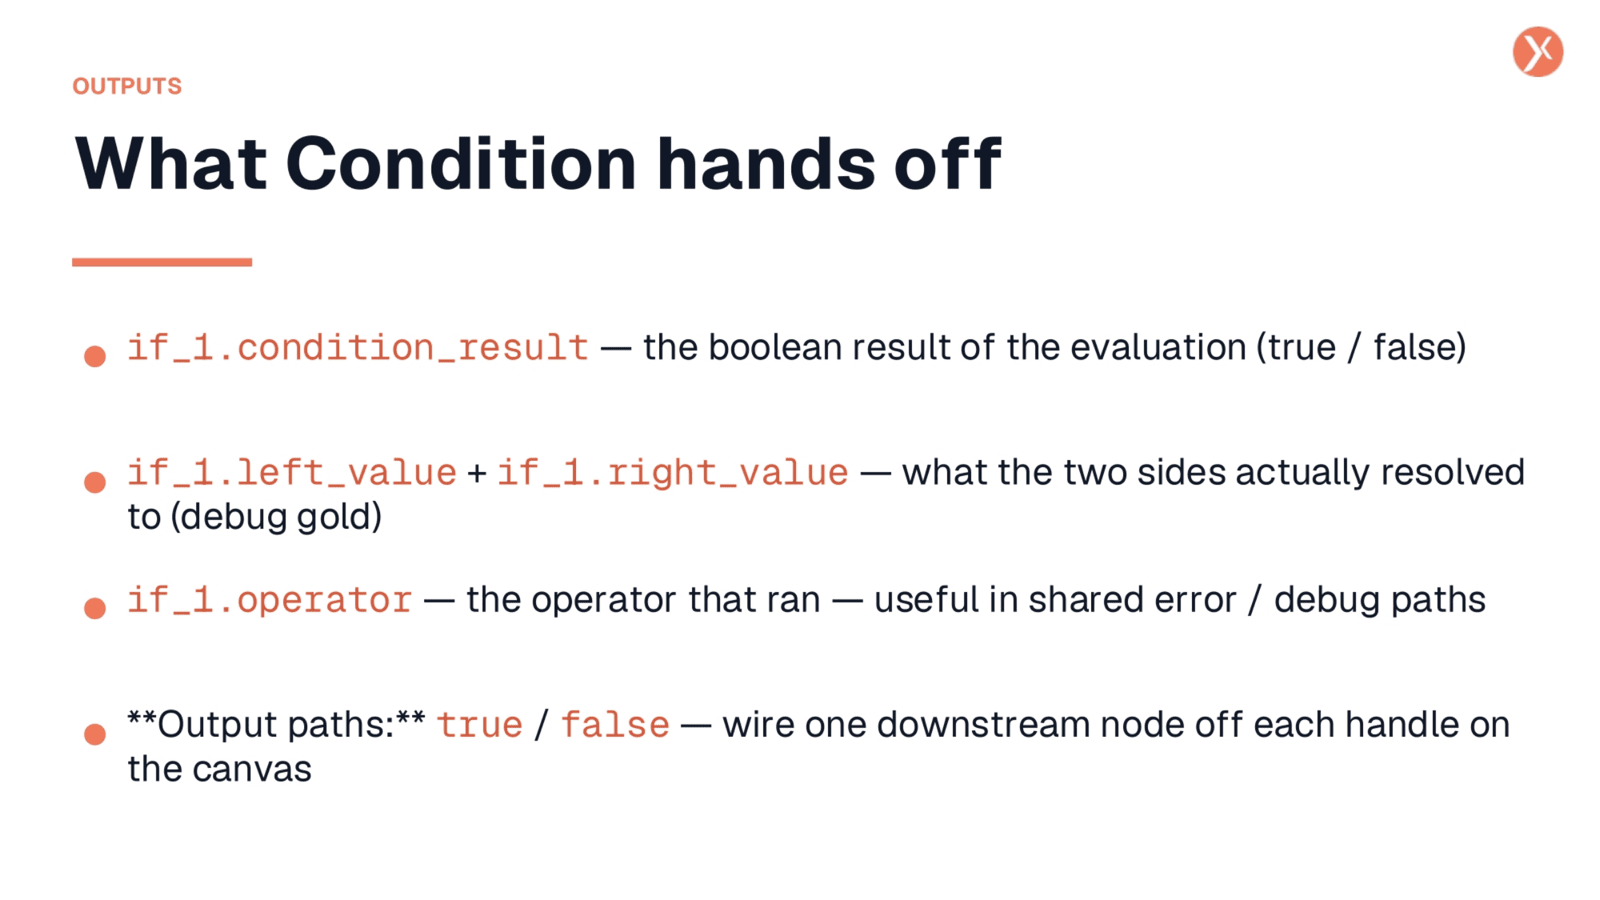
The Condition node provides several useful outputs to downstream nodes. The primary output is if_1.condition_result, a boolean indicating true or false. For debugging, if_1.left_value and if_1.right_value expose the actual values compared, which is invaluable for troubleshooting unexpected results. Additionally, if_1.operator echoes the configured operator, useful for logging or dynamic error handling. Ultimately, the "true" and "false" output paths are how you leverage the comparison result to direct your workflow.
Recap: That's Condition
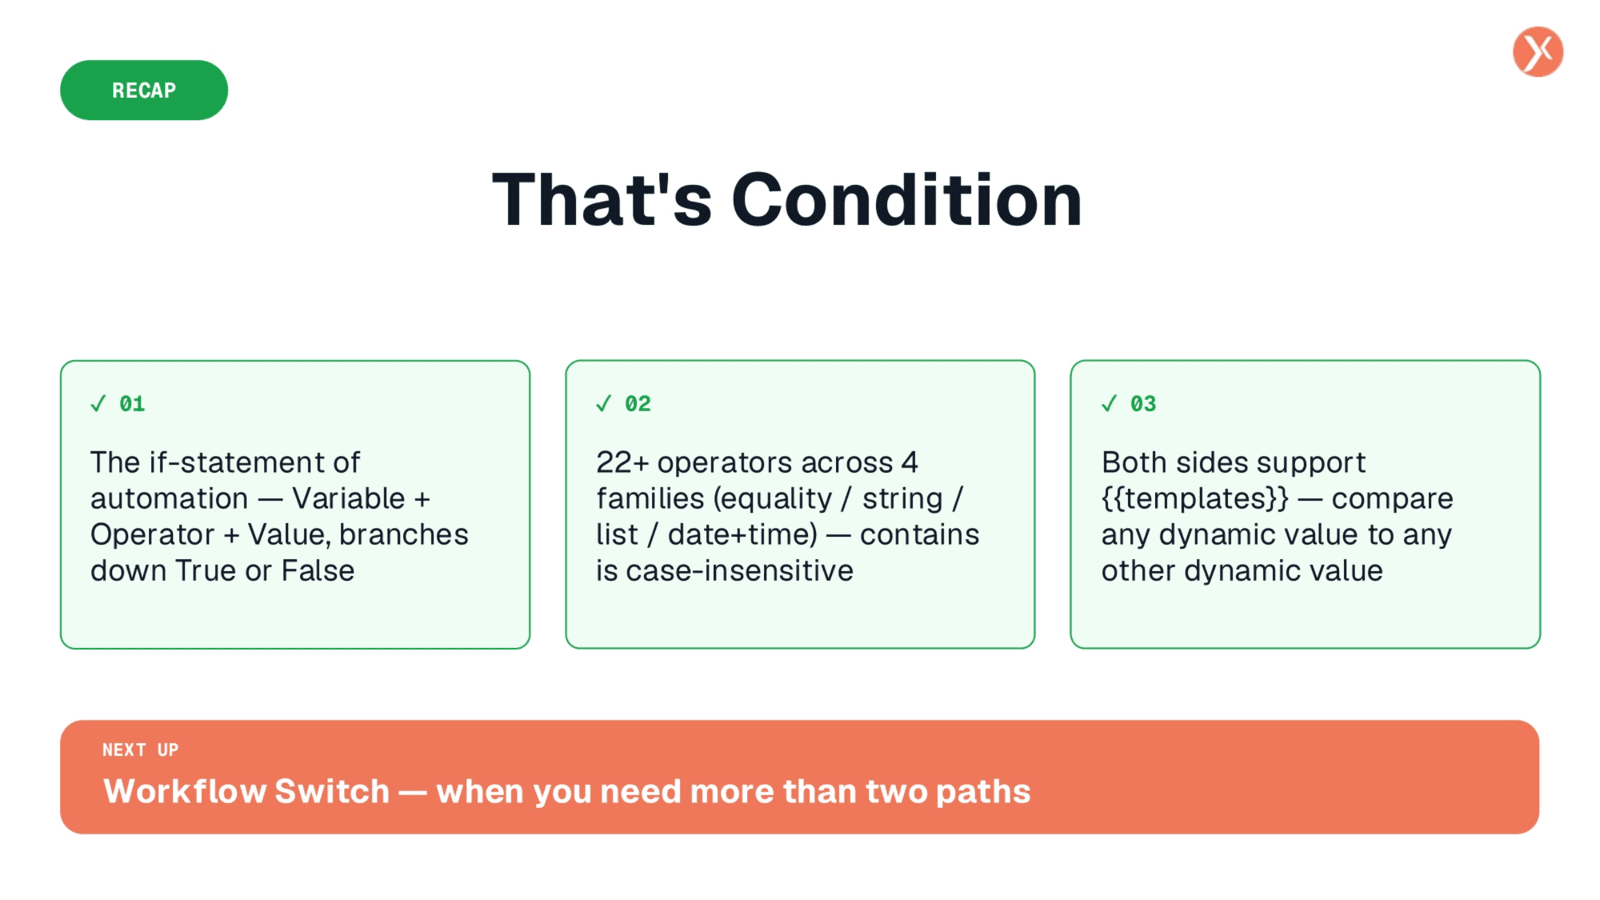
We've covered the Condition node, the if-statement of automation, which branches workflows based on variables, operators, and values. It offers over 22 operators and supports dynamic comparisons. Next, we'll explore the Workflow Switch for scenarios requiring more than two paths.