Workflow Call
Welcome to the Workflow Call node, designed to let one workflow execute another as a sub-routine. We'll cover its configuration, input and output mapping, loop mode for array processing, and execution details. This node is essential for building modular and scalable automations.
Workflow Call Demo Overview
Our demonstration of the Workflow Call node will cover five key areas. We'll start with Configuration, which defines what workflow to call and how. Next, we'll examine Input Mapping, detailing how variables are passed into the sub-workflow. Output Mapping then shows how results are returned to the parent workflow. We'll also explore the Loop tab for array fan-out, and finally, the Execution Details tab, which serves as a post-run inspector for debugging. Let's now open the node to begin.
Identifying the Workflow Call Node
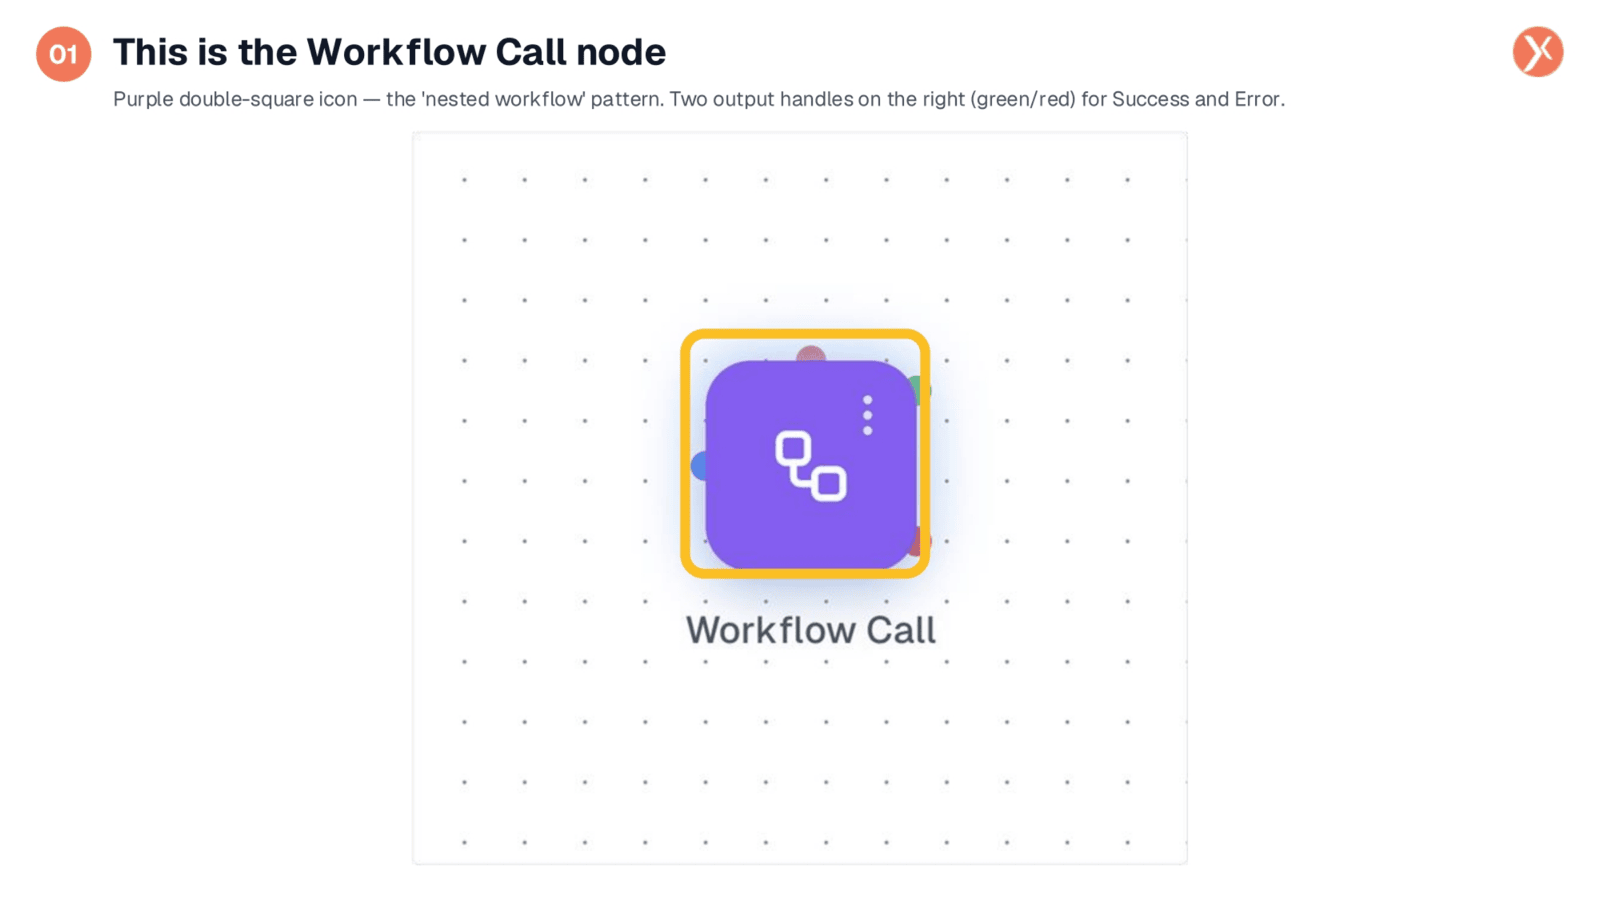
This is the Workflow Call node as it appears on the canvas. It's easily recognizable by its purple double-square icon, which universally signifies a sub-routine or nested workflow. Observe the right edge of the card, featuring a green dot at the top and a red dot at the bottom. These represent its two output handles: Success and Error. When the sub-workflow completes successfully, the green path activates; if an error occurs, the red path fires. This design allows for clear branching based on the sub-workflow's outcome. Now, let's open its configuration panel.
Accessing Node Configuration
To access the detailed settings and parameters for the Workflow Call node, simply double-click on its icon. This action will open the Node Configuration Panel, where you can customize its behavior and define how it interacts with other workflows. This is the gateway to setting up your nested workflow effectively.
Overview of the Workflow Call Panel
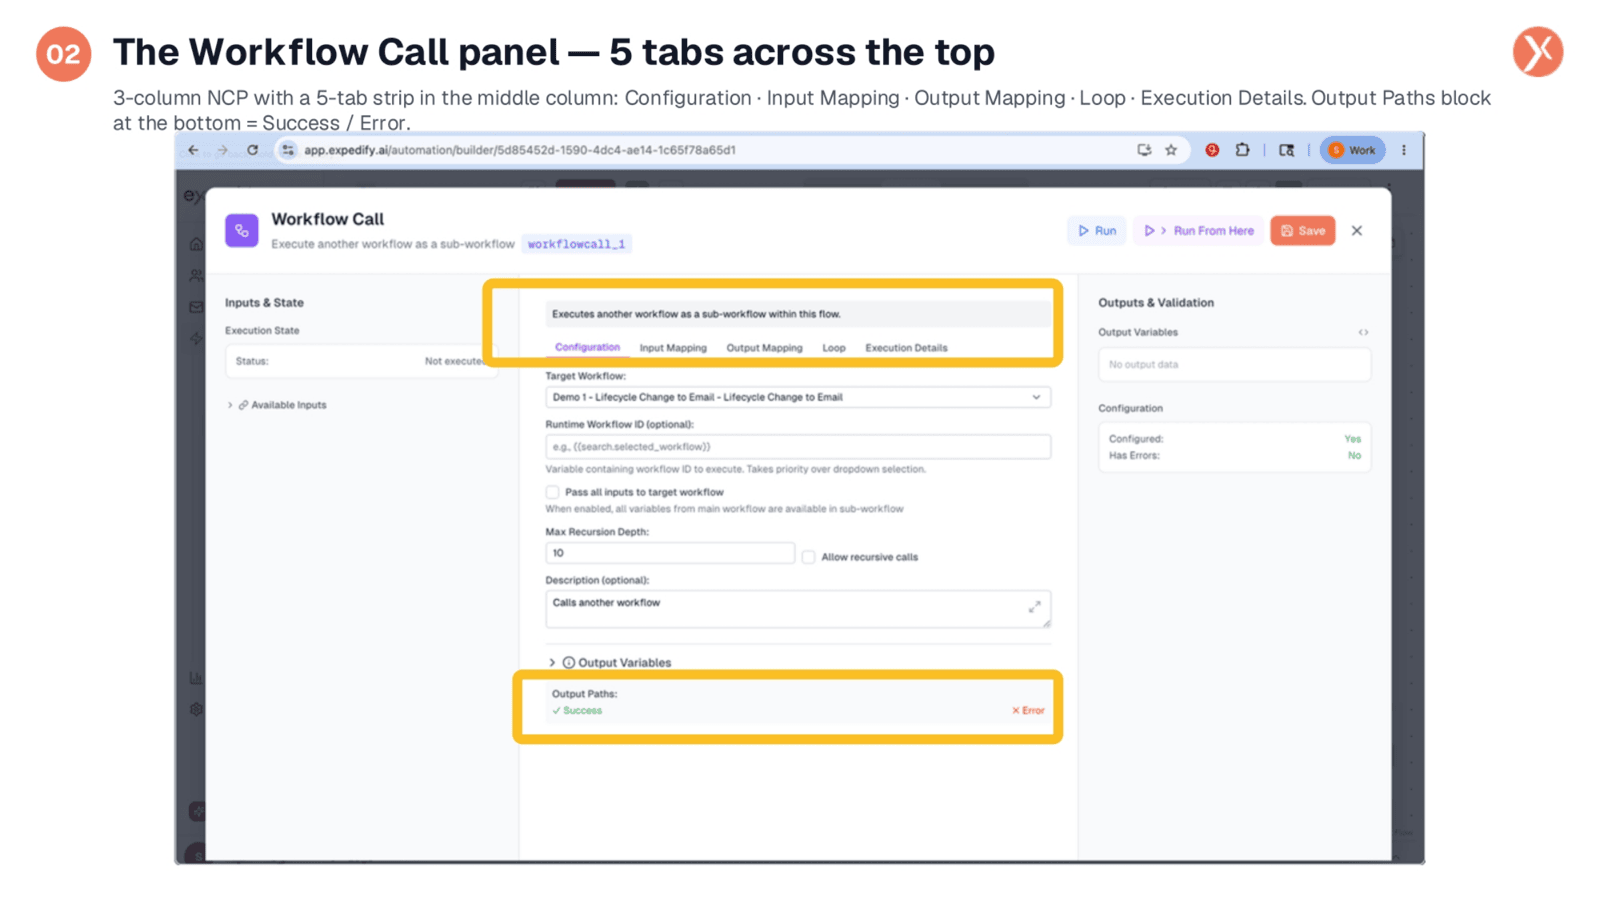
The Node Configuration Panel maintains the familiar three-column layout, but uniquely features a five-tab strip across the middle column. These tabs are Configuration, Input Mapping, Output Mapping, Loop, and Execution Details. The variable badge at the top, workflowcall_1, indicates how subsequent nodes access this node's outputs. At the bottom, the Output Paths block clearly displays the two possible outcomes: Success, marked in green, and Error, in red. These correspond directly to the output handles seen on the canvas card. We'll now explore each tab, starting with Configuration, which defines the target workflow.
Configuring Target Workflow and Recursion
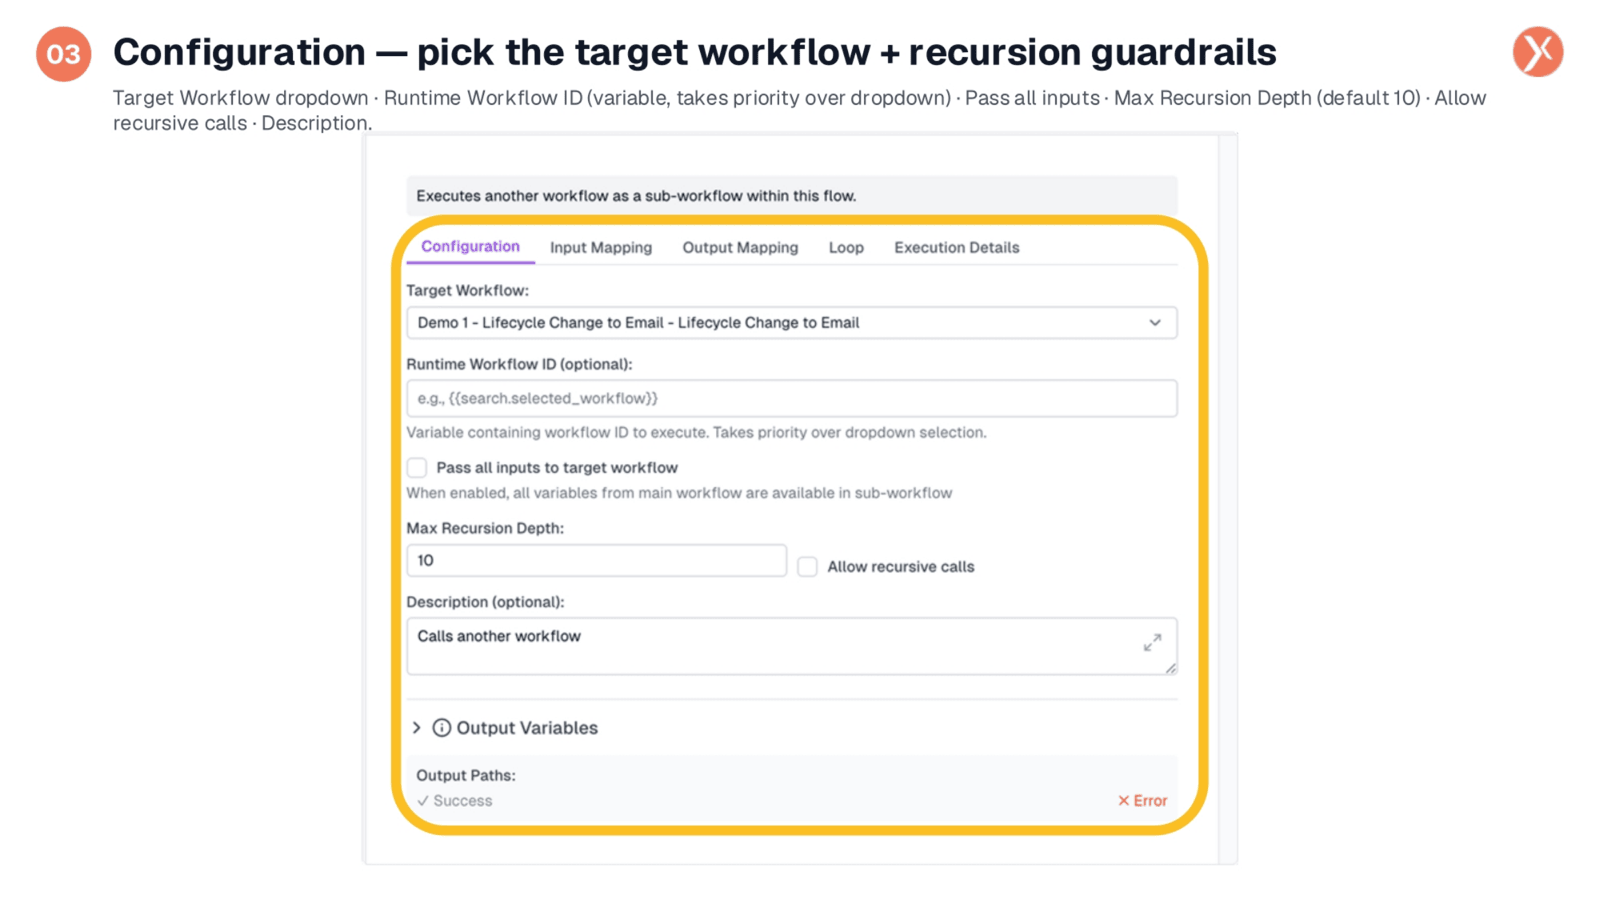
The Configuration tab presents six fields for defining your sub-workflow. The Target Workflow dropdown allows you to statically select any workflow within your organization. Alternatively, the Runtime Workflow ID field offers dynamic selection; you can input a template variable that resolves to a workflow ID at runtime, overriding the dropdown choice. This is ideal for data-driven routing. The 'Pass all inputs to target workflow' checkbox, when enabled, makes all parent workflow variables available to the sub-workflow without explicit mapping. Max Recursion Depth, defaulting to ten, limits nested calls, and 'Allow recursive calls' permits a workflow to call itself within that limit. A description field is also available for documentation.
Defining Input Mappings
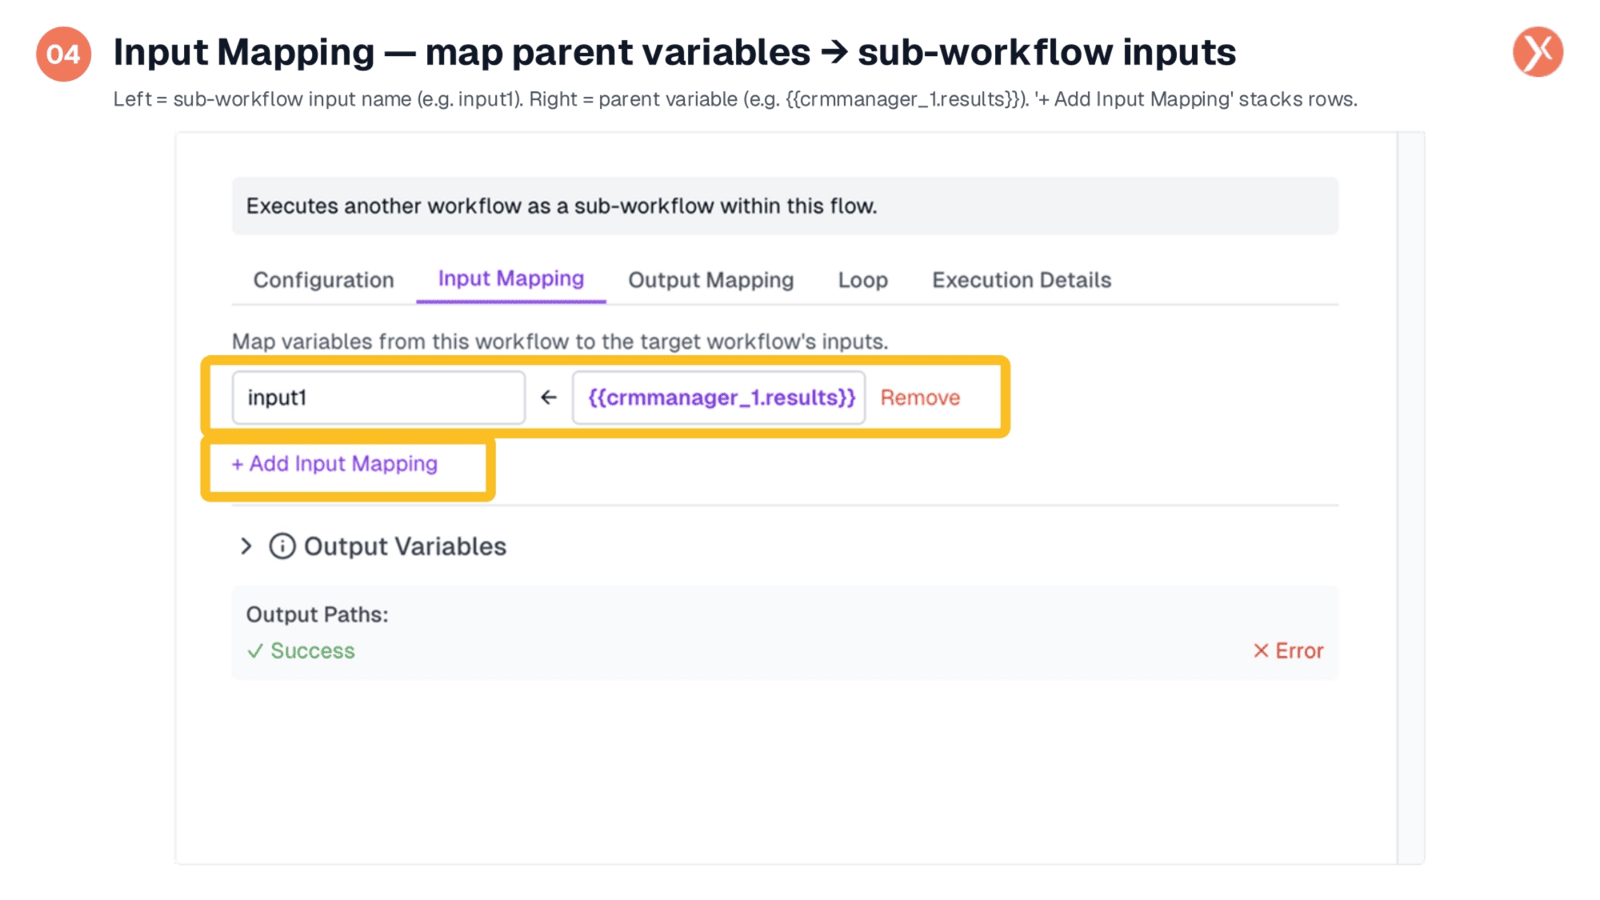
The Input Mapping tab is where you specify the data the sub-workflow will receive. Each mapping row defines an input, with the sub-workflow's expected input name on the left and the corresponding parent-workflow variable on the right. For instance, if the sub-workflow anticipates 'input1', you might map it to crmmanager_1.results from an upstream node. You can add multiple input mappings as needed. This tab is crucial when 'Pass all inputs' is disabled in the Configuration tab, providing precise control over data transfer across workflow boundaries.
Configuring Output Mappings
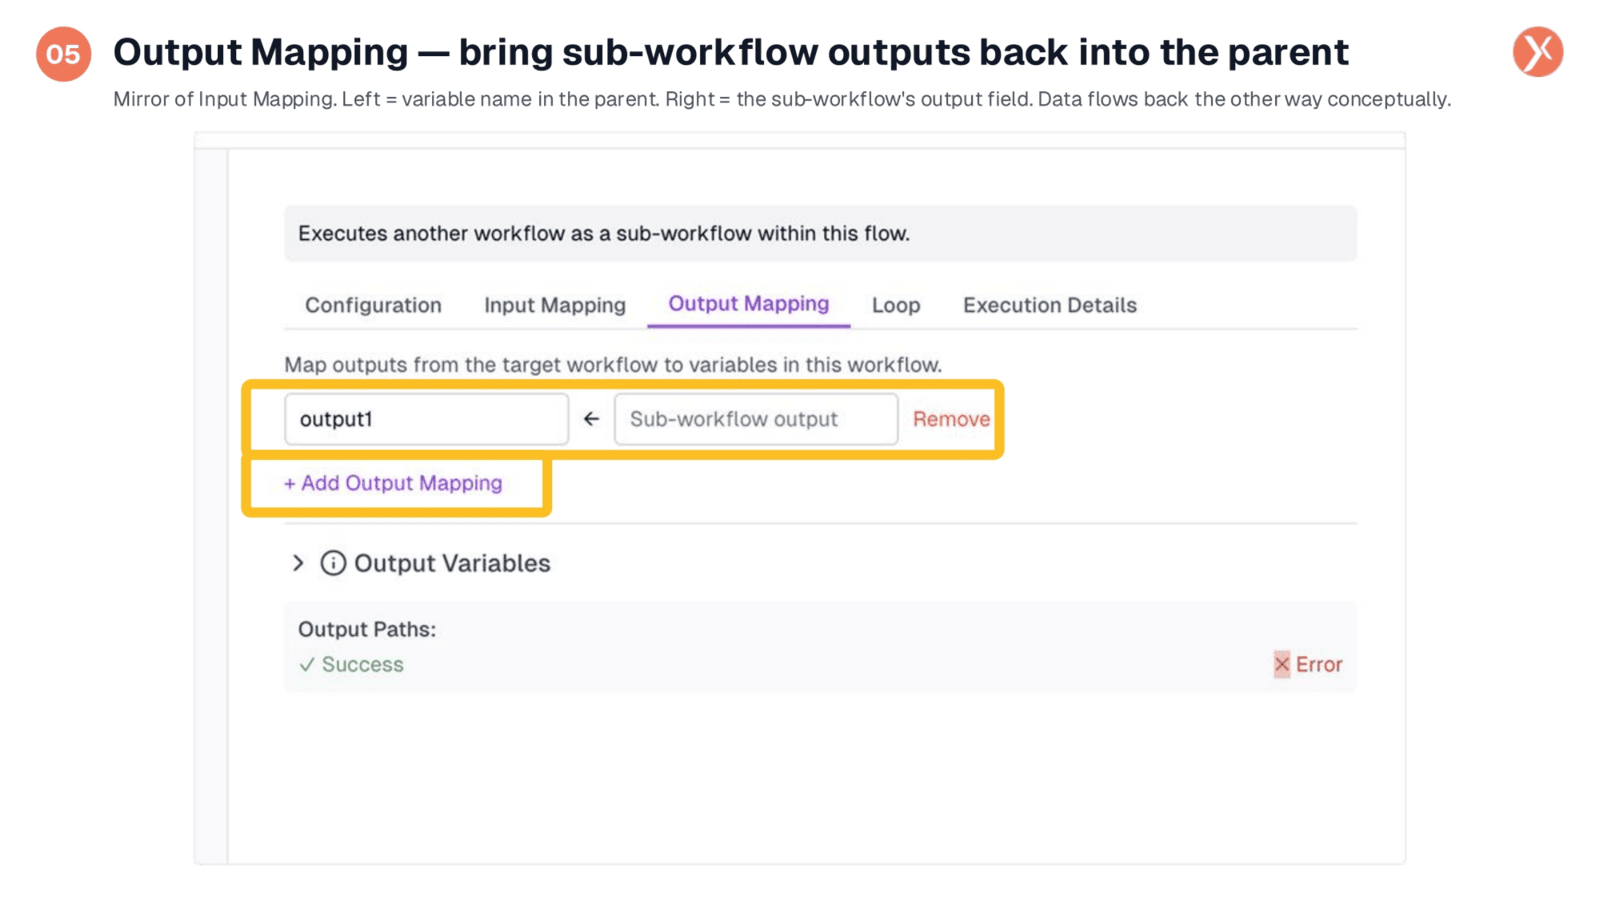
The Output Mapping tab mirrors the Input Mapping, but focuses on bringing data back into the parent workflow. The left field specifies the variable name you desire in the parent workflow, such as 'output1'. The right field indicates the sub-workflow's output field from which to extract data. You can add multiple output mappings if the sub-workflow produces several outputs. Conceptually, once the sub-workflow completes, its outputs flow back, and this tab dictates which outputs populate specific parent variables. Even without explicit mapping, all sub-workflow outputs remain accessible via workflowcall_1.output.
Enabling Loop Mode for Array Processing
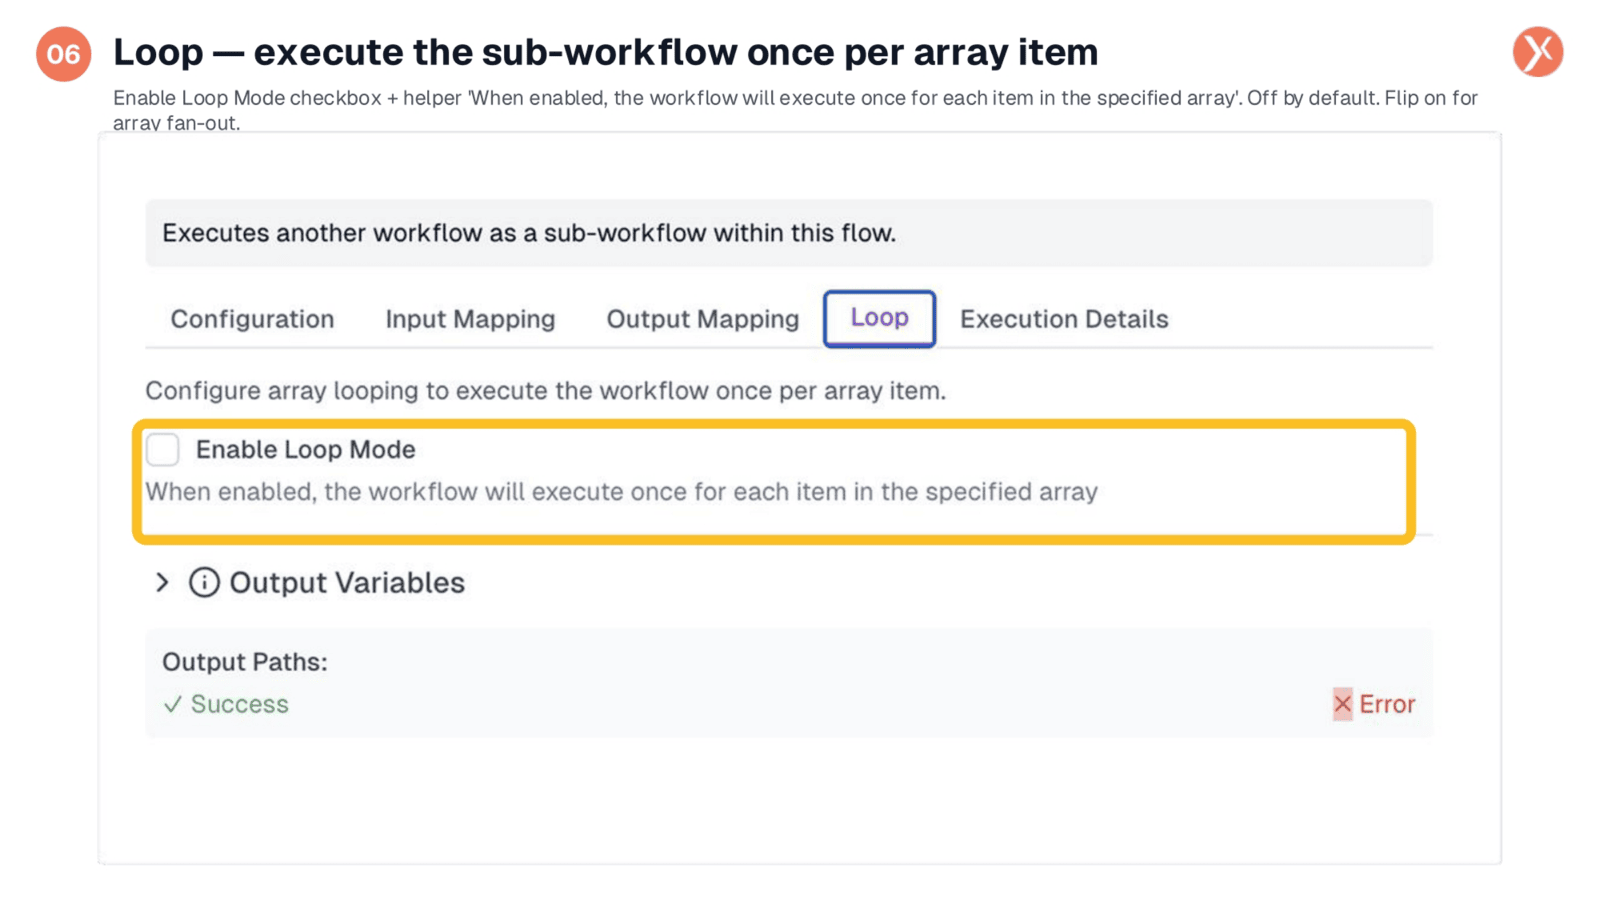
The Loop tab introduces the powerful array fan-out feature, a key use case for the Workflow Call node. By default, Loop Mode is disabled, meaning the sub-workflow executes only once. Enabling the 'Enable Loop Mode' checkbox transforms this behavior: you can specify an array variable from the parent workflow, and the sub-workflow will then run once for each item in that array. For example, if a CRM Manager step returns twenty contacts, enabling Loop Mode would execute a 'send personalized welcome email' sub-workflow twenty times, each time with a different contact's data. This streamlines array-driven automations, collecting all iteration outputs into the loop_results array.
Reviewing Execution Details
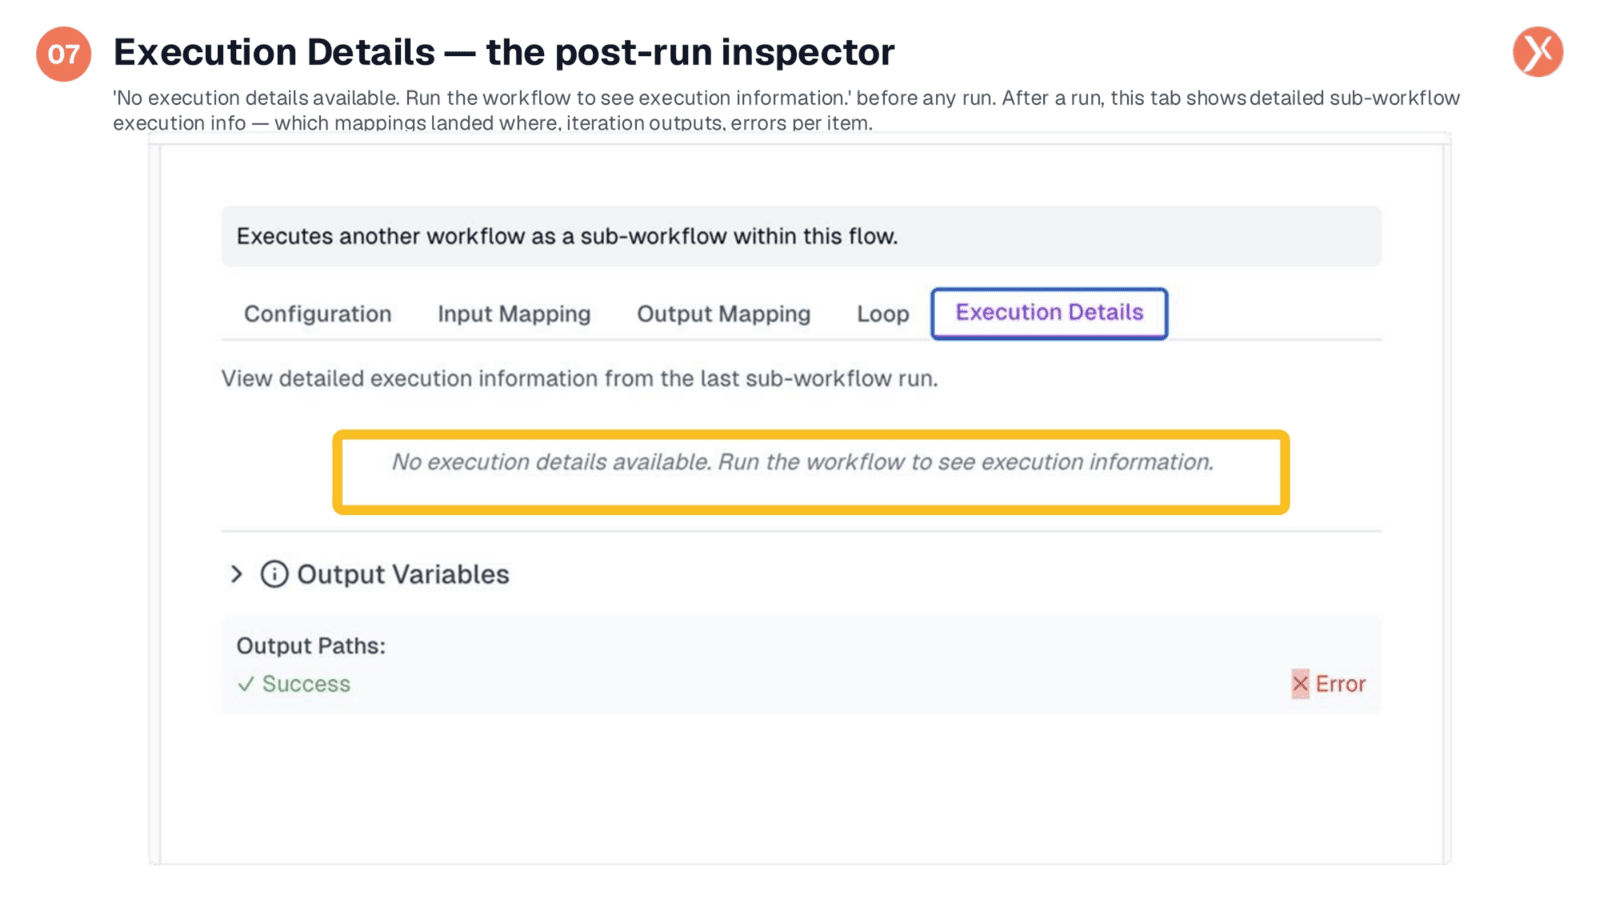
The final tab is Execution Details, serving as your post-run inspector. Prior to the first workflow execution, this tab displays a placeholder message indicating no details are available. However, after the parent workflow has run, this section populates with comprehensive execution information from the last sub-workflow run. You'll find details on input mappings, outputs from each iteration if Loop Mode was active, and specific error messages for any failed items. This tab is invaluable for troubleshooting and debugging sub-workflow calls when unexpected behavior occurs.
Workflow Call Outputs
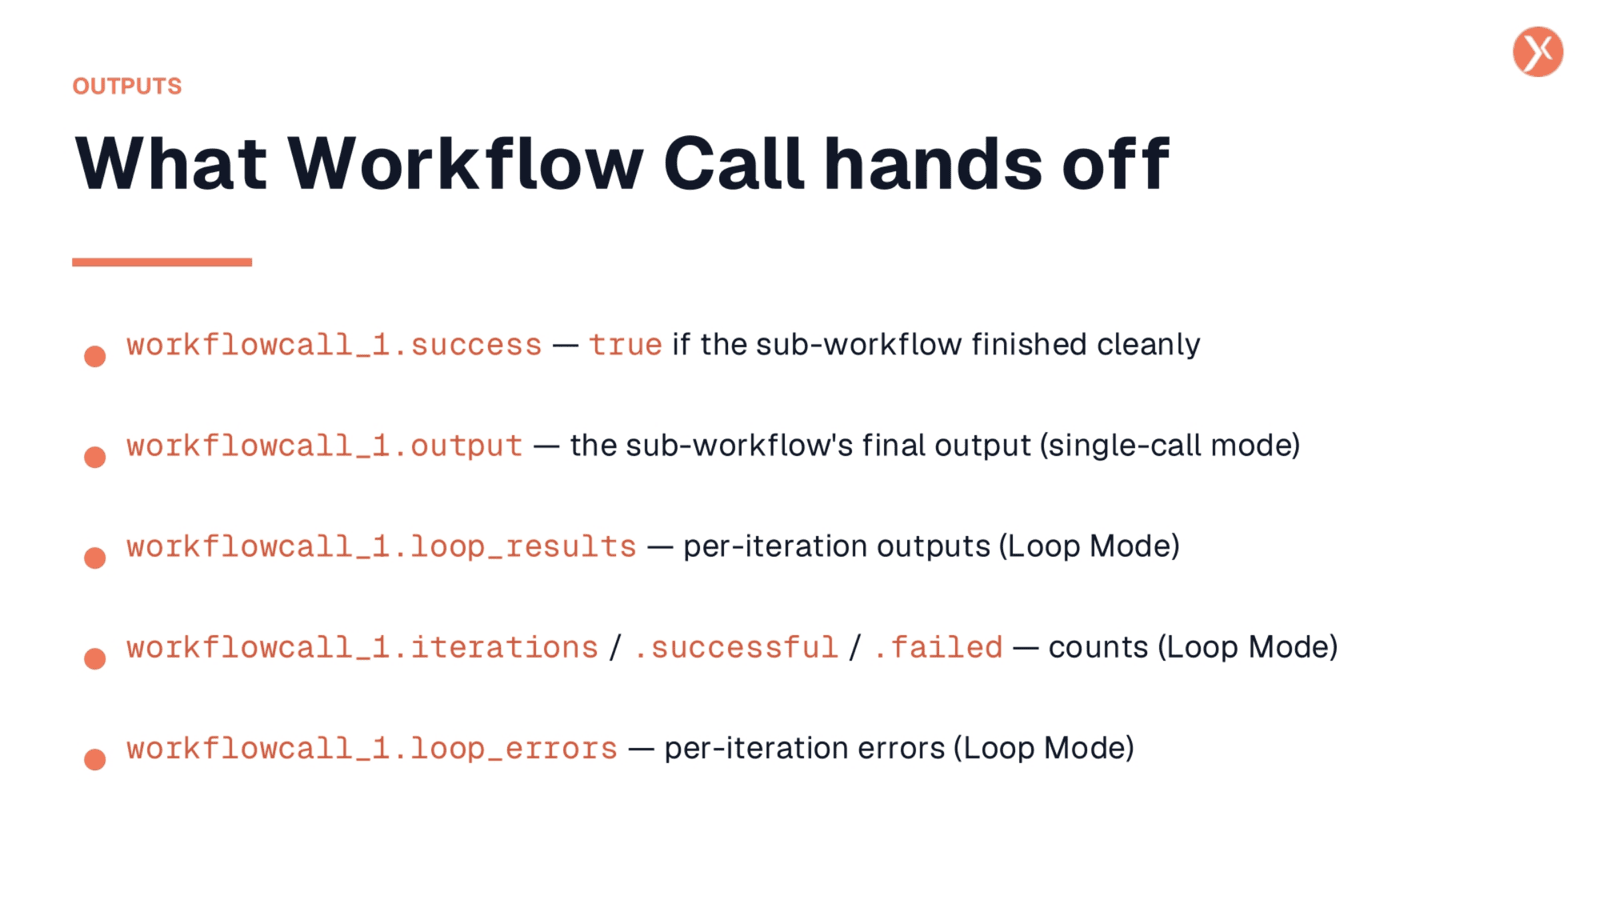
Upon completion of a Workflow Call, several outputs become available to downstream nodes. workflowcall_1.success is a boolean indicating if the sub-workflow executed cleanly. For single-call mode, workflowcall_1.output provides the sub-workflow's final result. When Loop Mode is active, additional fields become relevant: workflowcall_1.loop_results is an array containing outputs from each iteration. workflowcall_1.iterations gives the total attempts, while workflowcall_1.successful and workflowcall_1.failed provide counts of successful and failed iterations, respectively. Finally, workflowcall_1.loop_errors is a parallel array detailing error messages for each failed iteration, aiding in targeted retries or alerts.
Workflow Call Recap
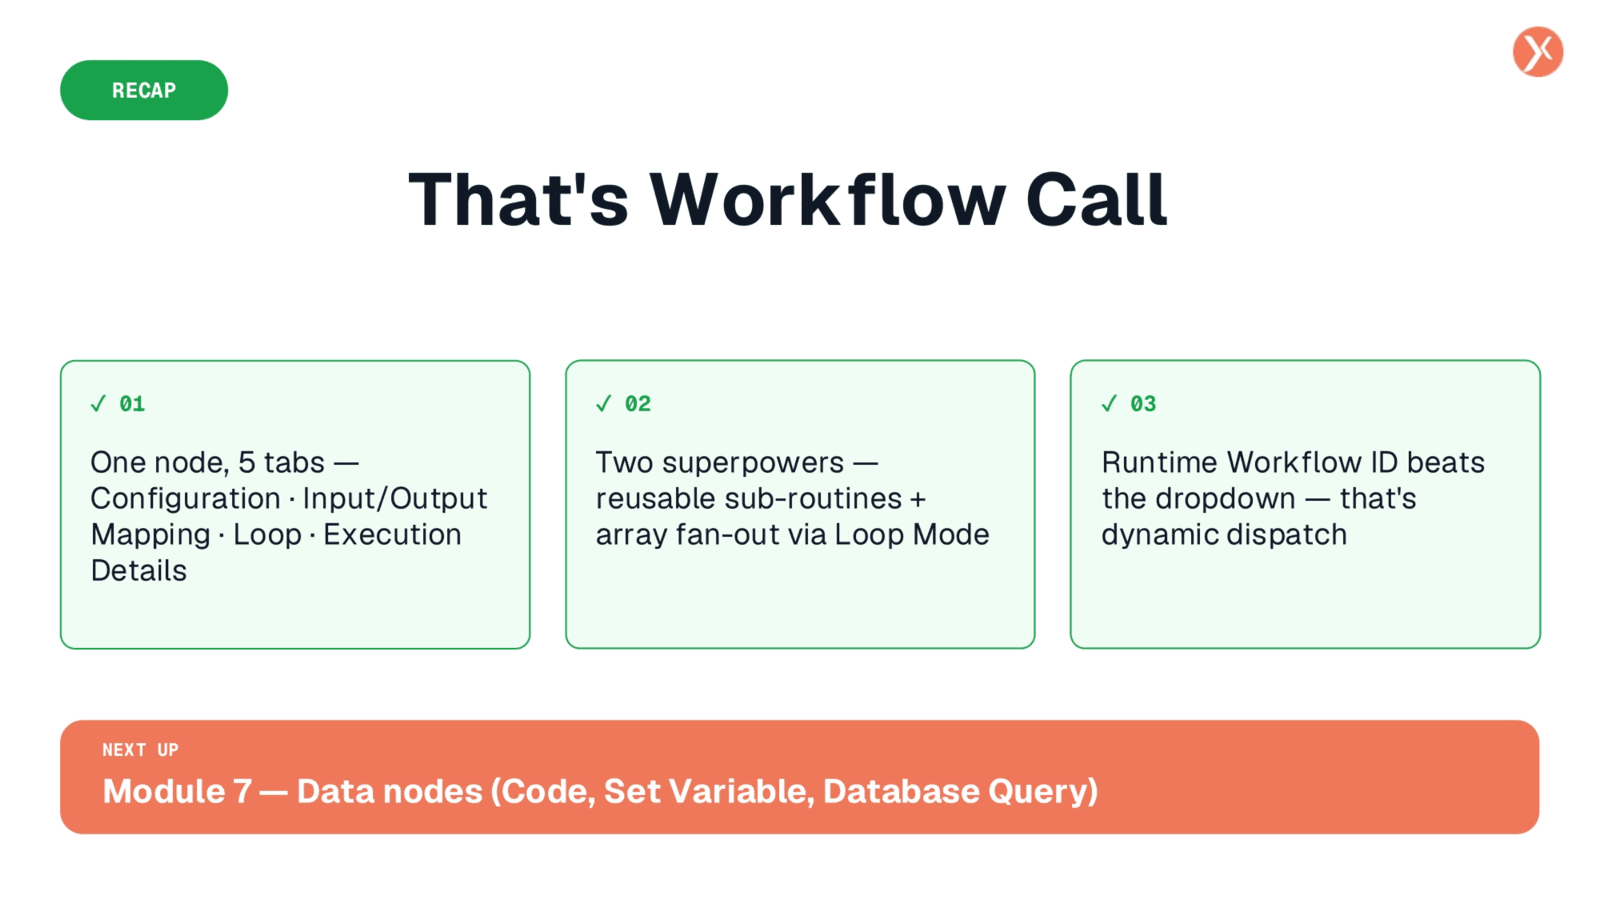
That concludes our overview of the Workflow Call node. It enables one workflow to execute another, offering reusable sub-routines and array fan-out via Loop Mode. Remember the dynamic dispatch capability with Runtime Workflow ID. Thank you for joining this session.