Set Variable
The 'Set Variable' node acts as your workflow's notepad, allowing you to pull values from upstream nodes, give them clean names, and easily reference them later. We'll explore the three key decisions for each variable: its scope, name, and value source, along with how to add multiple variables within a single node.
Set Variable Demo
Let's dive into a demonstration of the Set Variable node.
Introducing the Set Variable Node
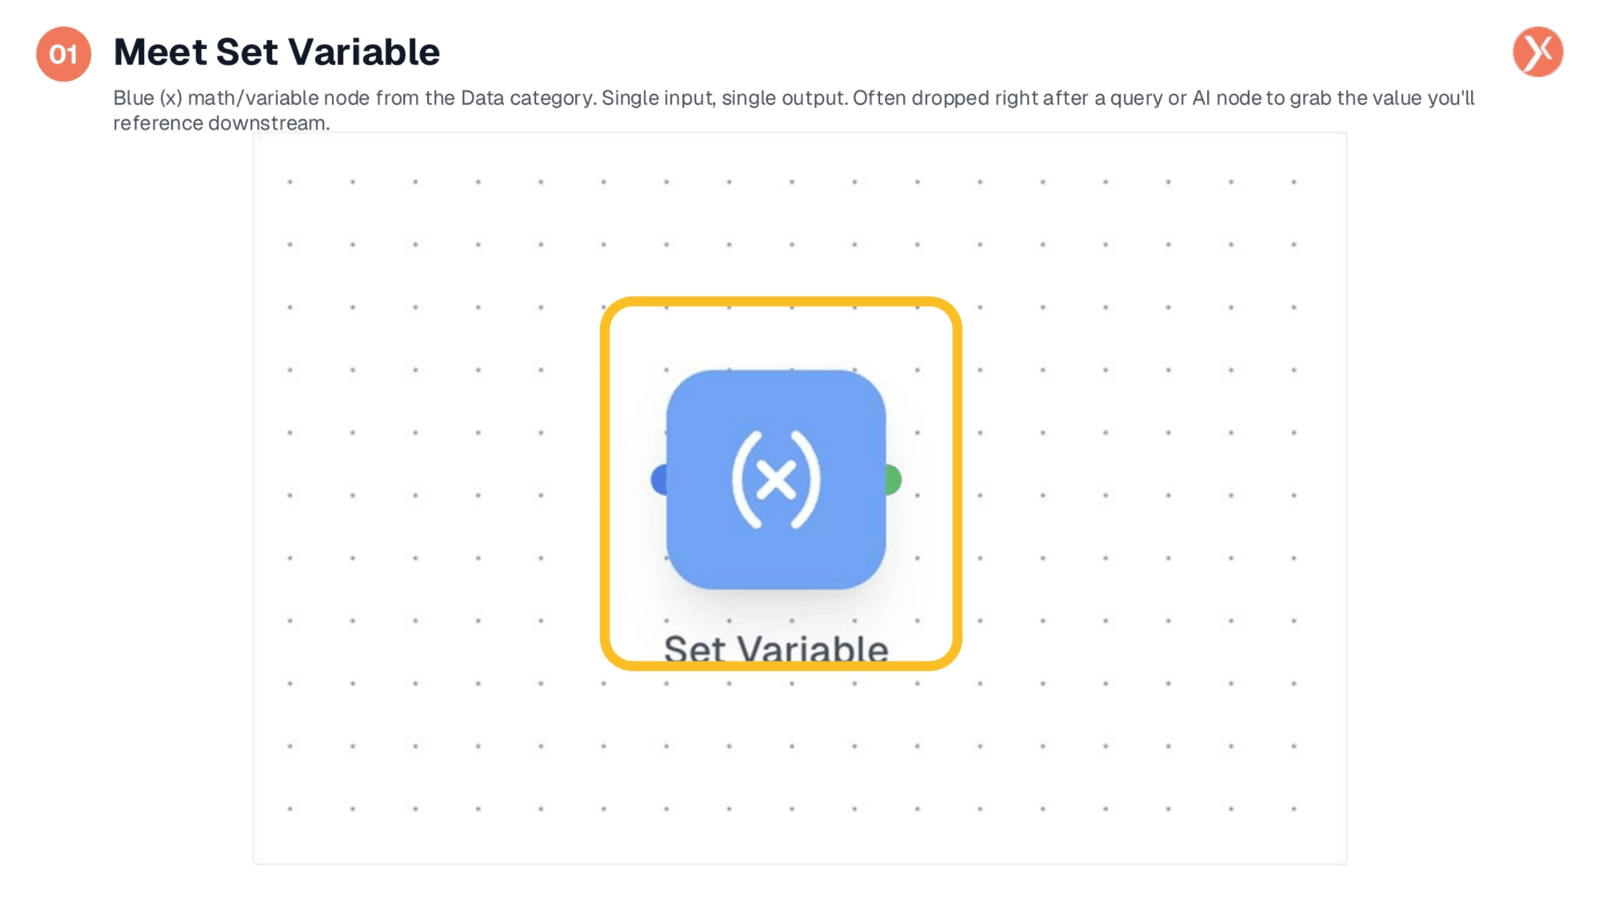
The Set Variable node is a blue math/variable node found in the Data category. It features a single input and a single output, making it ideal for placement immediately after a query or AI node. This allows you to easily grab and name a value that you'll need to reference multiple times further downstream in your workflow.
Configuring Variables within the Node
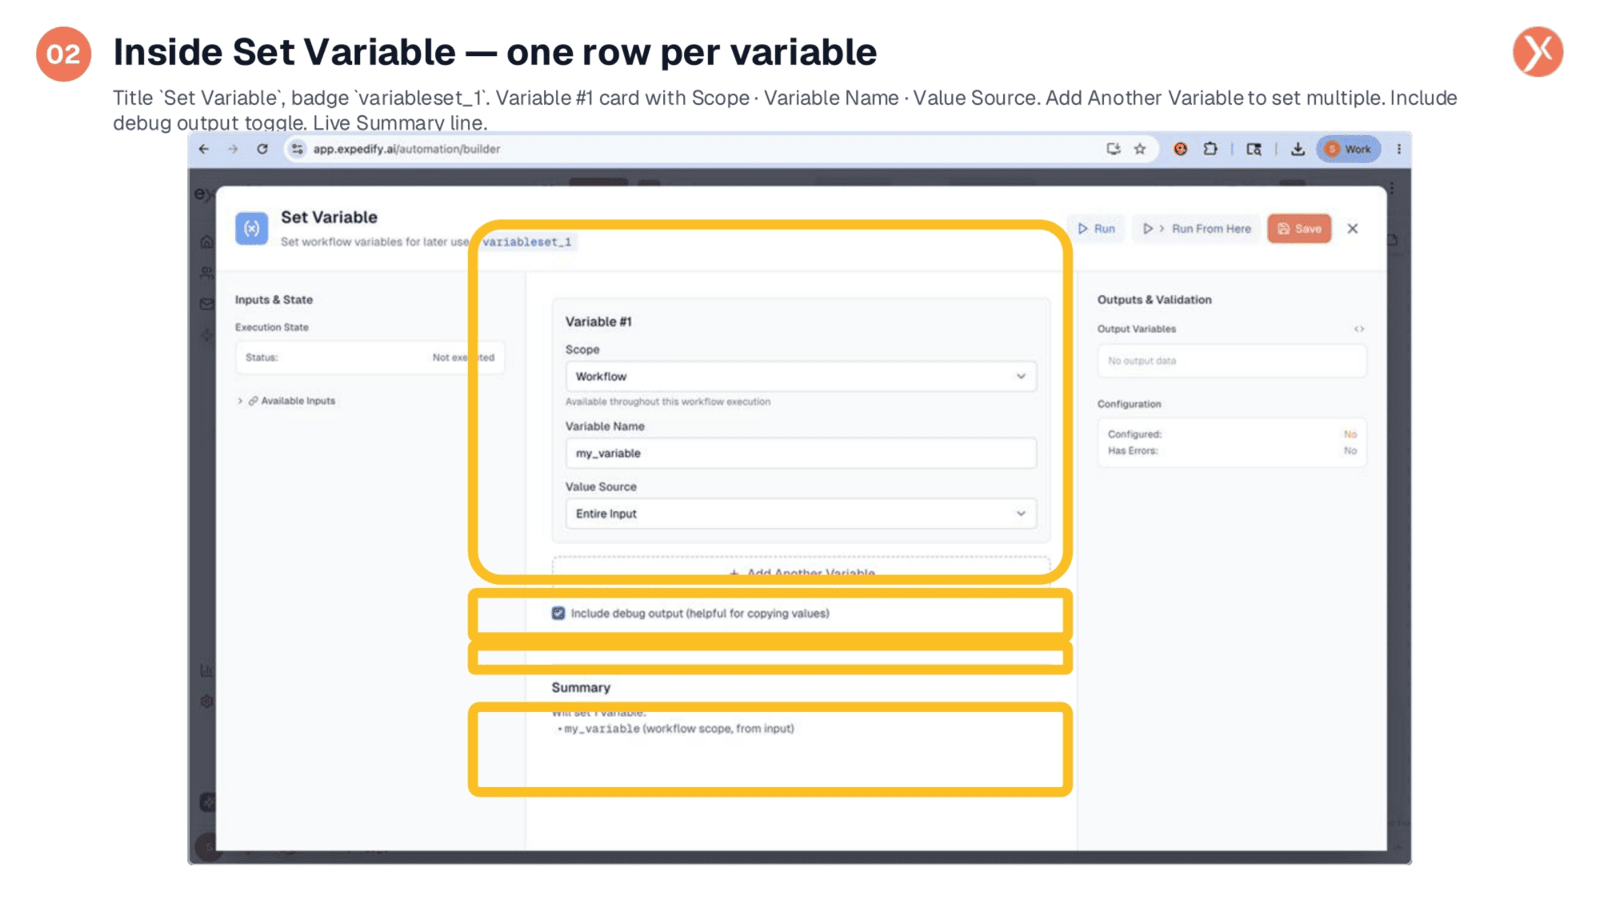
When you open the Set Variable node, you'll see the 'Variable #1' card, which contains three essential settings: Scope, Variable Name, and Value Source. You can add multiple variables within a single node by clicking 'Add Another Variable,' which helps keep related context organized. The 'Include debug output' toggle is enabled by default, providing a debug object in the output to show exactly what was set, and a live summary line offers a quick overview of the node's actions.
Opening the Scope Dropdown
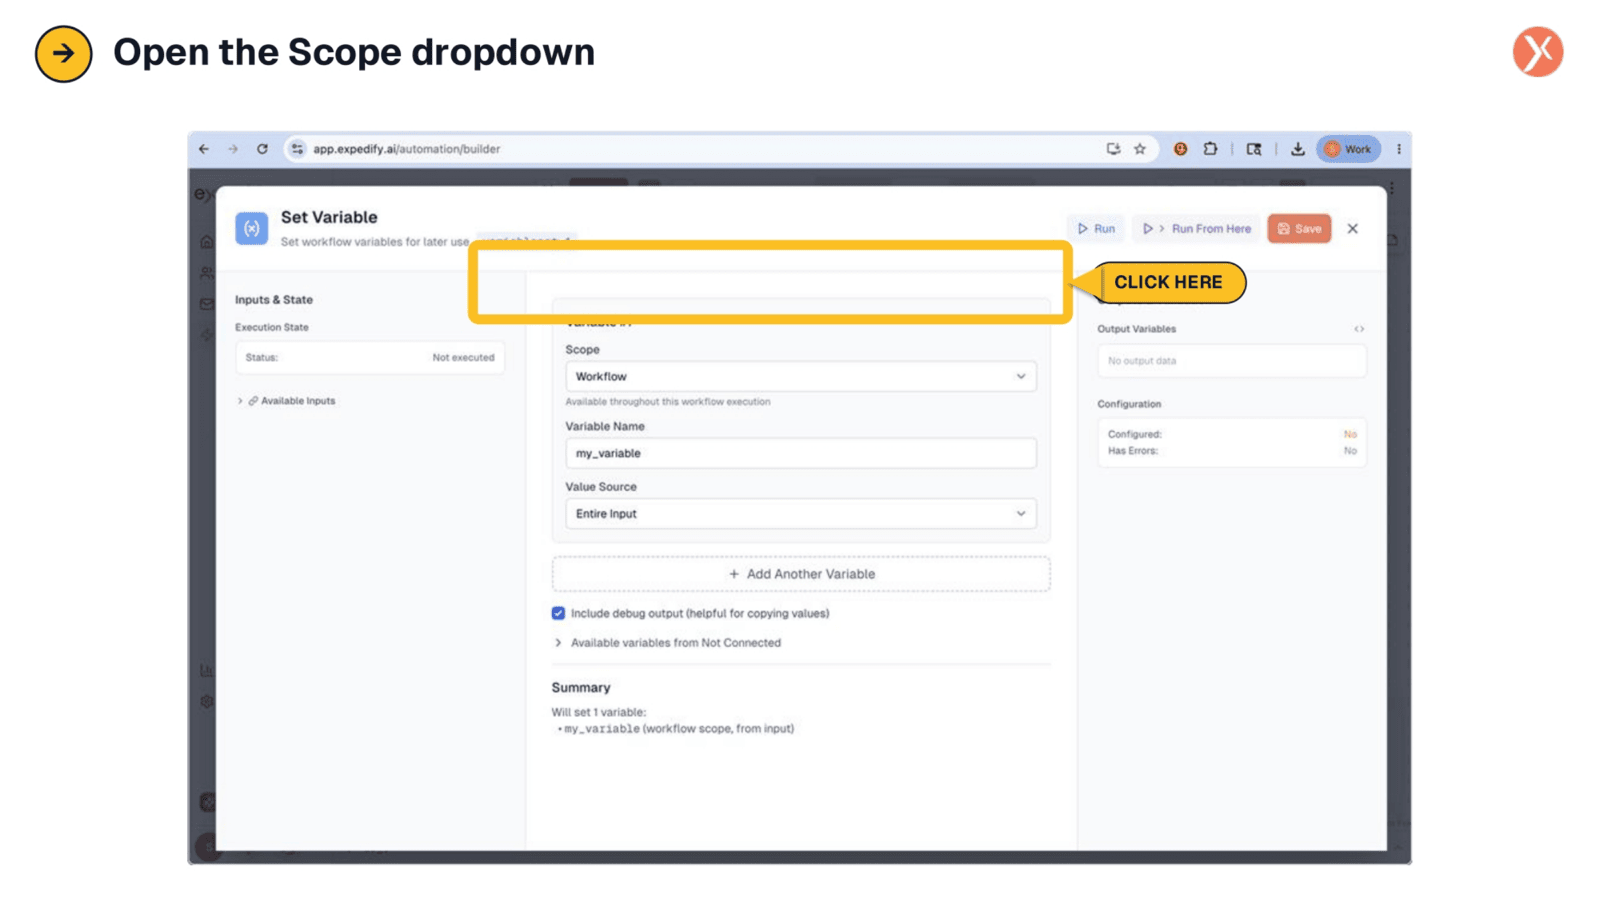
To define how long your variable will persist, you'll need to open the Scope dropdown. This crucial setting determines the accessibility and lifespan of the variable you are creating, impacting how it can be used throughout your workflow or across different sessions. Understanding these options is key to managing your data effectively and preventing unintended variable bleed.
Understanding Variable Scope
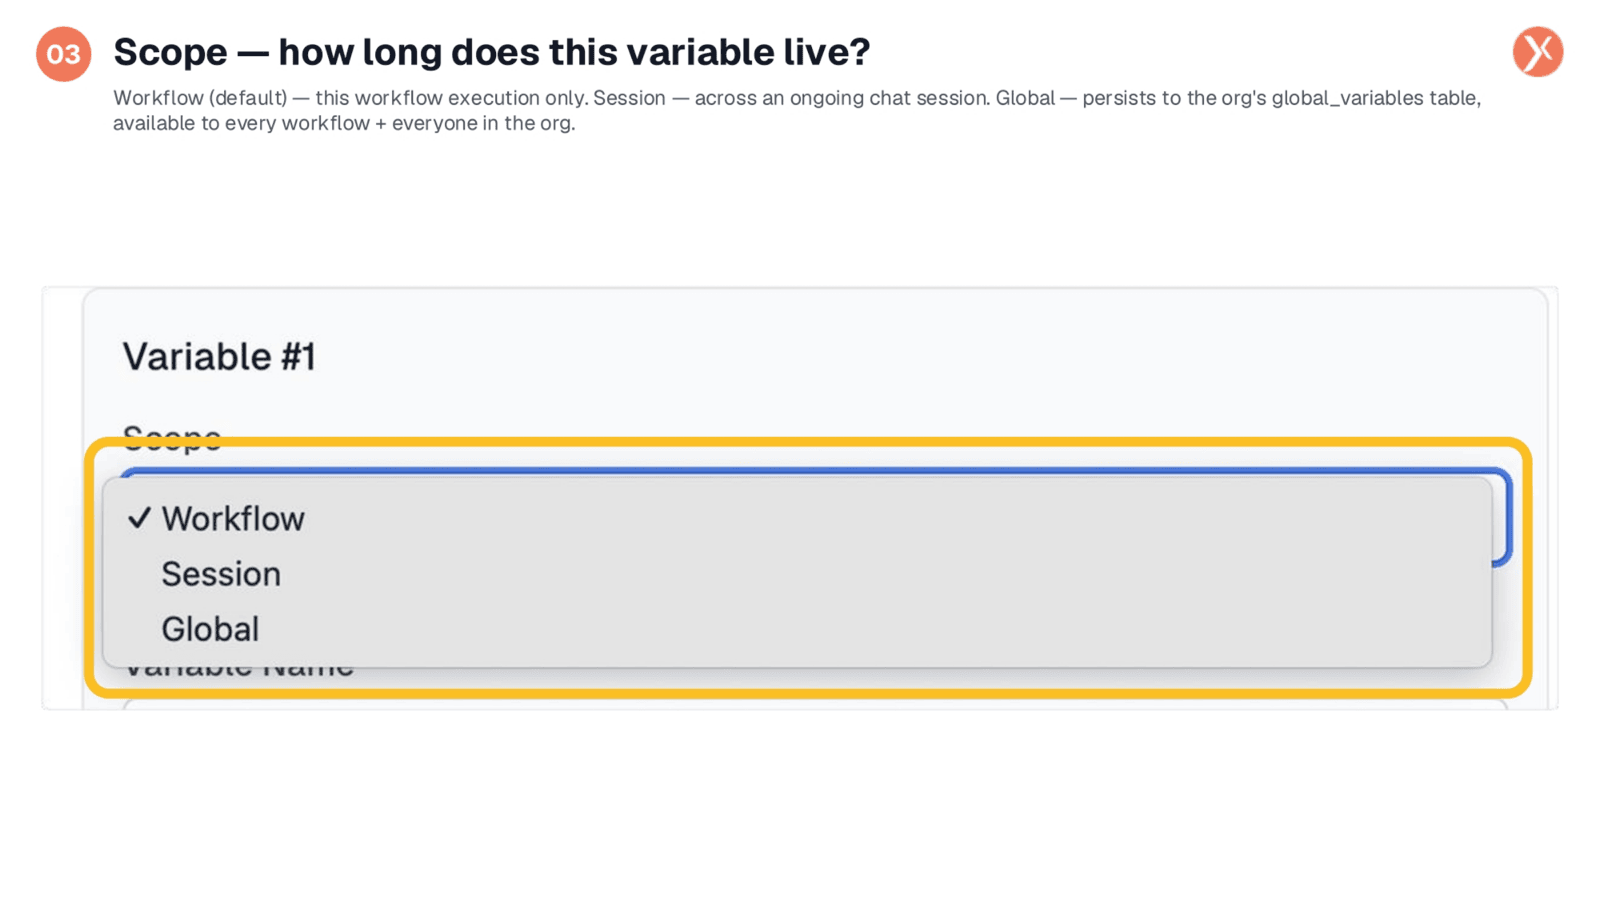
There are three distinct scope levels for variables. 'Workflow' is the default, meaning the variable exists only for the current workflow execution. 'Session' is designed for chatbot flows, allowing variables to persist across multiple runs within the same conversation. Finally, 'Global' variables are the most expansive, persisting to your organization's global variables table, making them accessible to every workflow and user across the entire organization. This is ideal for company-wide constants like default sender emails or active promo codes.
Opening the Value Source Dropdown
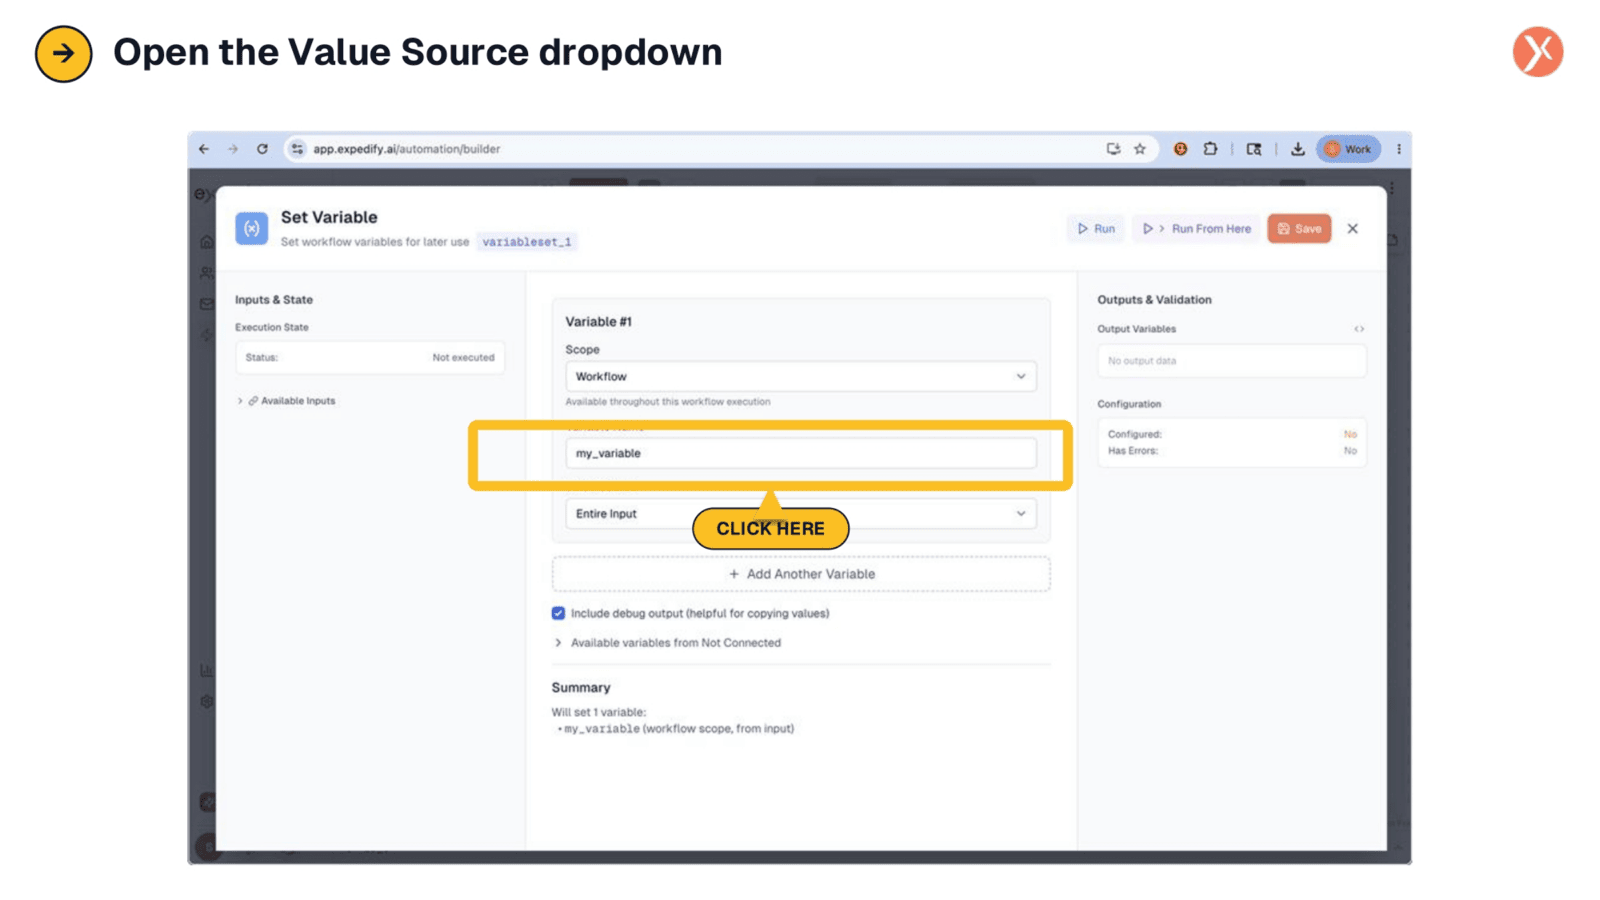
Next, we'll open the Value Source dropdown to explore the four different methods available for populating your variable. Each option provides a distinct way to define the data that your variable will hold, from capturing an entire input to constructing a complex expression. Selecting the appropriate source is vital for ensuring the consuming downstream code remains clean and efficient.
Four Ways to Populate Variables
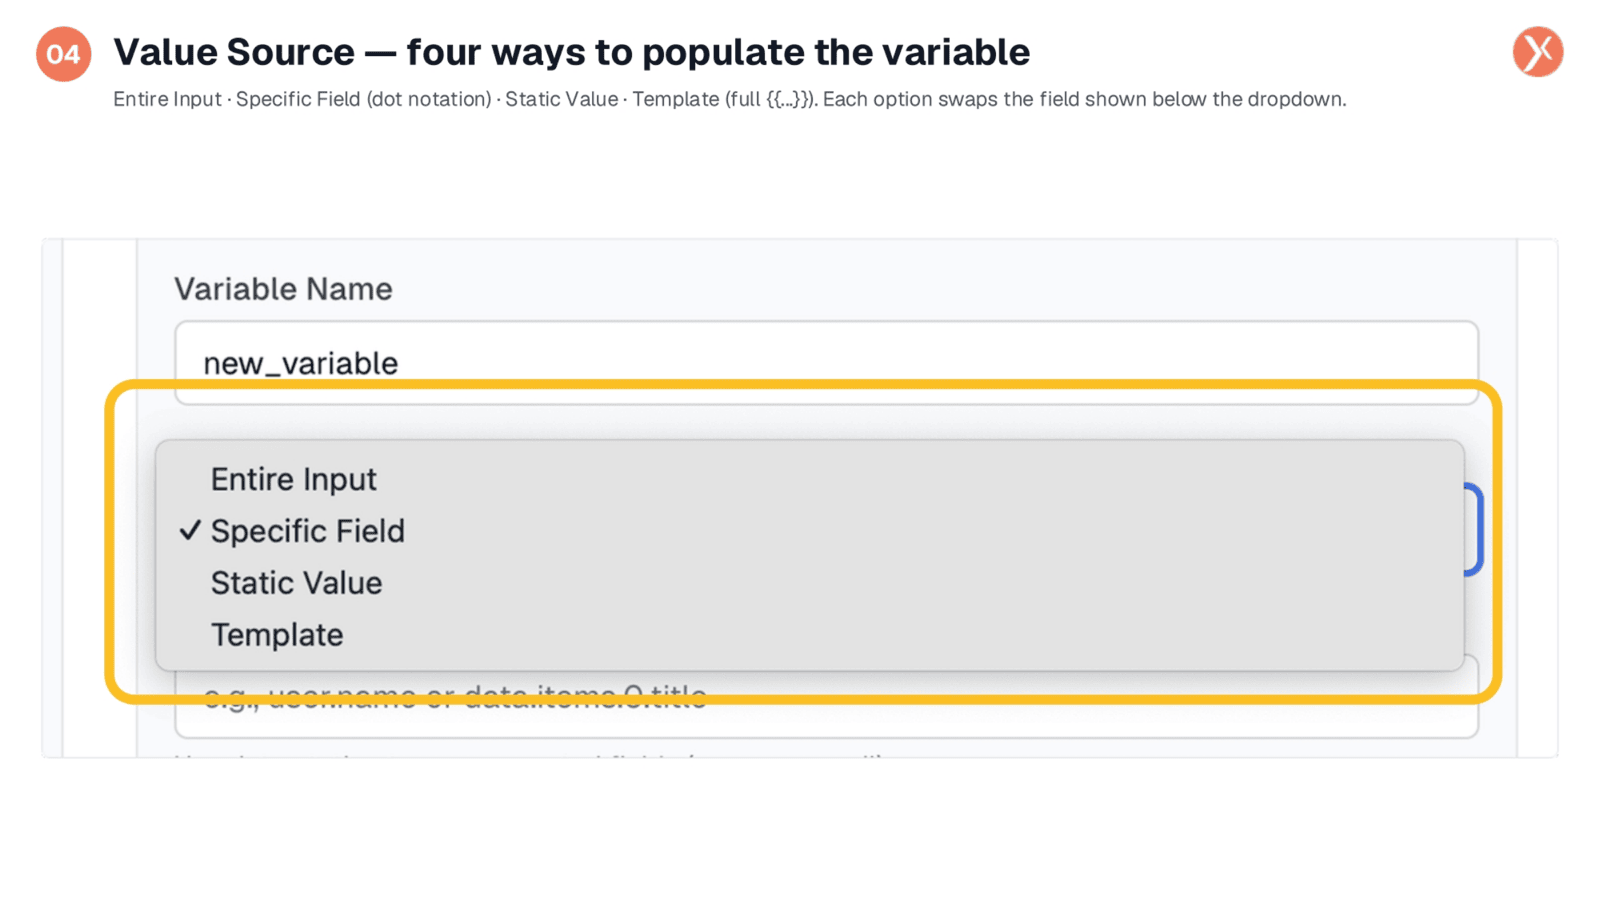
The four value sources offer flexibility in how you populate your variables. 'Entire Input' captures all data from the upstream node. 'Specific Field' allows you to pluck a single nested field using dot notation. 'Static Value' is for hardcoded constants, useful for default labels or status codes. Lastly, 'Template' provides the most power, enabling full double-curly-brace expressions to combine multiple variables into a single named value.
Using Specific Field for Nested Data
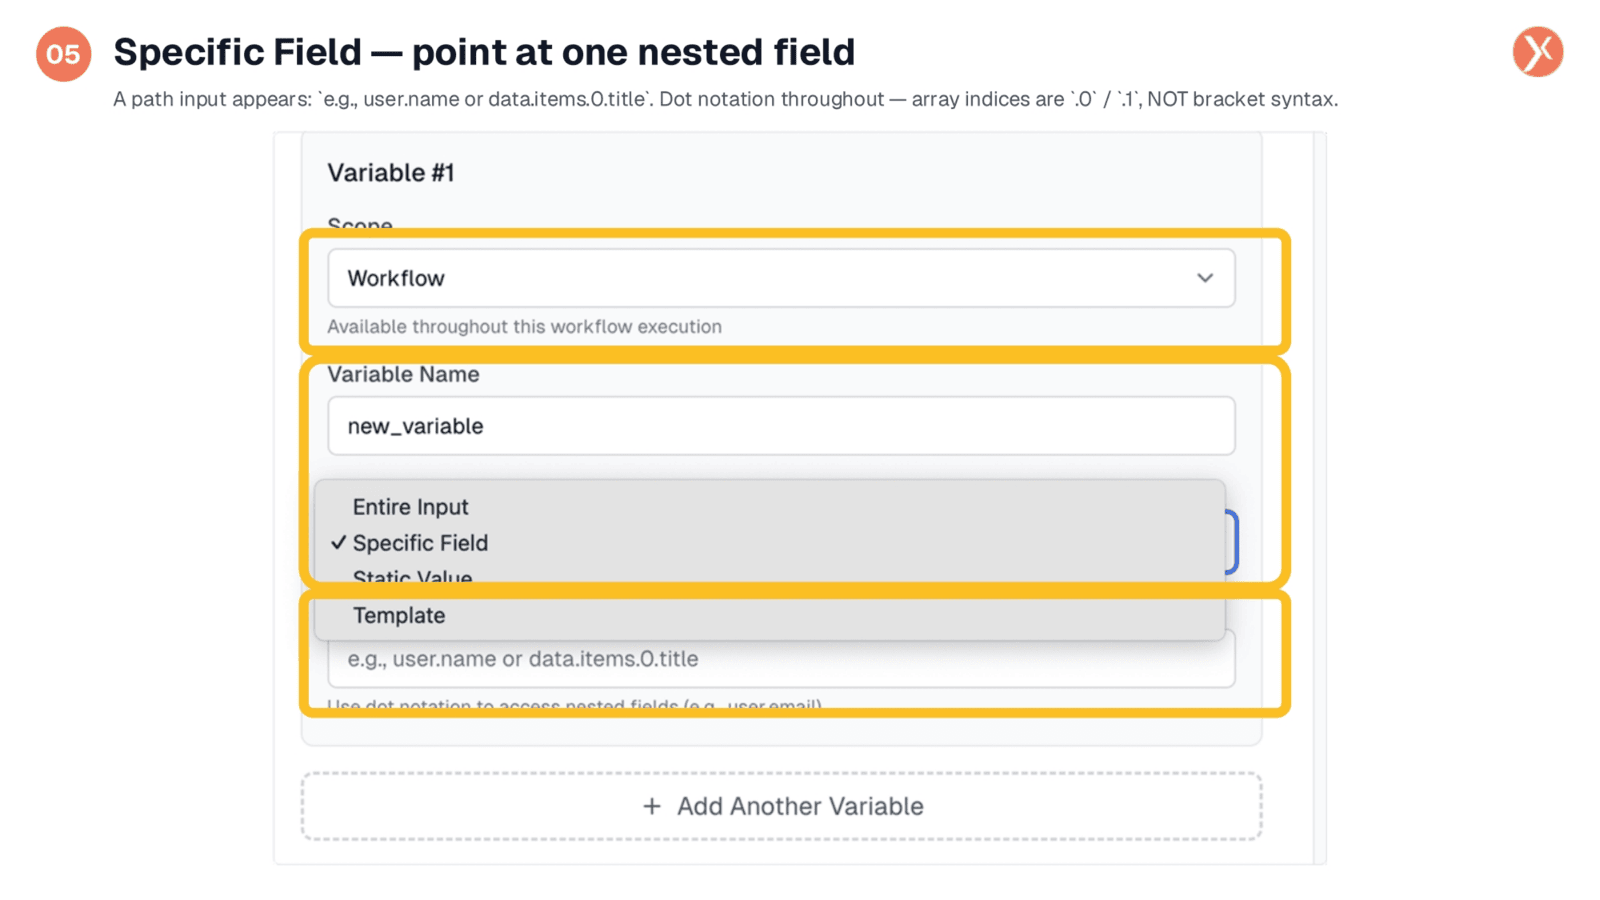
The 'Specific Field' option is a workhorse for targeting precise data. When selected, a path input appears, guiding you with syntax like user.name or data.items.0.title. Dot notation is used consistently, even for array indices, so you'd write items.0.title instead of using bracket syntax. This method is perfect for extracting a specific piece of information, such as the first contact's email from a CRM response, and naming it cleanly for downstream use.
Combining Variables with Templates
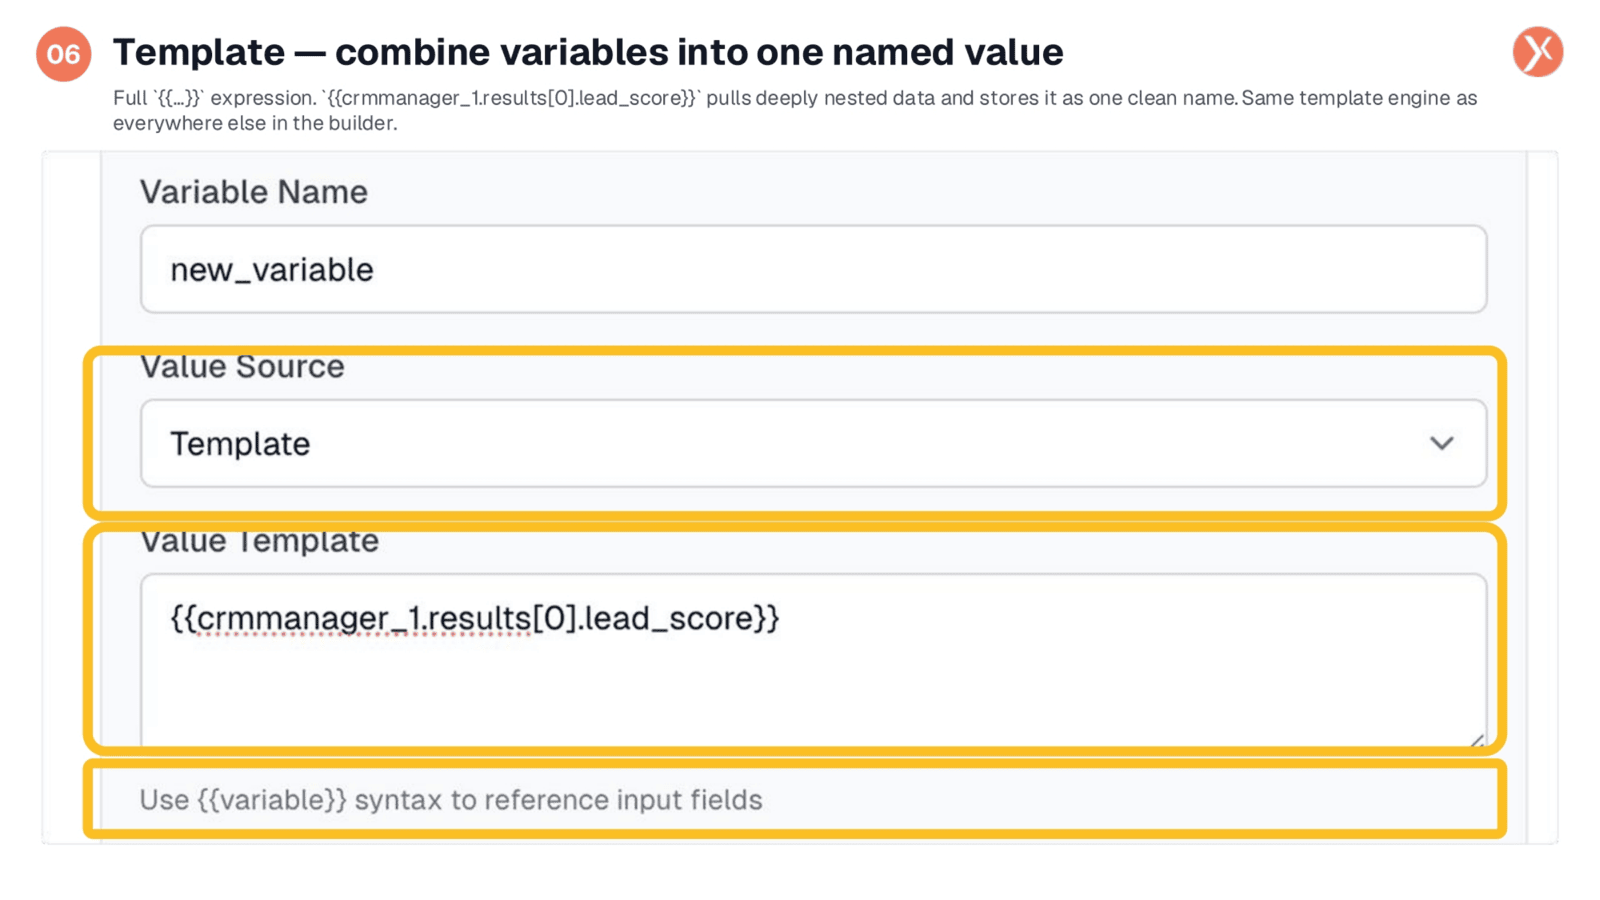
Template mode offers the most flexibility, utilizing the same double-curly-brace syntax found throughout the builder. This allows you to pull deeply nested fields, like a lead score from a CRM Manager node, and store it under a single, clean name. You can also concatenate multiple values, for example, combining a contact's name and lead score into a single composed string. This is invaluable when a specific field isn't enough, or when you need to build a composite value from various upstream fields. Note that array indices in Template mode use bracket syntax, following the template engine's convention.
Understanding Set Variable Outputs
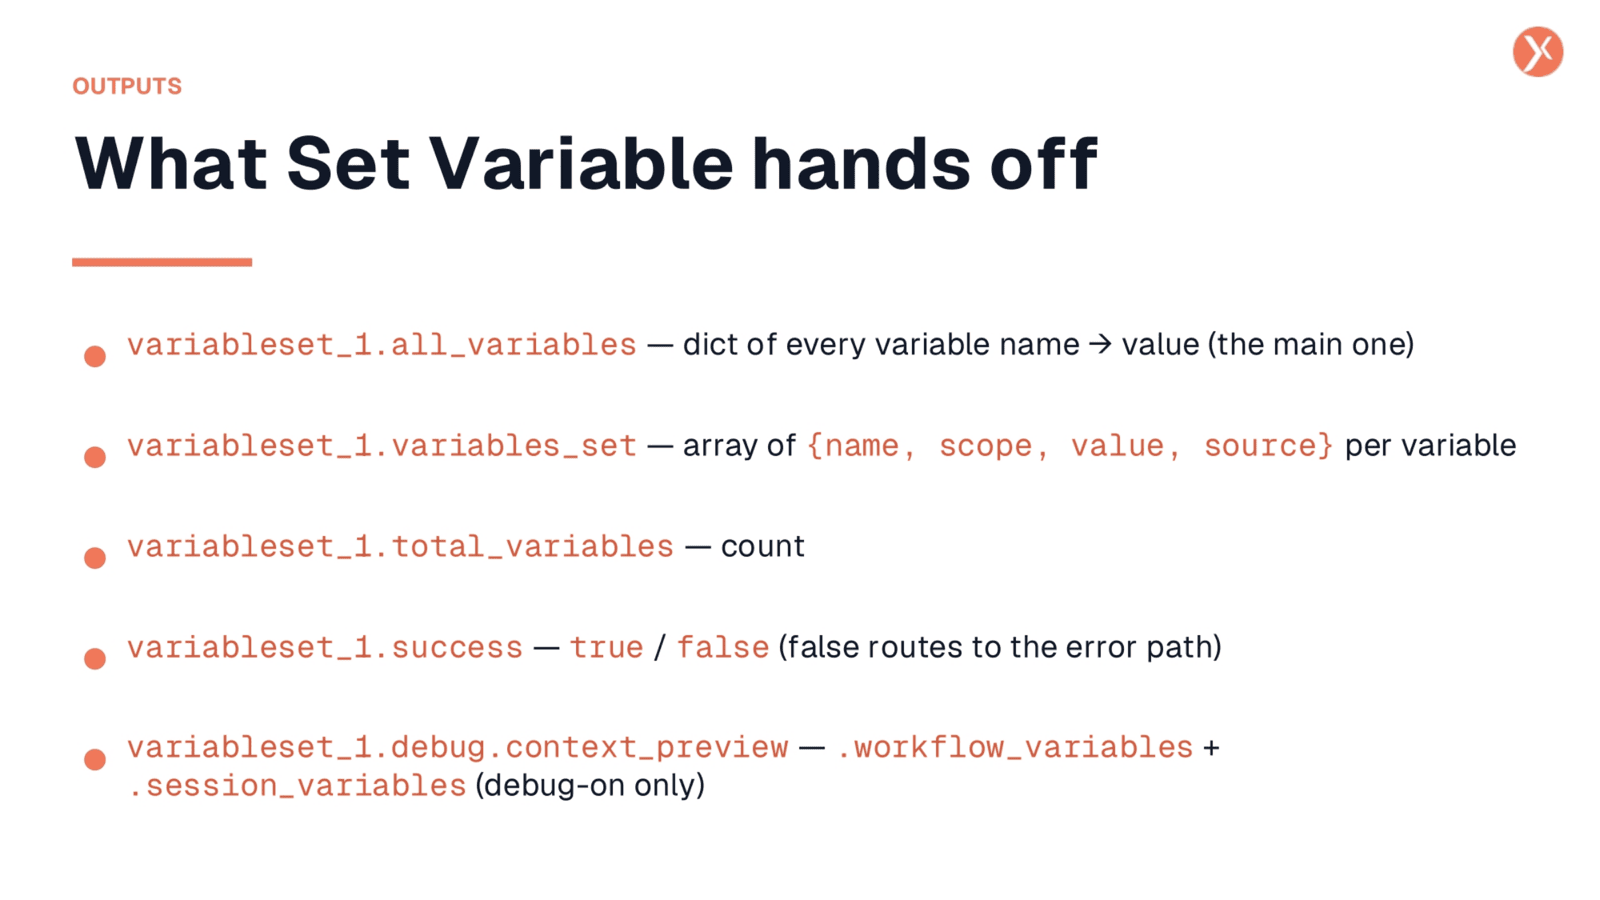
The Set Variable node provides several useful outputs. variableset_1.all_variables is the primary output, a dictionary mapping each variable name to its value, making it easy to access downstream. variableset_1.variables_set offers the same data as an array, including metadata like name, scope, value, and source, which is helpful for inspection. total_variables gives you a count, and success indicates true or false. When debug output is enabled, debug.context_preview provides a comprehensive view of workflow and session variables, invaluable for troubleshooting.
Recap: Set Variable Essentials
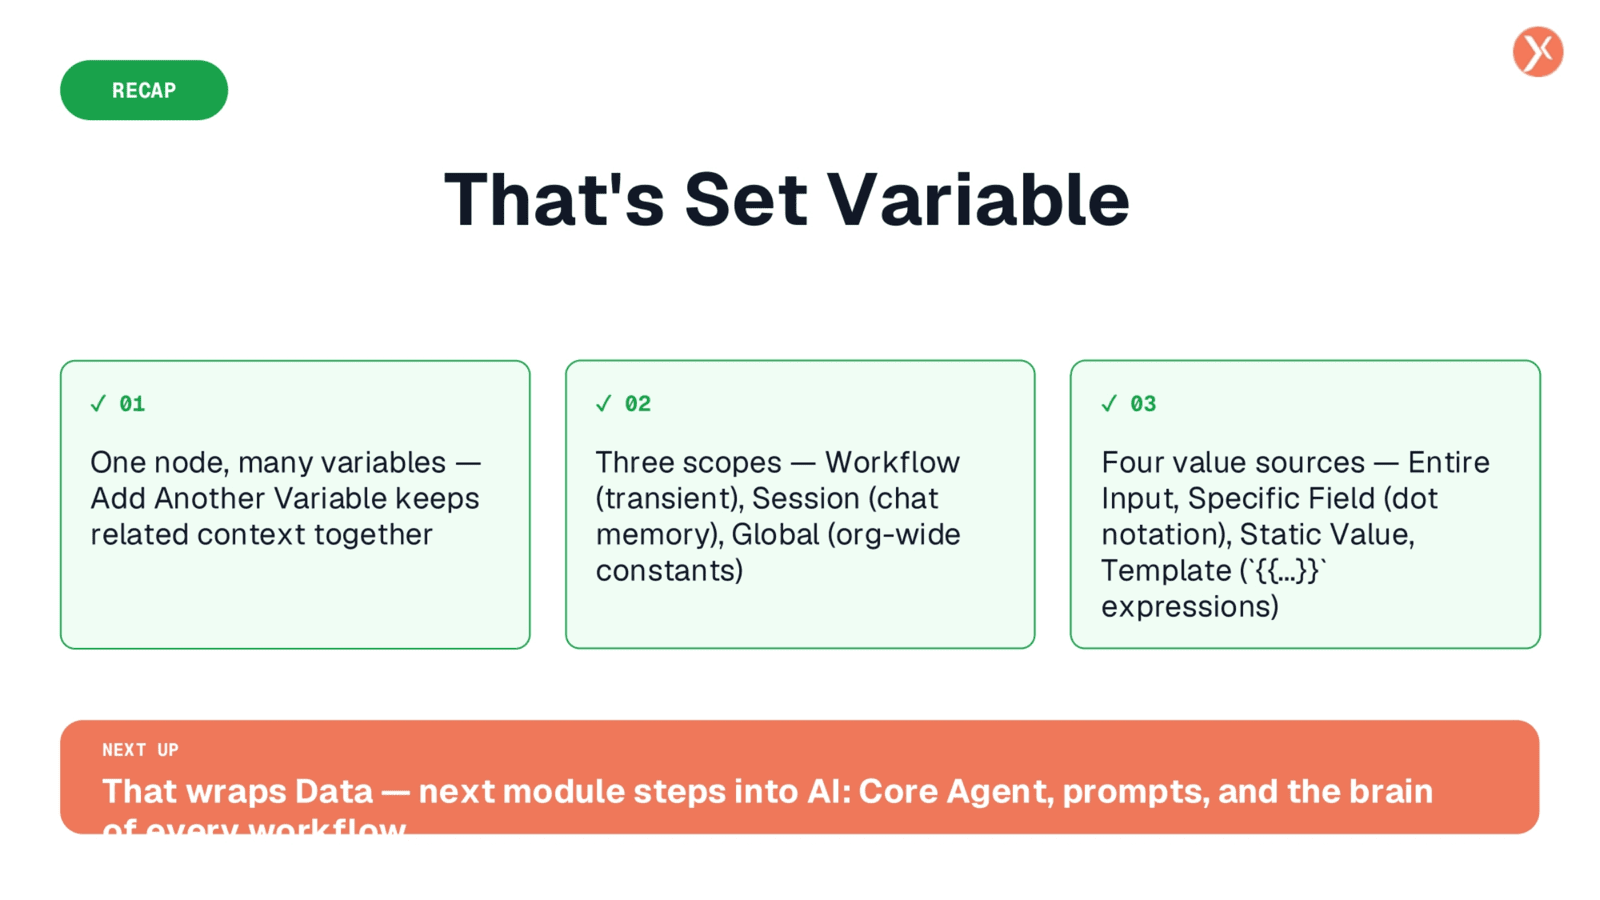
That concludes our overview of the Set Variable node. It's your workflow's notepad, allowing you to name and reuse values efficiently. This wraps up our Data module. Next, we'll explore the AI module. Thank you for joining.