Passing Data with Variables
Today, we're diving into how to make your automated emails truly personal by passing data with variables. We'll transform a generic welcome email into one that greets each new lead by their actual first name. This process ensures every communication feels tailored and engaging, enhancing the recipient's experience.
Variables on the Welcome Email Demo
We'll begin with a practical demonstration focusing on variables within a welcome email. Our goal is to replace static text with dynamic data, specifically pulling the recipient's first name. We'll then test this personalization by creating a contact named Jane Doe, ensuring the email correctly addresses her.
Returning to the 'New Lead Welcome Email' Workflow
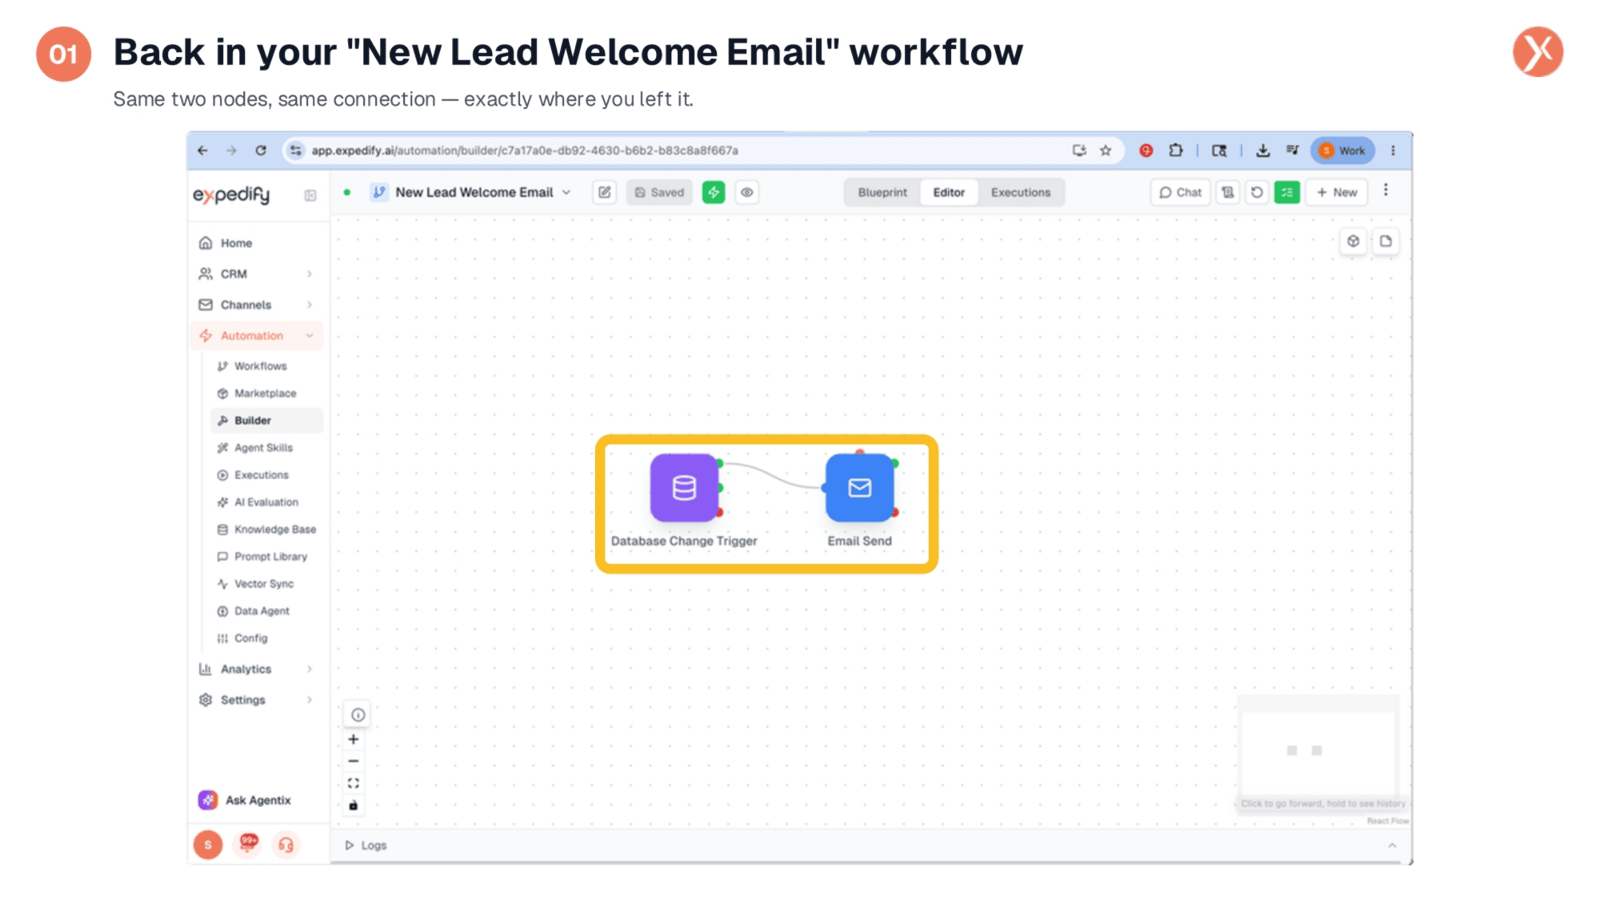
We're back in the 'New Lead Welcome Email' workflow, exactly where we left it in the last lesson. You'll see the familiar setup: a Database Change Trigger on the left, connected to an Email Send node on the right. The canvas remains unchanged, indicating that all our modifications today will occur within the Email Send node itself.
Double-click Email Send to Configure
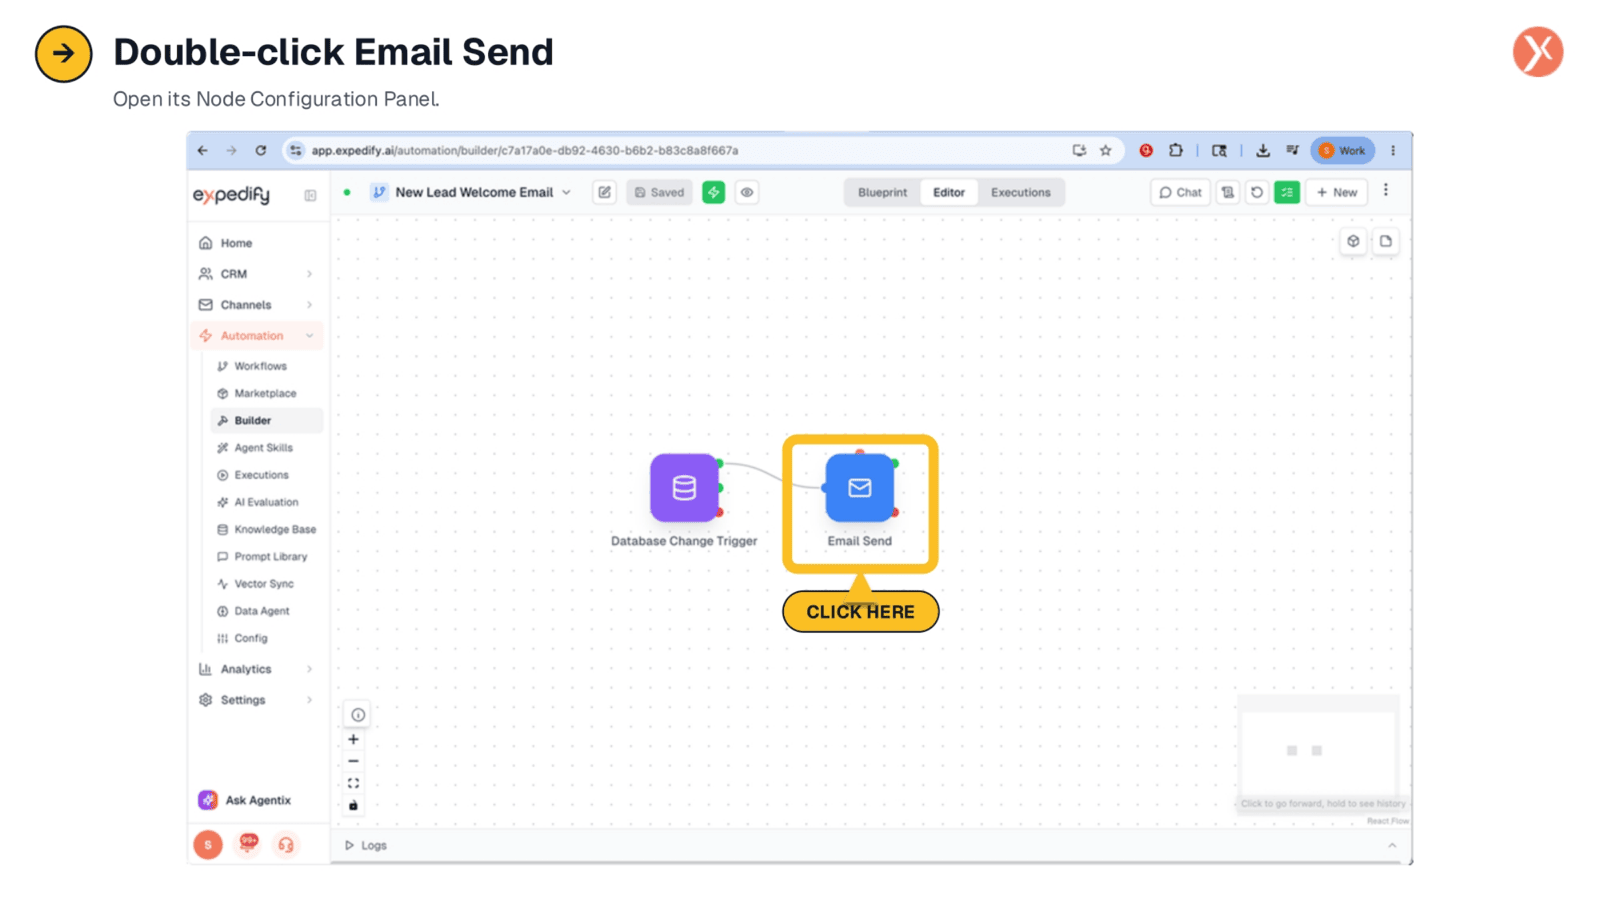
To access the settings for our email, we need to double-click the Email Send node. This action will open its Node Configuration Panel, where we can adjust the email's subject, body, and recipient details. This is the central hub for customizing how our automated welcome email behaves.
Static Email Content Overview
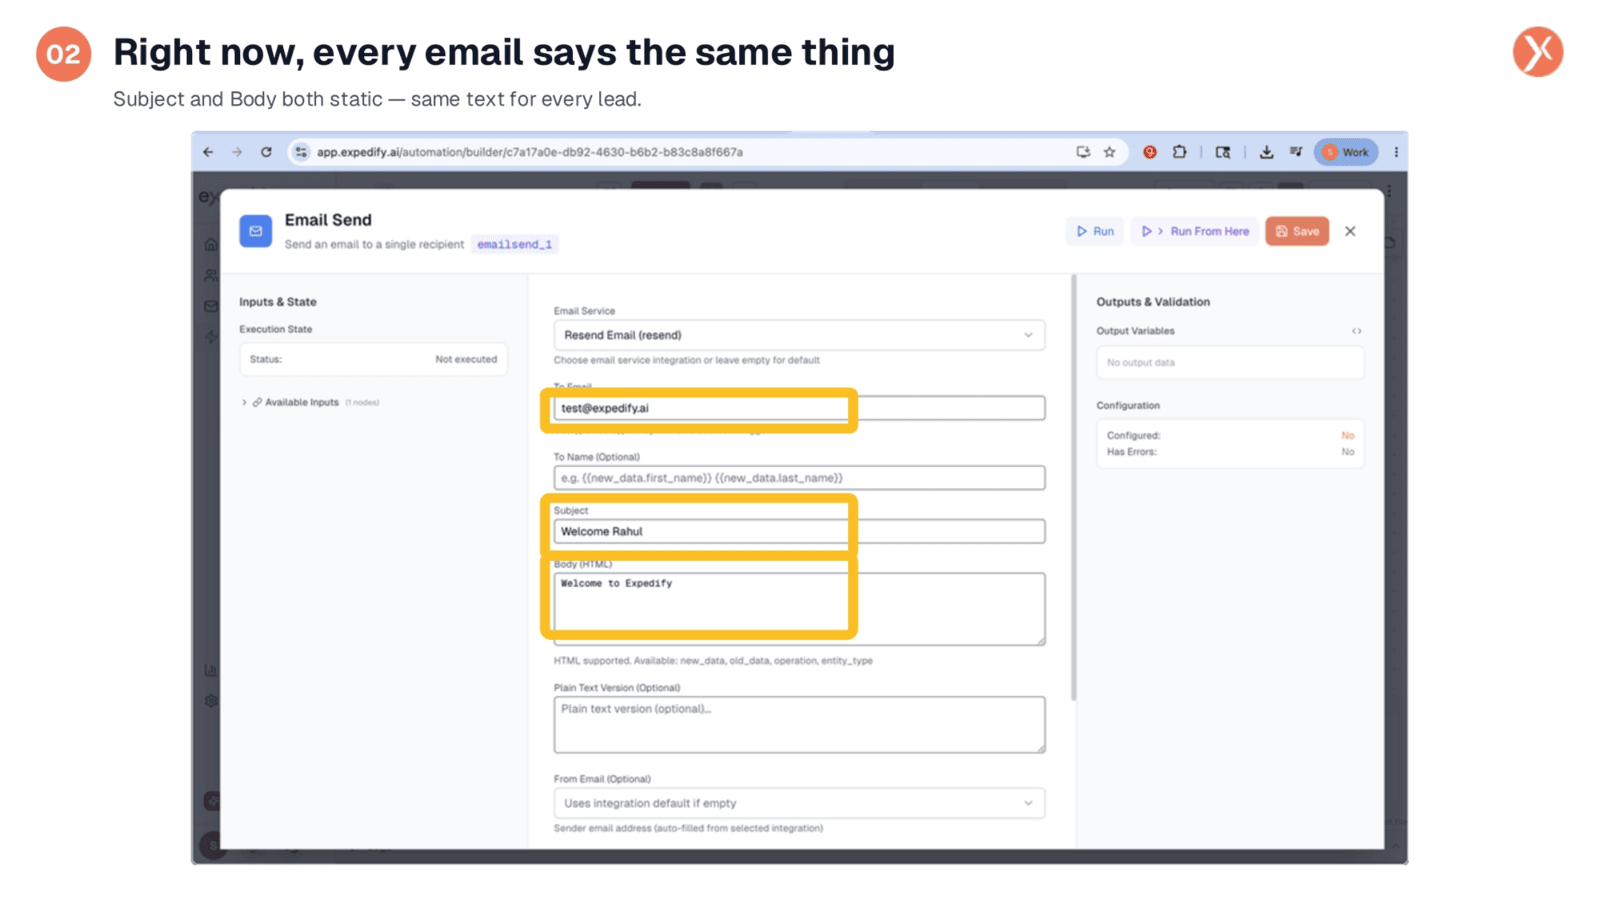
Currently, the Email Send panel shows static values for the recipient, subject, and body. For instance, the subject reads 'Welcome Rahul' and the body simply 'Welcome to Expedify.' This means every lead receives the exact same message, regardless of their individual details. Now, let's observe what happens when we clear these static fields.
Clearing Static Text and Triggering Validation
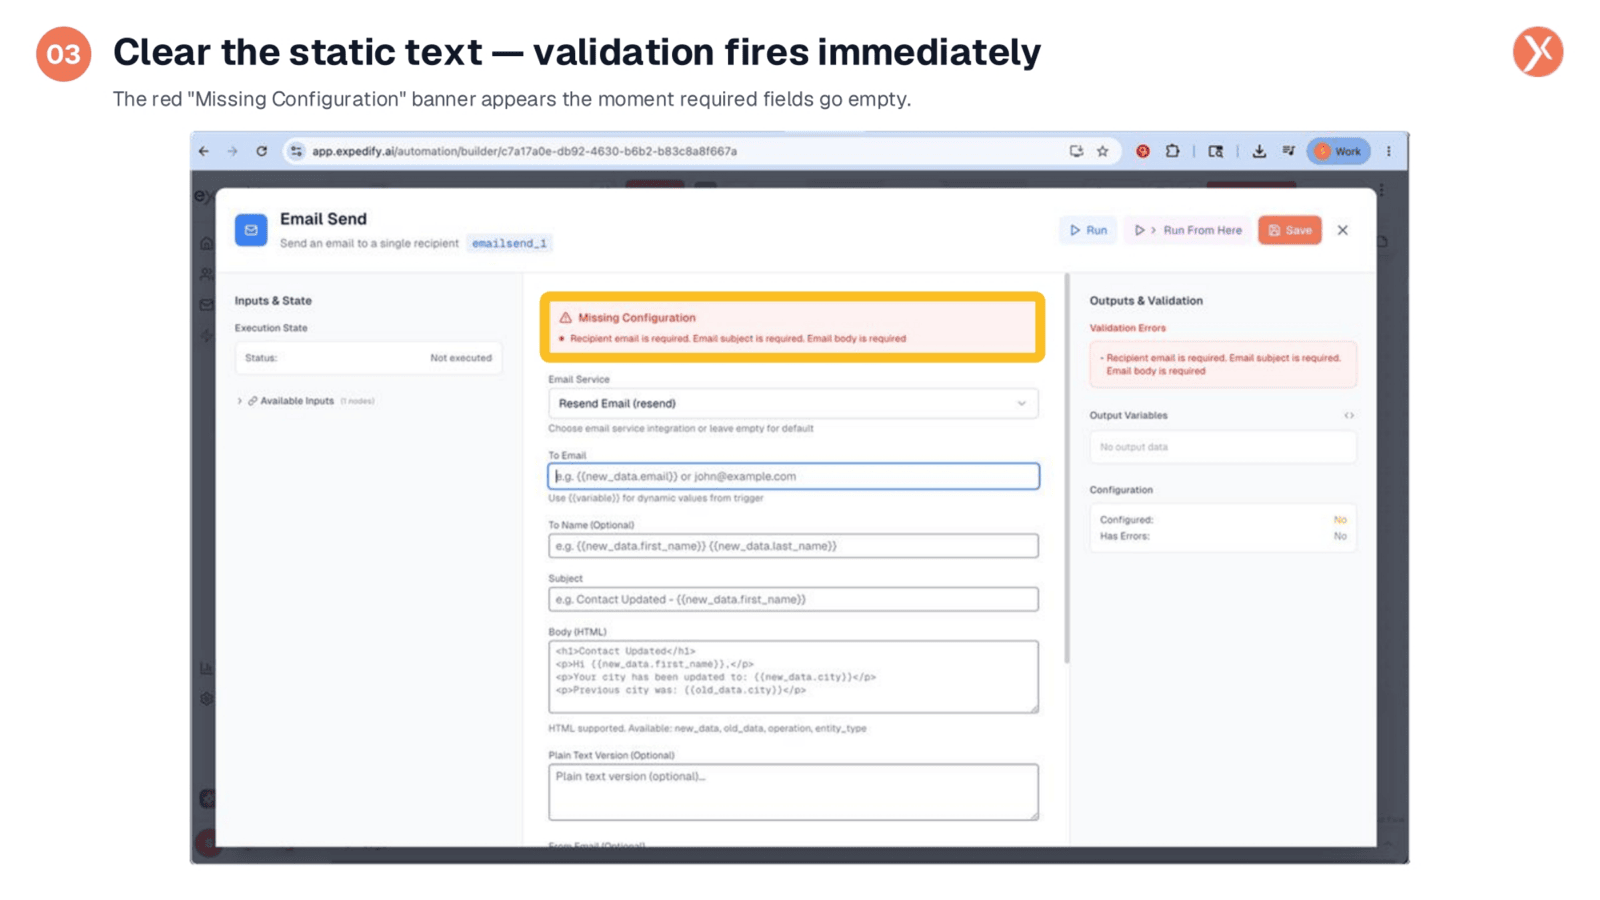
As soon as we clear the static values from the 'To,' 'Subject,' and 'Body' fields, Expedify's validation system immediately activates. A prominent red banner appears, indicating 'Missing Configuration' and specifying that the recipient email, subject, and body are all required. This crucial feature prevents us from deploying a broken workflow, ensuring all essential fields are properly configured before going live.
Understanding the Variable Picker in Available Inputs
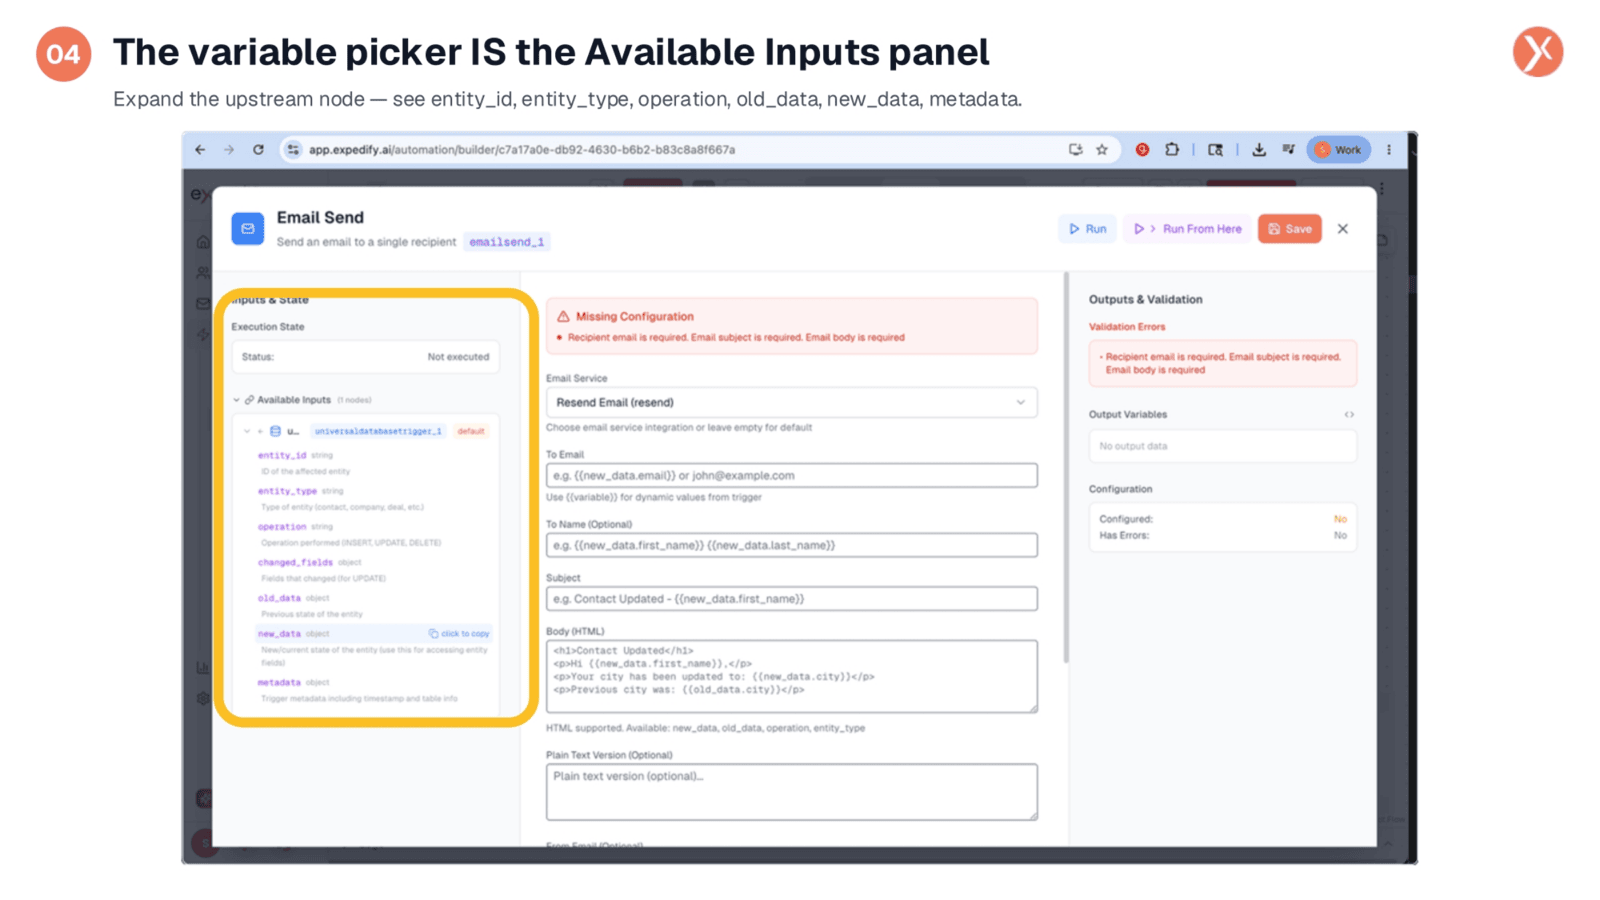
The variable picker isn't a separate pop-up; it's integrated directly into the 'Available Inputs' panel on the left side of every Node Configuration Panel. Expanding the Database Change Trigger row reveals all the data points that node provides, such as entity ID, entity type, operation, old data, new data, and metadata. For our purpose, we'll focus on 'new_data,' as this is where the contact's first name resides after creation.
Integrating new_data.first_name into Email Fields
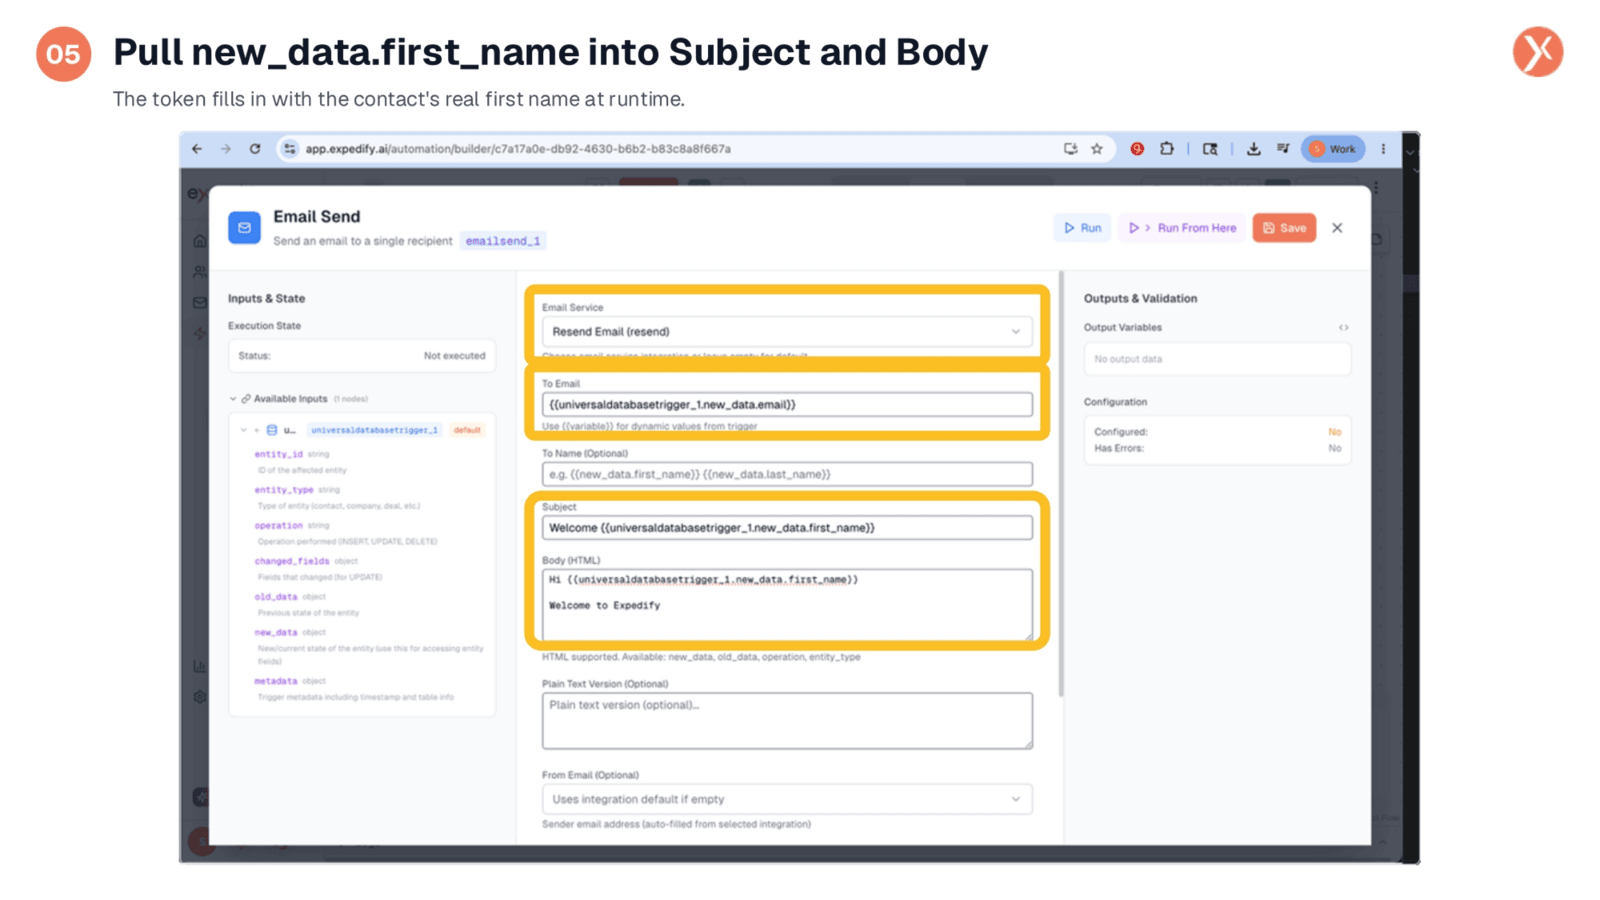
Now, we'll strategically place variables into the email fields. The 'To' field will receive 'new_data.email,' ensuring the email is sent to the newly signed-up contact. For the subject, we'll use 'Welcome' followed by 'new_data.first_name.' The email body will start with 'Hi' and 'new_data.first_name,' then 'Welcome to Expedify.' These double-brace tokens are variables, acting as placeholders that will dynamically populate with real data when the workflow executes. With these variables in place, the validation banner disappears, and we can save our changes.
Navigating to Contacts for Testing
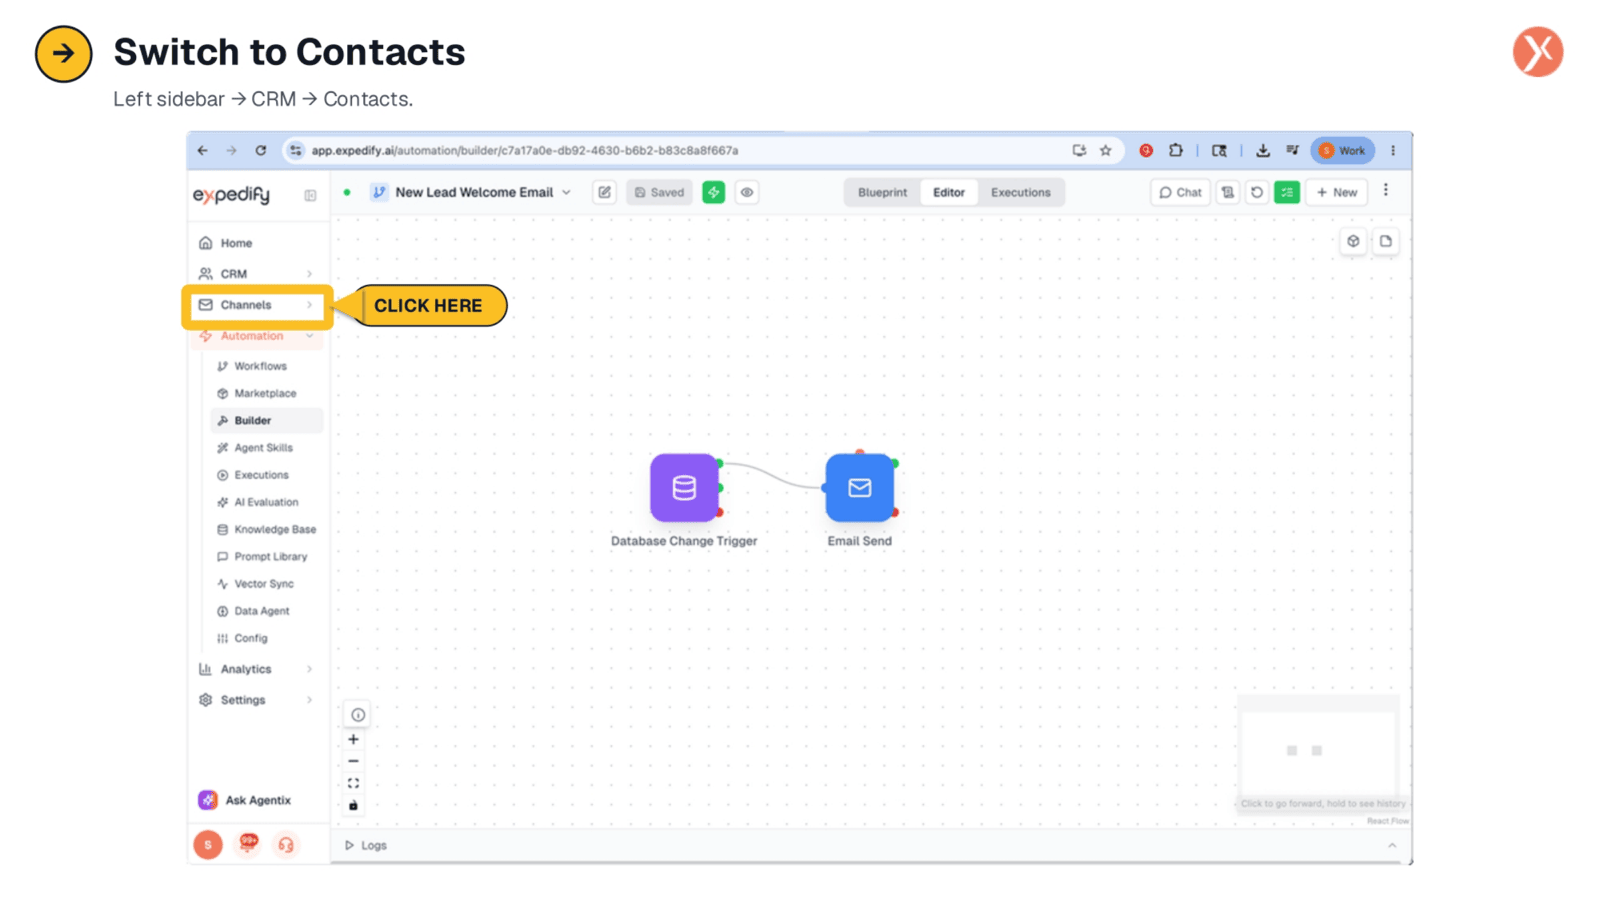
To test our newly configured personalized email, we need to navigate to the Contacts section. From the left sidebar, we'll select CRM, and then proceed to Contacts. This is where we'll create a new test contact to trigger our workflow and observe the personalized email in action.
Creating a Test Contact: Jane Doe
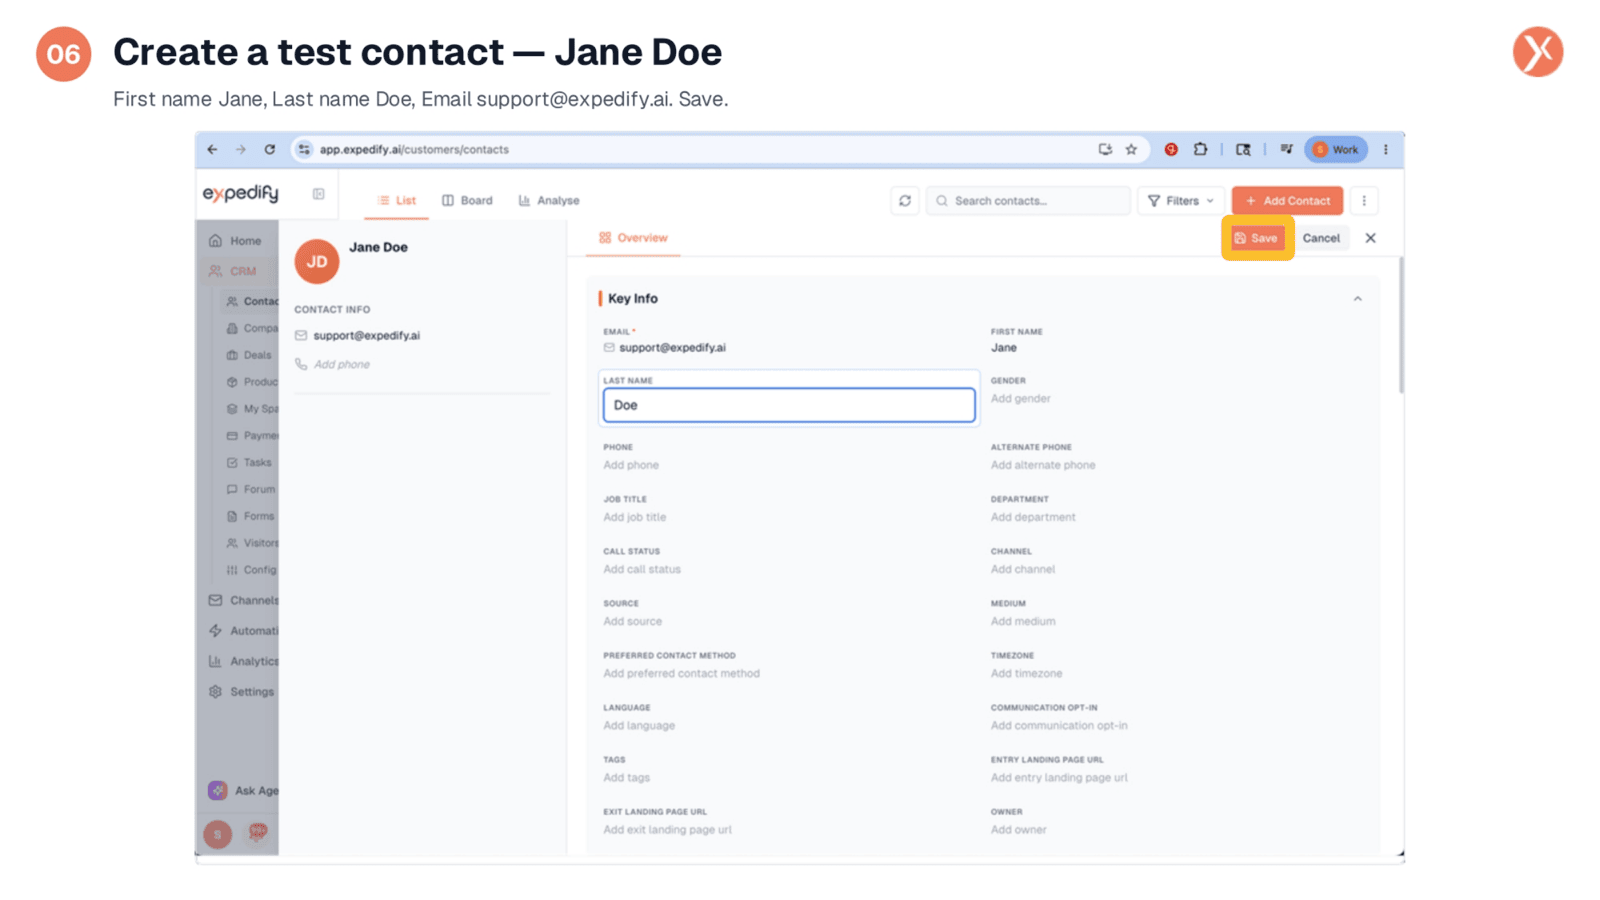
We'll now create a test contact named Jane Doe. We'll input 'Jane' as the first name, 'Doe' as the last name, and use 'support@expedify.ai' for the email address. Upon saving this new contact, the Database Change Trigger will instantly fire, initiating our workflow and sending the personalized welcome email.
Personalized Welcome Email for Jane
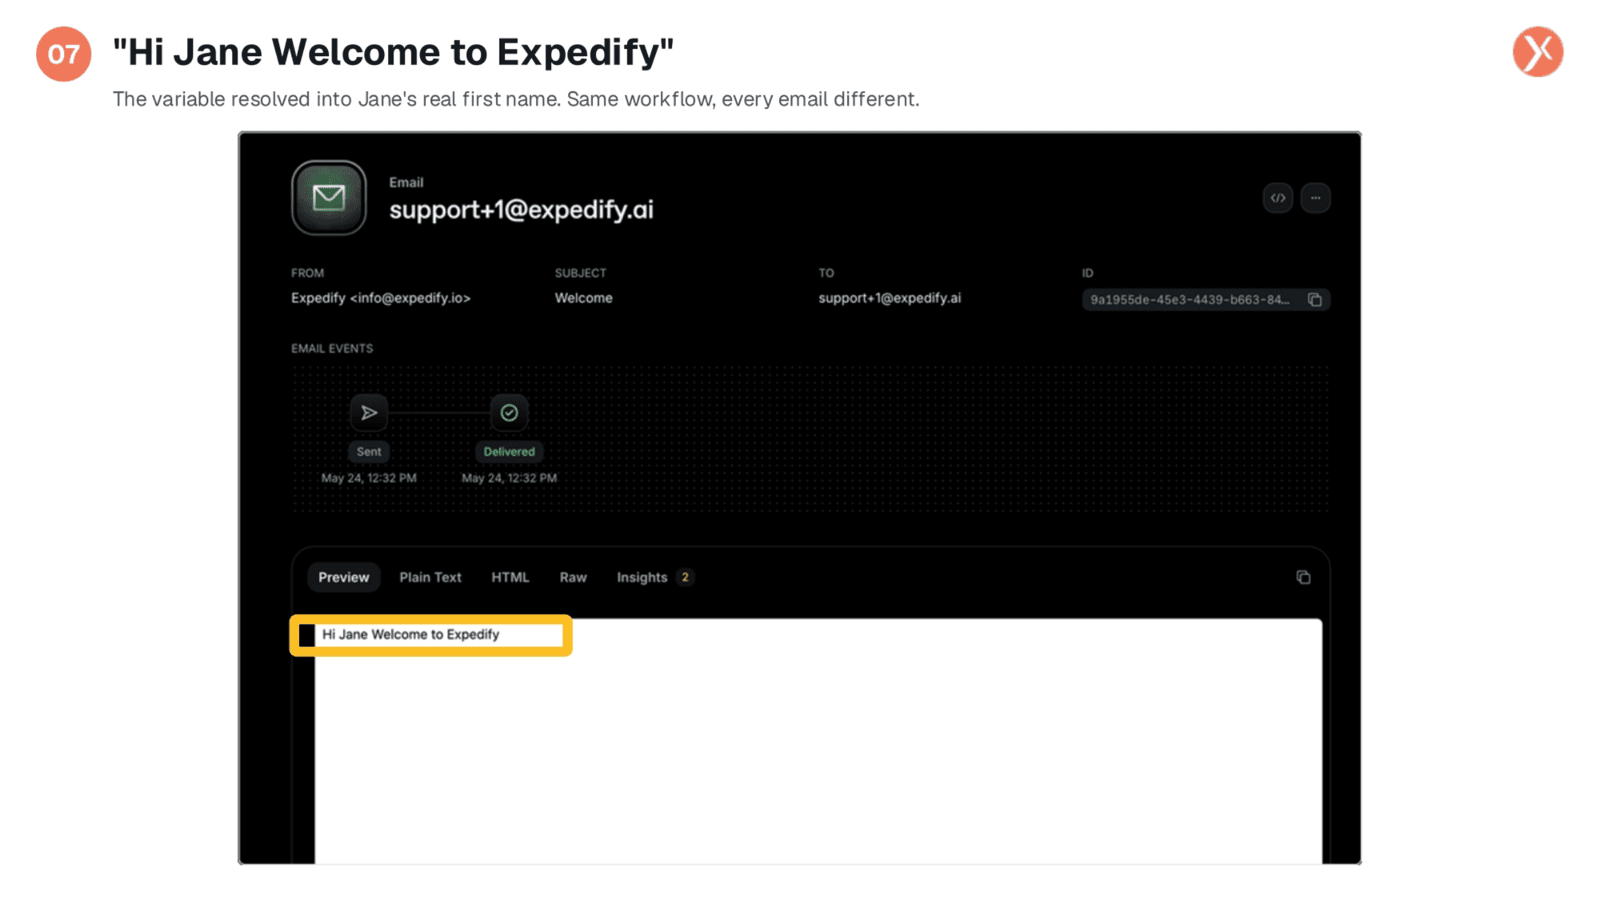
In the Resend dashboard, we can see that the email was sent and delivered within seconds. Crucially, the preview shows 'Hi Jane Welcome to Expedify.' This confirms that the variable successfully resolved into Jane's actual first name during runtime. This demonstrates how a single workflow can generate unique, personalized emails for every recipient, whether it's Jane, Rahul, or Priya.
Successful Workflow Execution Logged
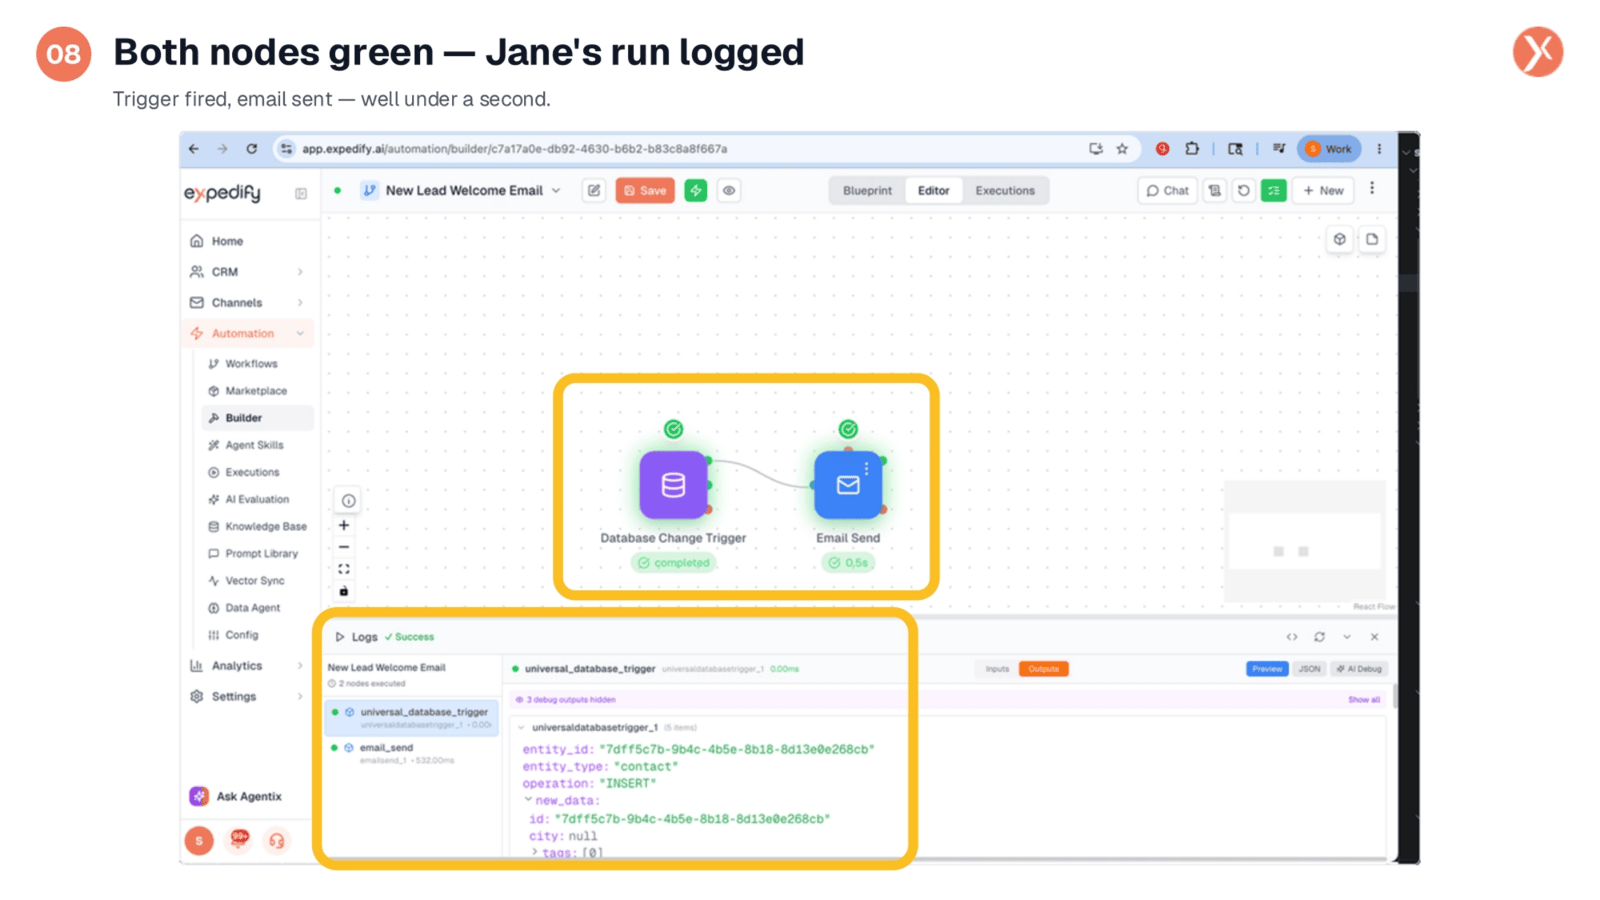
Back in the Builder, both nodes now display green checkmarks, indicating a successful run for Jane's contact creation. This visual confirmation signifies that the entire variables loop has executed flawlessly, from trigger to email send. It clearly illustrates how data flows seamlessly from one node's output to become the next node's input within the workflow.
Recap: Understanding Variables
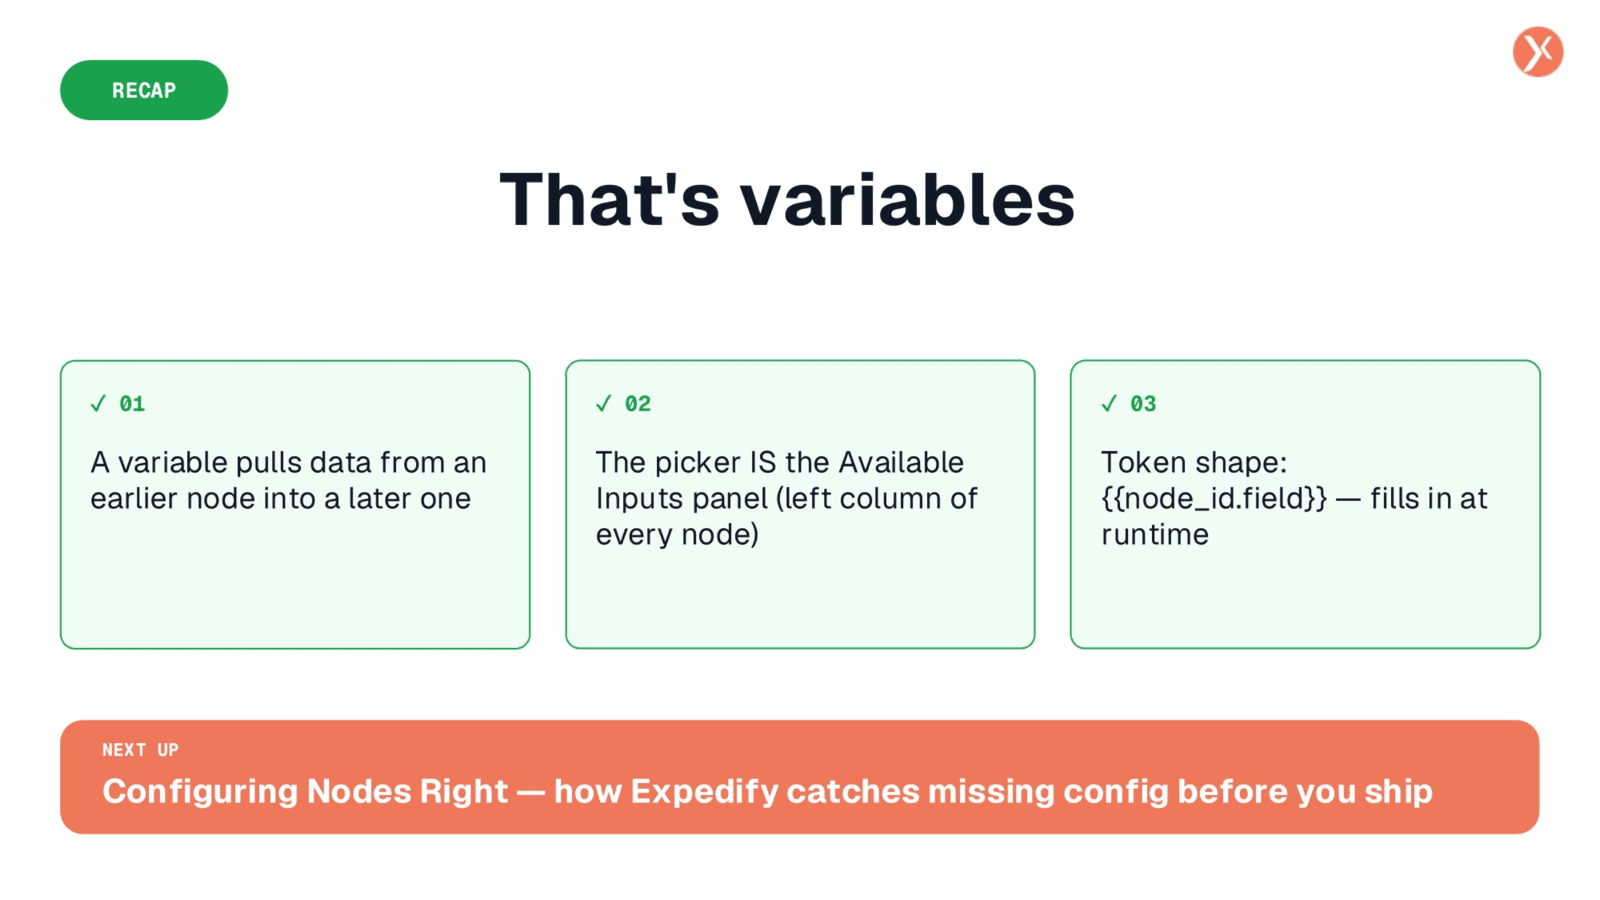
In summary, variables are essential for pulling data from an earlier node and utilizing it in a later one. The variable picker is conveniently located within the 'Available Inputs' panel on the left side of every Node Configuration Panel. These variables, identified by their double-brace token shape like '{{node_id.field}}', dynamically fill in with real data the moment your workflow runs.