Click Trigger
Welcome to our session on the Expedify Click Trigger. This powerful feature enables you to initiate workflows directly from a button, streamlining your operations. We'll explore how to configure this trigger and understand the data it passes to subsequent workflow steps.
Visualizing the Click Trigger
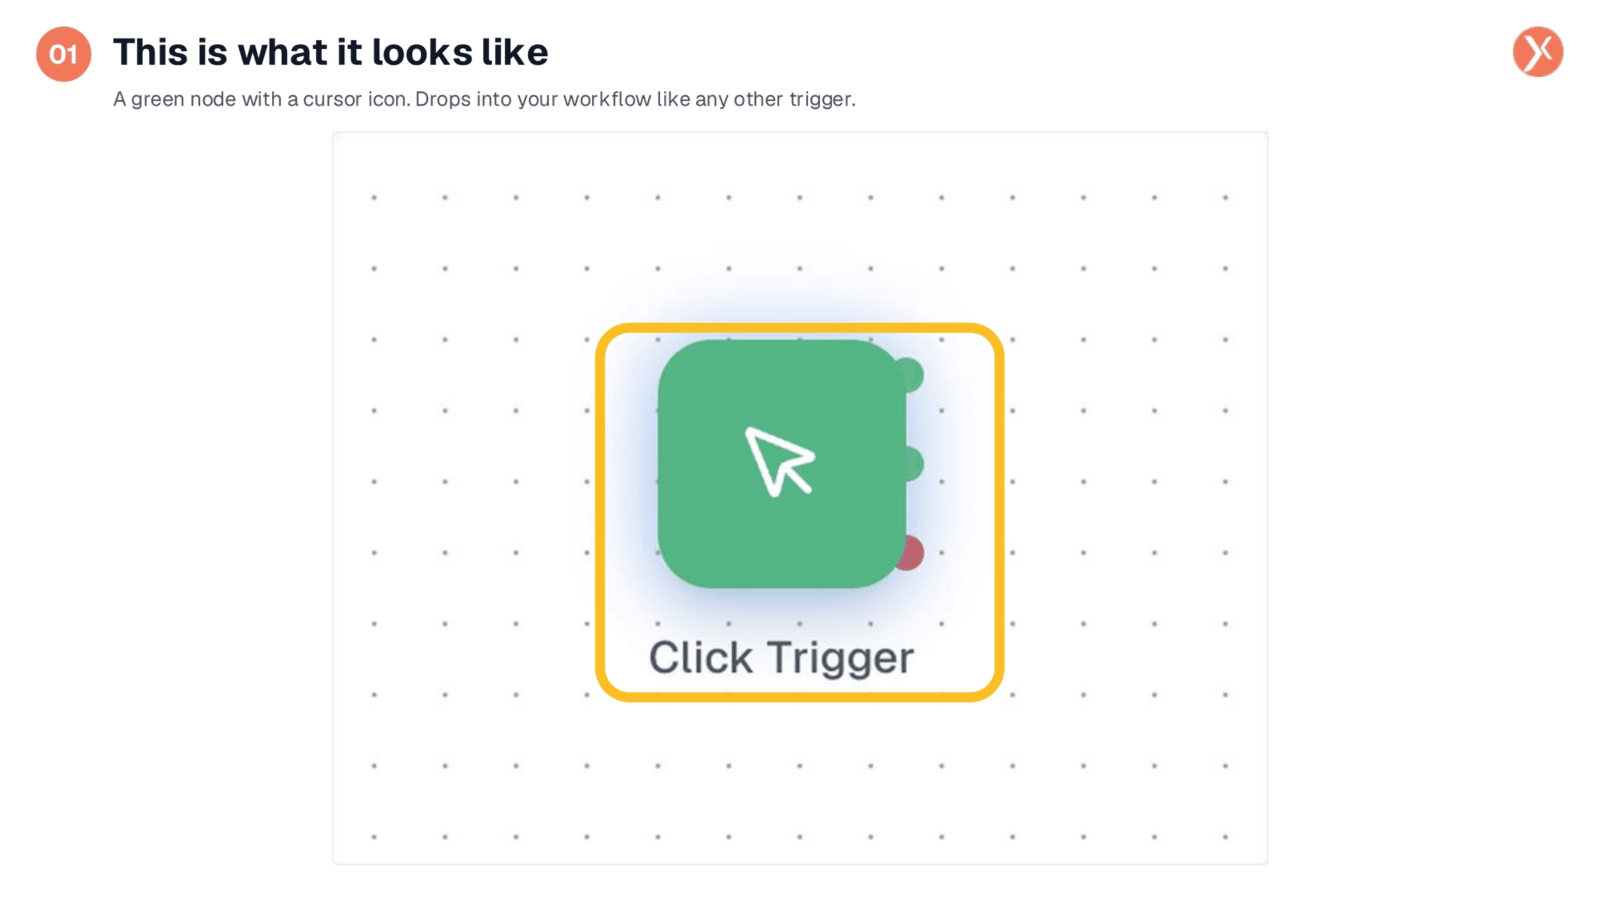
The Click Trigger appears on your workflow canvas as a distinct green node, easily identifiable by its cursor icon. This visual cue immediately indicates its function: initiating a workflow through a user click. Like any other trigger, you can seamlessly integrate it into your existing workflows. Double-clicking this node will open its configuration settings, allowing you to customize its behavior.
Configuring the Click Trigger
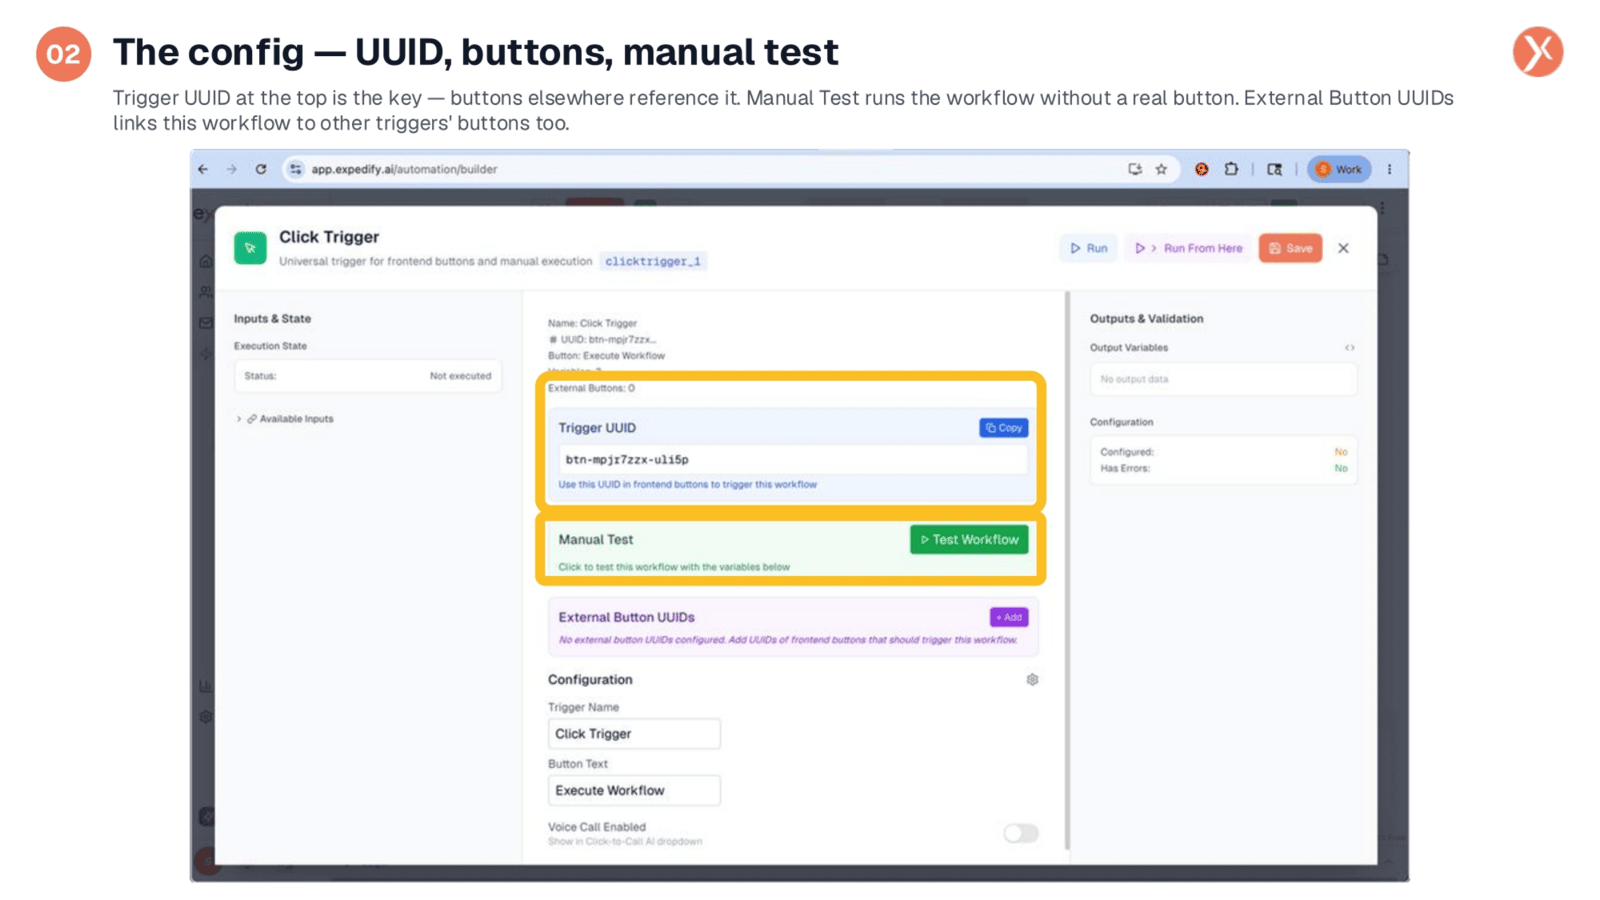
The Click Trigger's configuration focuses on three key areas. First, the unique Trigger UUID, an auto-generated identifier that buttons reference to activate this specific workflow. You can easily copy this UUID for use elsewhere. Second, the Manual Test panel provides a convenient 'Test Workflow' button, allowing you to run the workflow directly from the Builder without needing a live button click. Third, the External Button UUIDs section lets you link this workflow to other triggers, enabling it to fire from multiple sources. Additional configuration options include setting the button's name, label text, and enabling voice call functionality.
Defining Test Variables
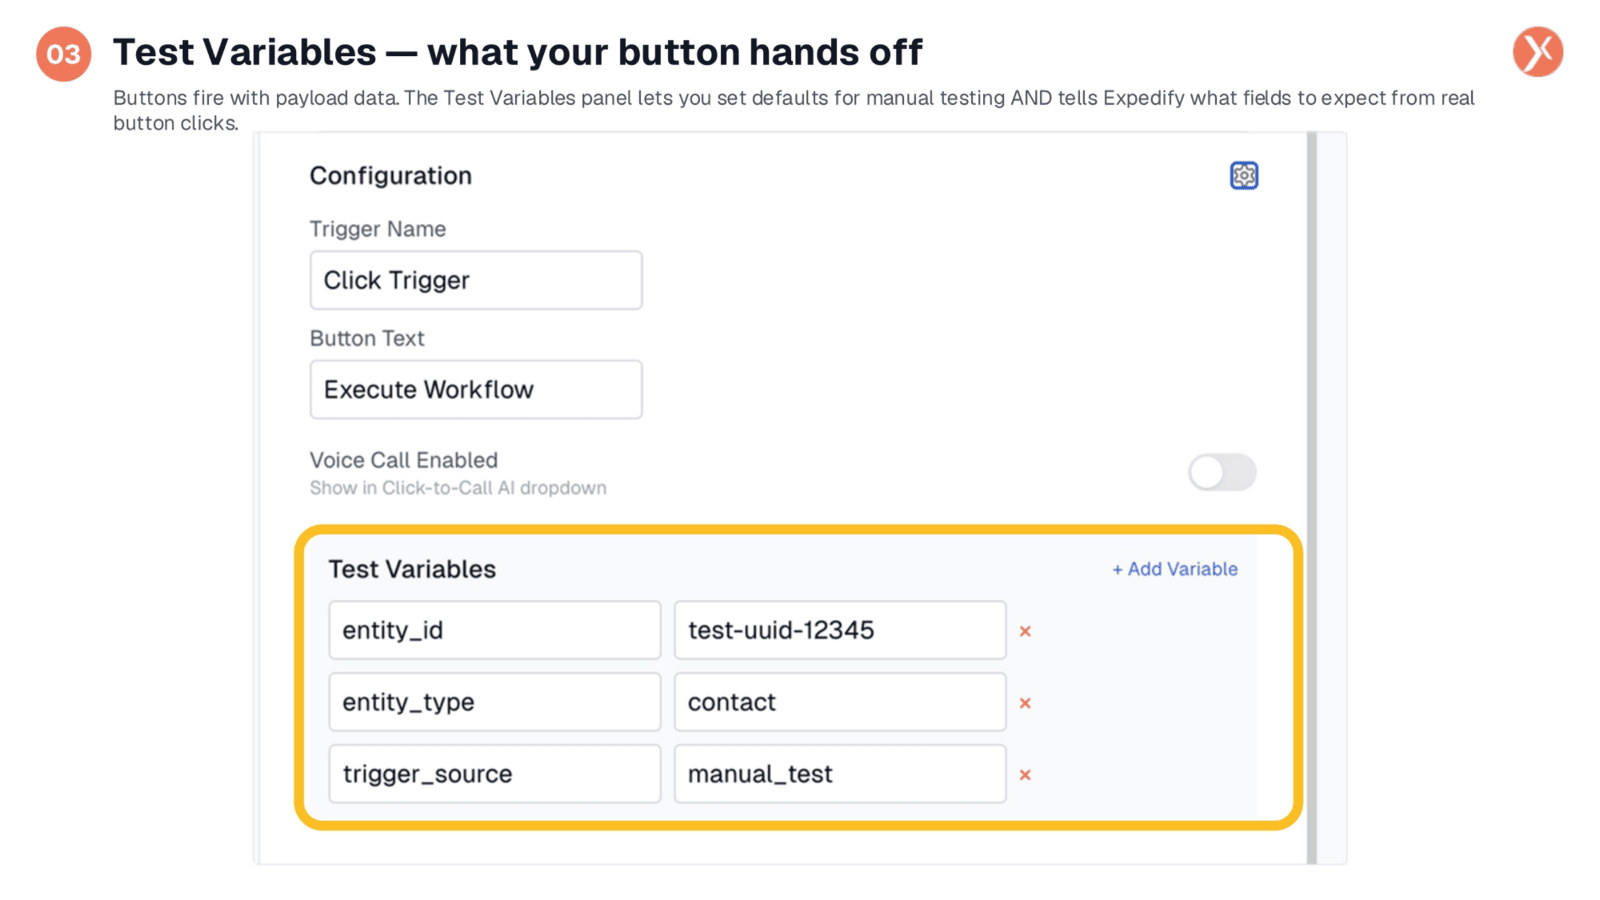
The Test Variables panel is crucial for defining the data your button will transmit. When a button is clicked, it sends a payload, typically including information like the entity ID, entity type, and the trigger source. This panel allows you to set default values for manual testing and declare the specific variables your button will pass. Common default variables include entity_id, entity_type, and trigger_source, which are useful when a button is clicked from a CRM detail page. You can also add custom variables, ensuring all necessary data flows seamlessly into your workflow for downstream processing.
Click Trigger Outputs
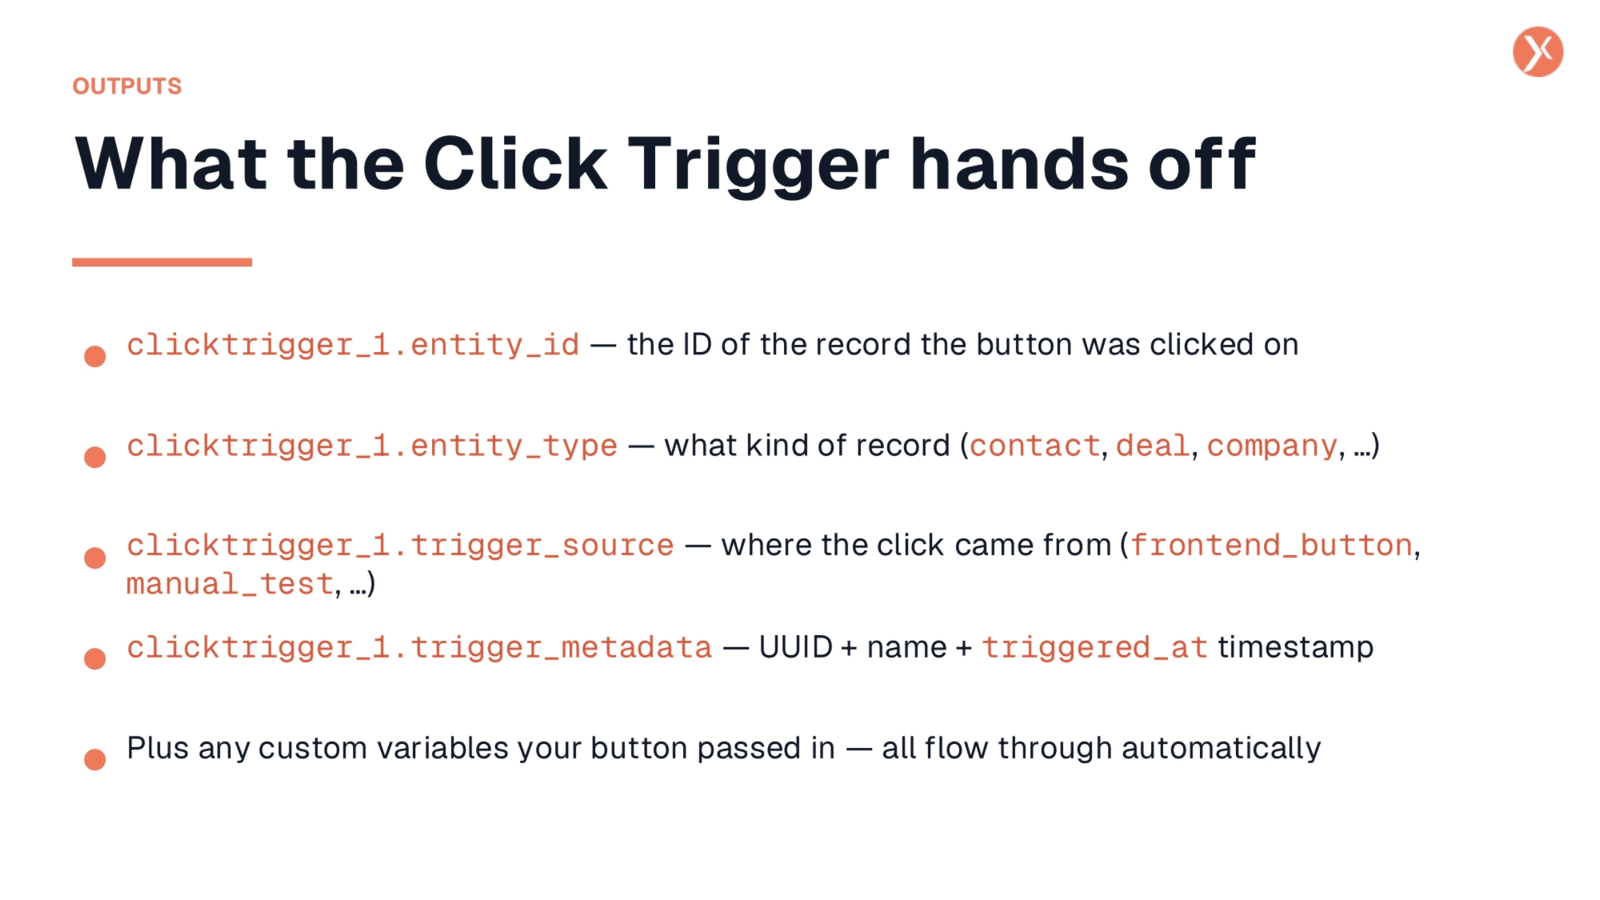
Understanding the outputs of the Click Trigger is essential for building effective workflows. After the trigger fires, downstream nodes receive several key variables. These include clicktrigger_1.entity_id, identifying the record the button was clicked on, and clicktrigger_1.entity_type, specifying the record's category. clicktrigger_1.trigger_source indicates where the click originated, allowing for conditional logic. Additionally, clicktrigger_1.trigger_metadata provides the trigger's UUID, name, and timestamp. Crucially, any custom variables passed by your button will also flow through automatically, enabling comprehensive data utilization throughout your workflow.
Click Trigger Recap
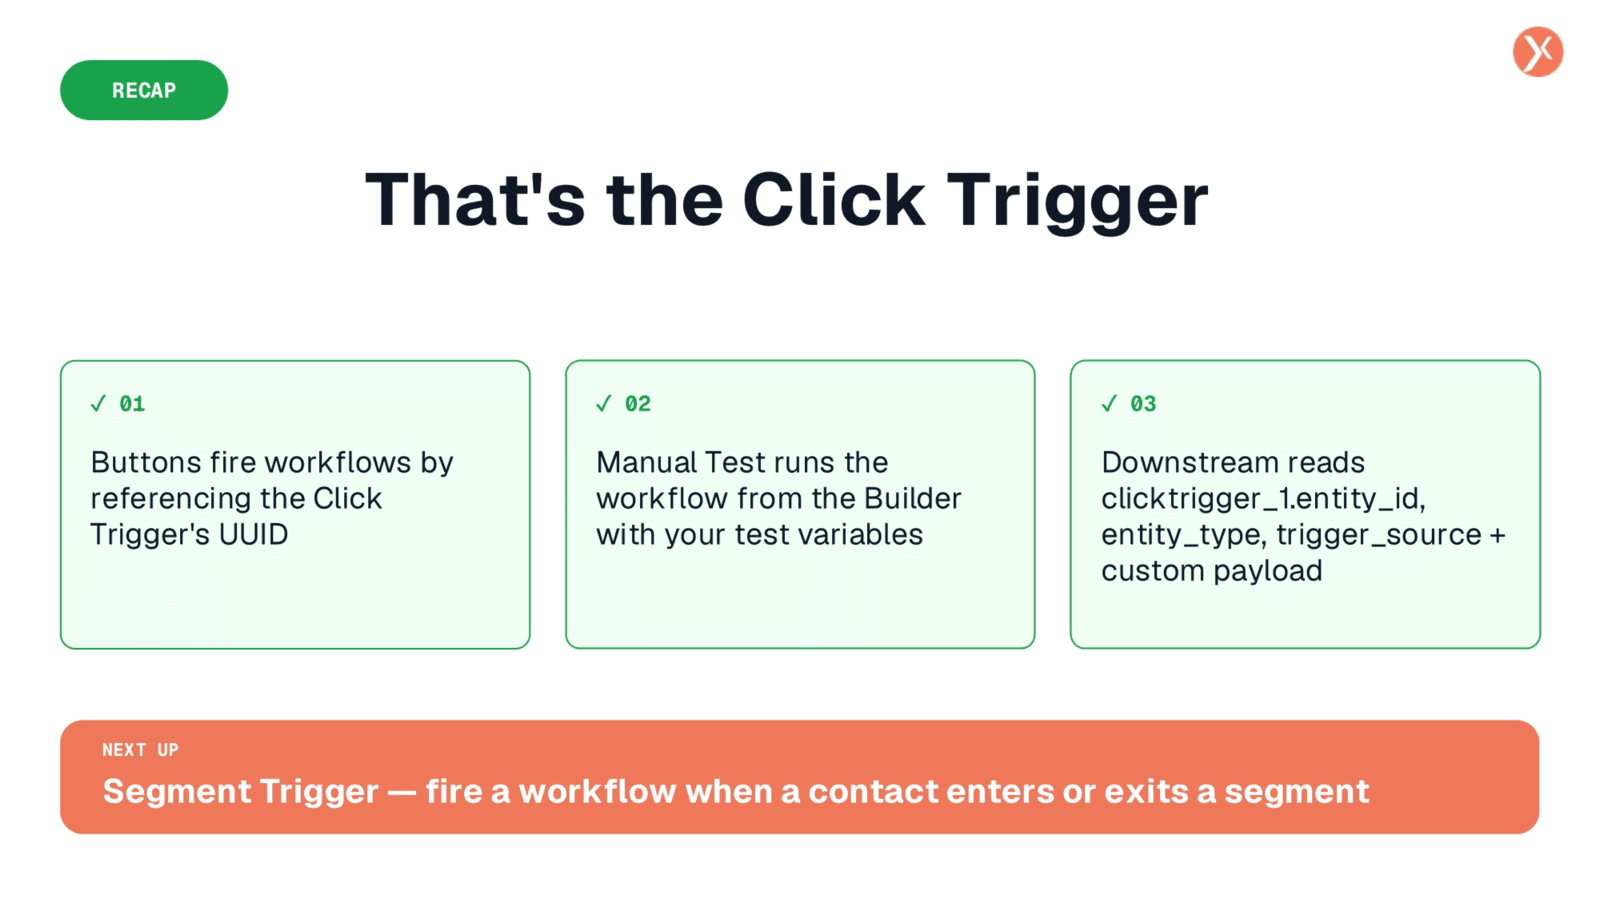
In summary, the Click Trigger uses a unique UUID to link buttons to workflows. You can test it manually, define variables for data transfer, and downstream nodes will automatically receive all relevant information. Thank you for joining this lesson.