Google Sheets Trigger
Welcome to our session on the Google Sheets Trigger. Today, we'll explore how to transform your spreadsheets into powerful automation tools. We'll cover connecting your sheets, configuring the essential fields, and understanding the data that the trigger hands off to your workflows.
Visualizing the Google Sheets Trigger
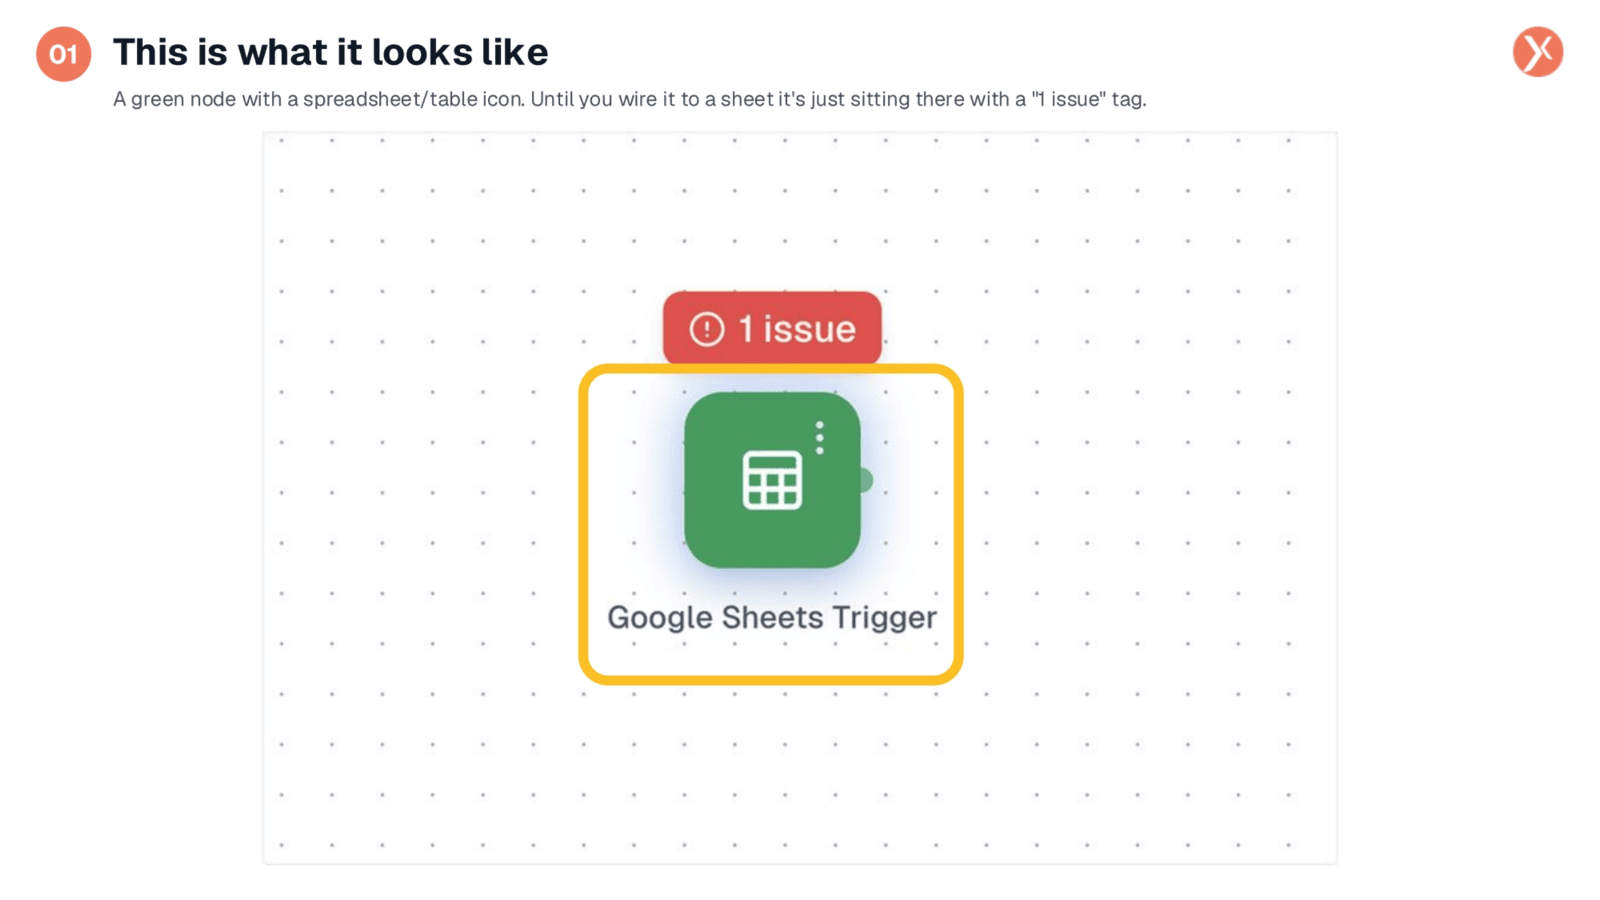
The Google Sheets Trigger node appears on the Expedify canvas as a green trigger icon with a spreadsheet symbol. Initially, it displays a 'one issue' tag, indicating that it's not yet configured. This warning clears once you've selected a specific sheet and defined the events you want to monitor. First, let's review the necessary prerequisite before diving into the configuration details.
Connecting Google Sheets in Integrations
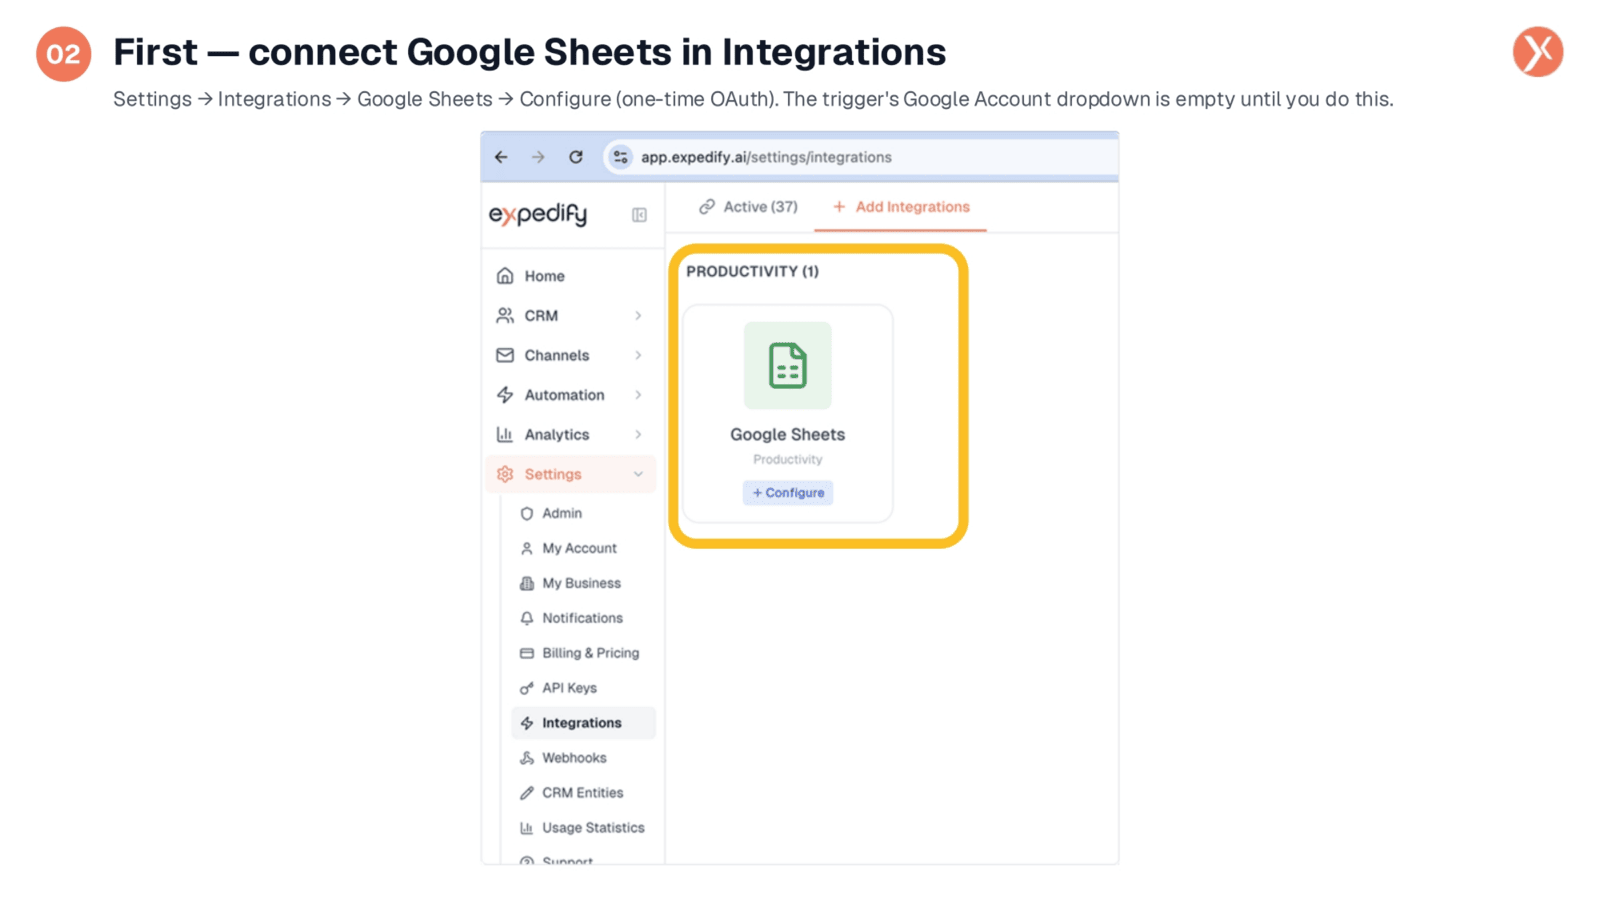
Before you can configure the trigger, a crucial prerequisite is to connect your Google account within Expedify's Integrations. Navigate to Settings, then Integrations, find Productivity, select Google Sheets, and click Configure. This process guides you through Google's one-time OAuth authentication, securely linking your account. Once completed, your connected Google accounts will appear in the trigger's dropdown menu, allowing Expedify to access your sheets. Skipping this step means the trigger won't be able to read any data.
Configuring the Five Trigger Fields
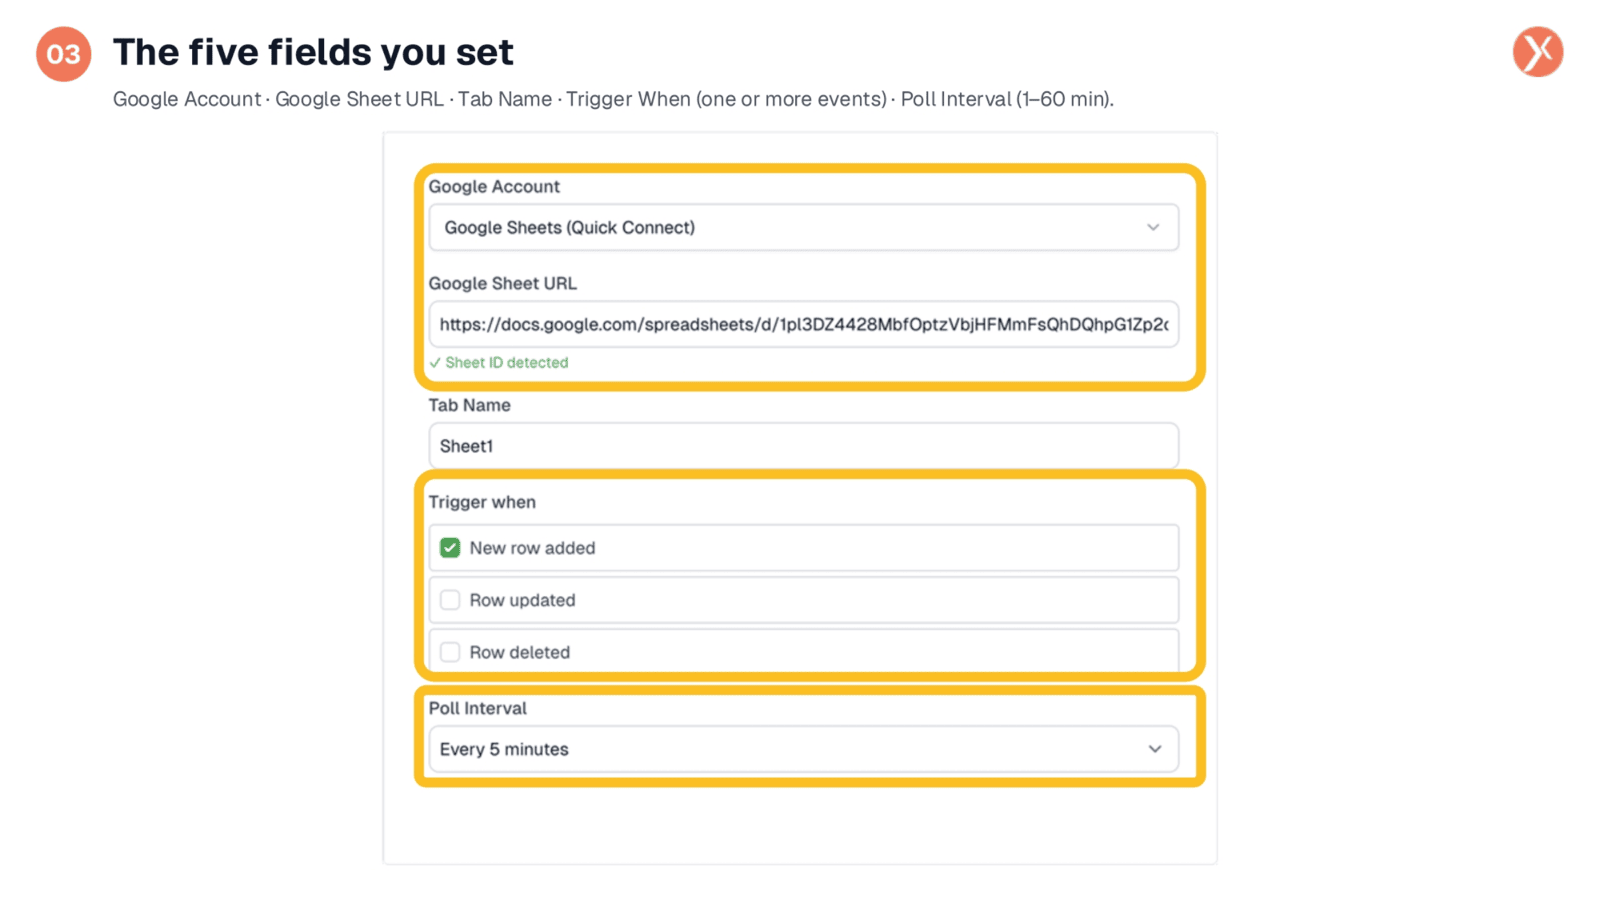
Now, let's walk through the trigger's configuration fields. First, select your connected Google Account. Next, paste the full Google Sheet URL from your browser; Expedify will automatically detect the sheet ID. Specify the Tab Name you wish to monitor, which defaults to 'Sheet1'. Then, choose when to Trigger the workflow, such as when a new row is added, a row is updated, or a row is deleted. Finally, set the Poll Interval, determining how frequently Expedify checks your sheet, ranging from one minute to an hour, with a default of five minutes. Tighter polling offers faster reactions but increases API calls.
Understanding Trigger Outputs
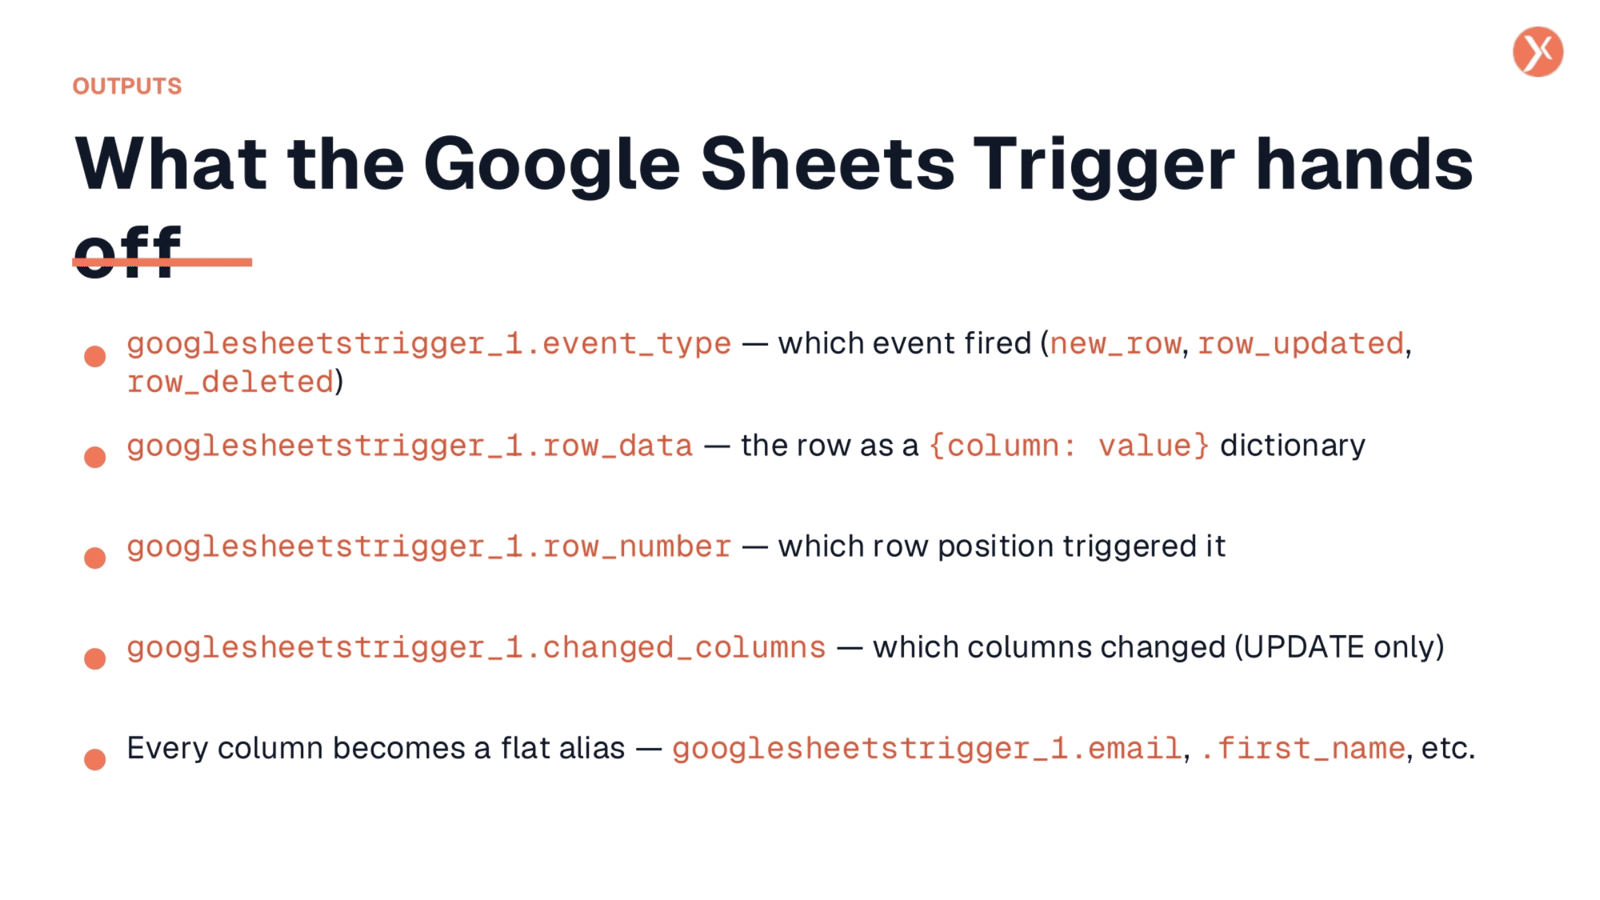
Once the Google Sheets Trigger fires, it hands off valuable data to your downstream nodes. You'll receive googlesheetstrigger_1.event_type, indicating whether a new row was added, updated, or deleted, useful for branching workflows. The googlesheetstrigger_1.row_data provides the entire row as a key-value dictionary, with keys corresponding to your column names. googlesheetstrigger_1.row_number specifies the row position that triggered the event. For updates, googlesheetstrigger_1.changed_columns lists the specific columns modified. Every column is also flattened into its own variable, like googlesheetstrigger_1.first_name, simplifying integration into nodes such as 'Create Contact' or email templates.
Google Sheets Trigger Recap
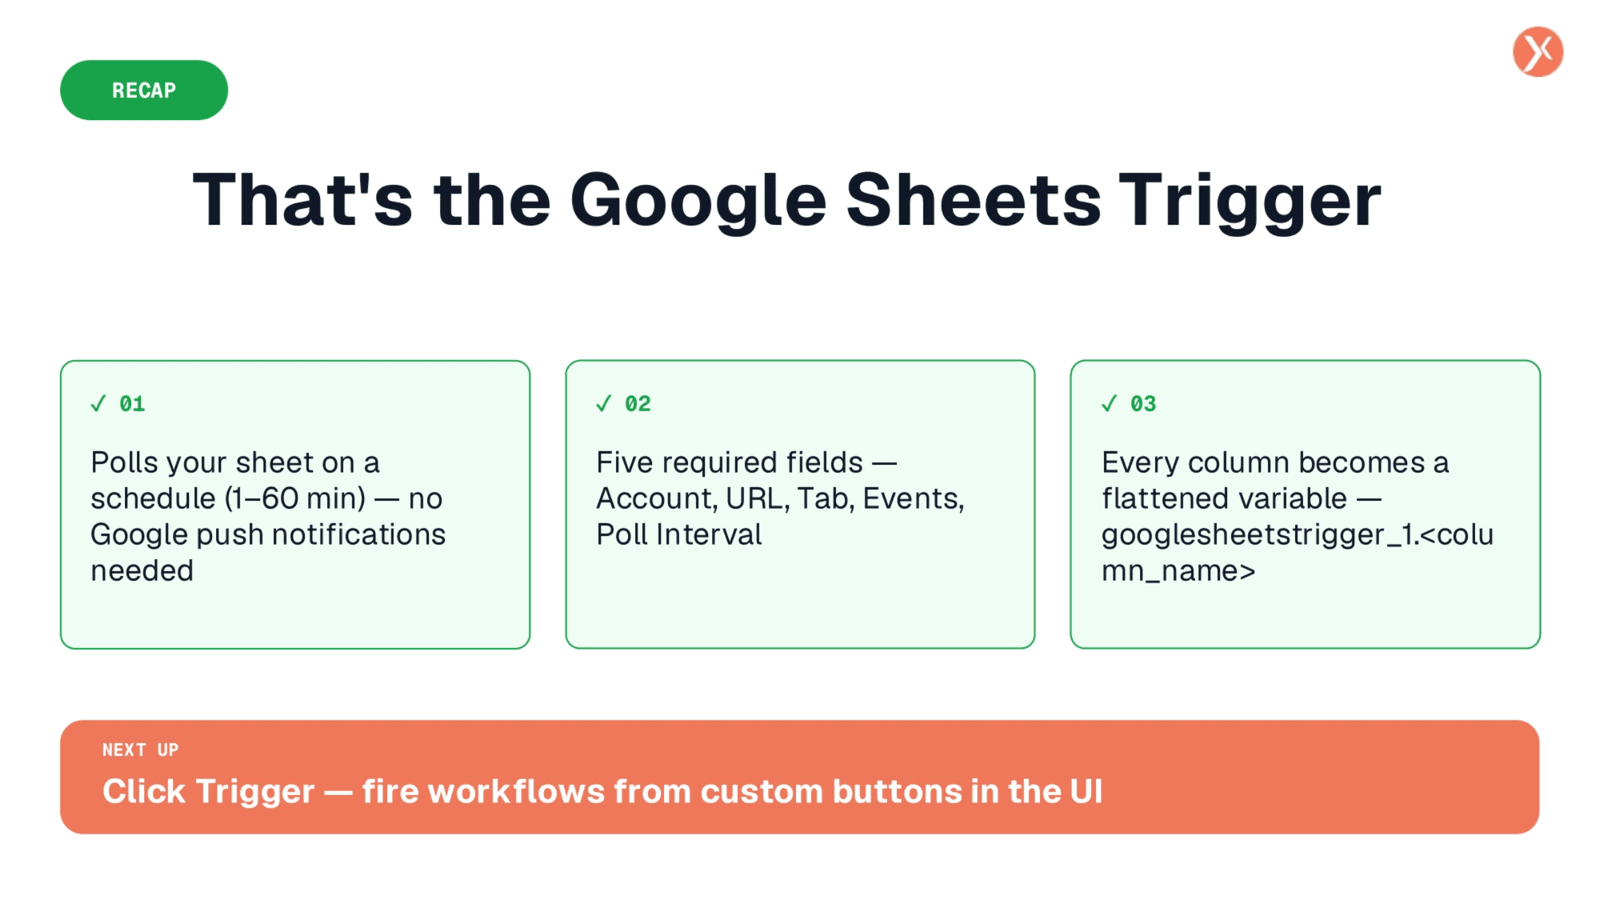
Thank you for joining this session on the Google Sheets Trigger. It polls your sheet on a schedule, configured with five key fields, and provides flattened variables. Next, we'll explore the Click Trigger, firing workflows from custom UI buttons.