Due Time Trigger
Welcome to our session on the Due Time Trigger. This feature allows you to automate actions based on specific dates and times within your CRM records. We'll cover how to configure it, apply filters, and understand the data it provides for your automated workflows.
Visualizing the Due Time Trigger
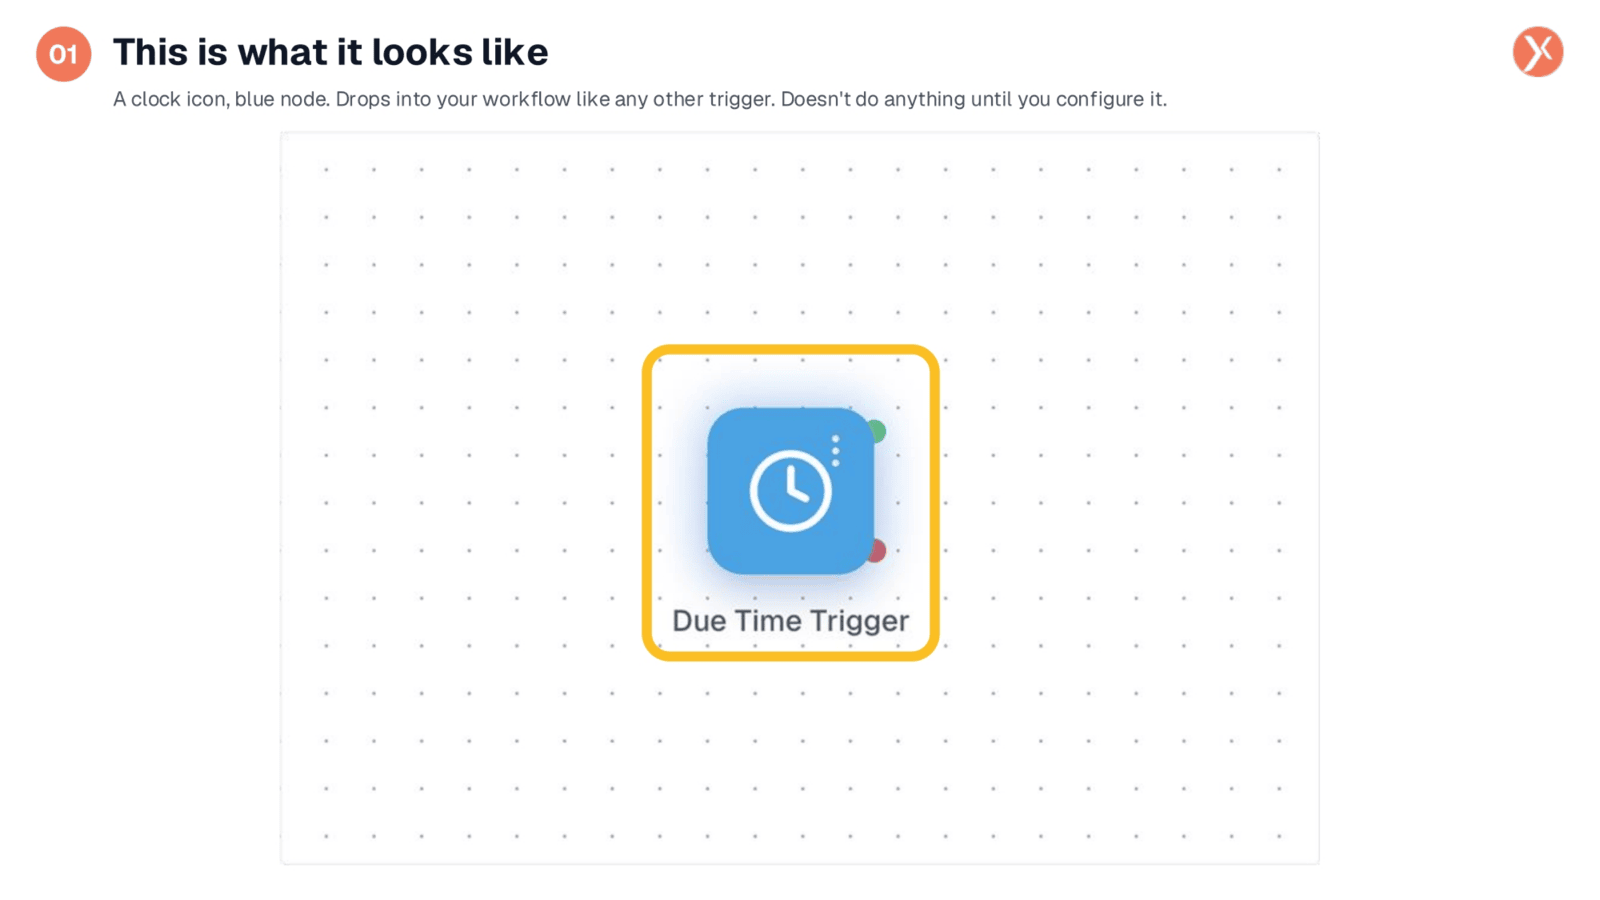
When you add the Due Time Trigger to your workflow canvas, it appears as a clean blue clock icon. This visual representation clearly indicates its function. Initially, it's a placeholder; it won't perform any actions until you configure its settings. To begin customizing its behavior, simply double-click the trigger to access its configuration panel. This is where you'll define the specific date it should monitor and precisely when it needs to activate.
Configuring Date and Fire Time
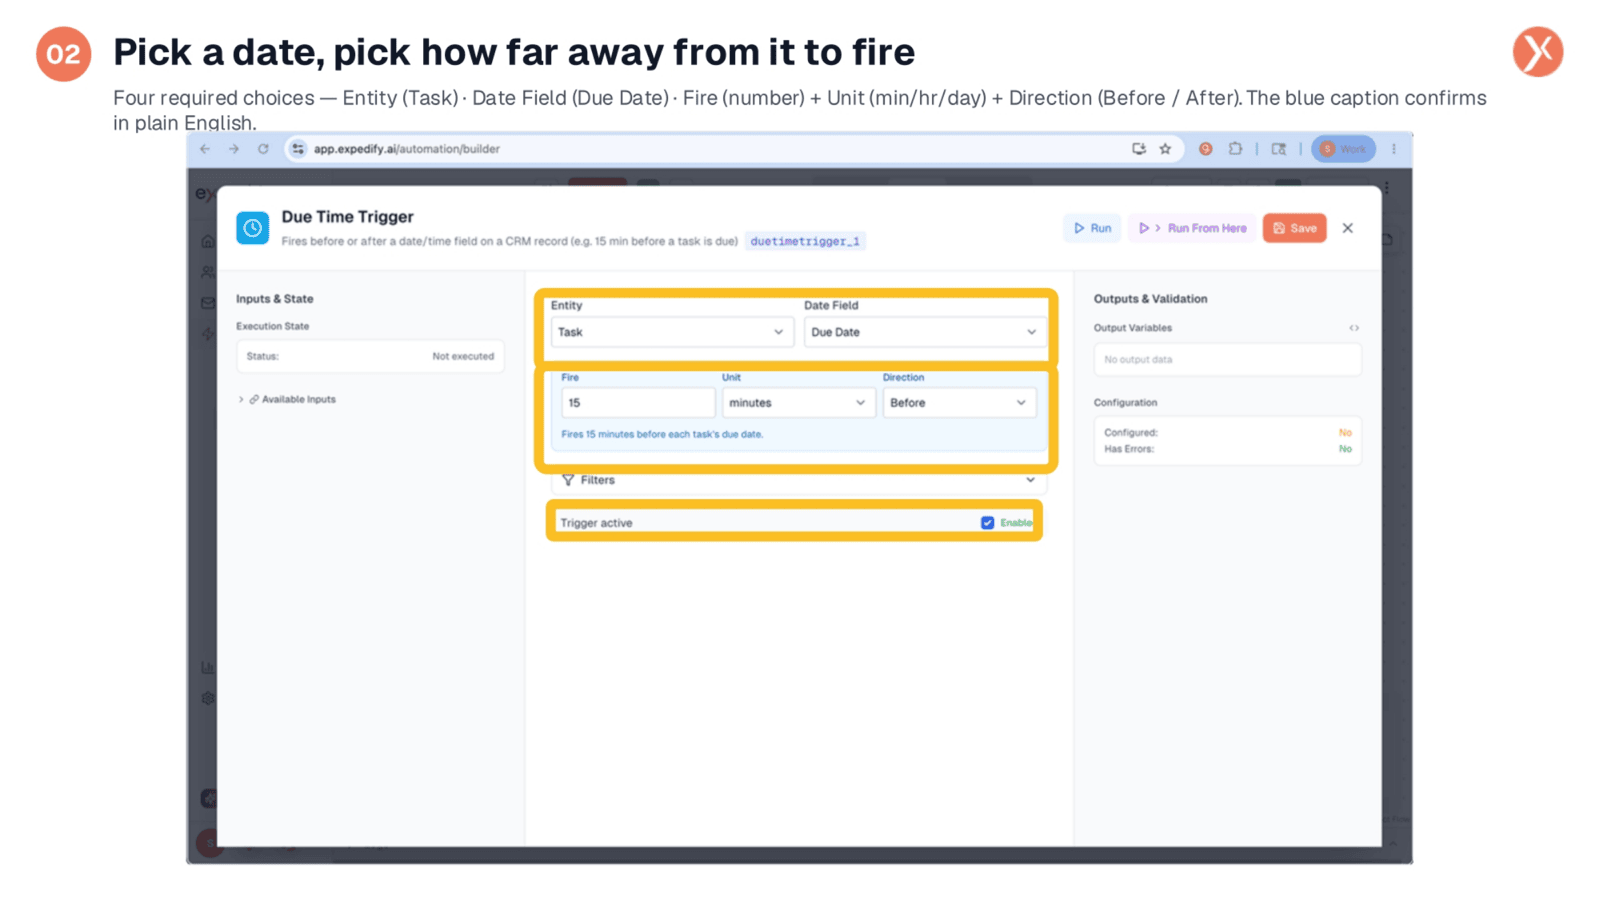
Configuring the Due Time Trigger involves a few key choices. First, select the entity; currently, "Task" is available, with "Due Date" as the field to monitor. The core of the configuration is defining when the trigger fires relative to that date. You specify a number, a unit—minutes, hours, or days—and a direction, either "Before" or "After." For example, setting it to "15 minutes Before" means the trigger will activate 15 minutes before each task's due date. You can easily adjust the unit for longer or shorter windows, and switch the direction to "After" for post-deadline actions. Finally, the "Trigger active" toggle controls whether the trigger is live or paused.
Applying Optional Filters for Precision
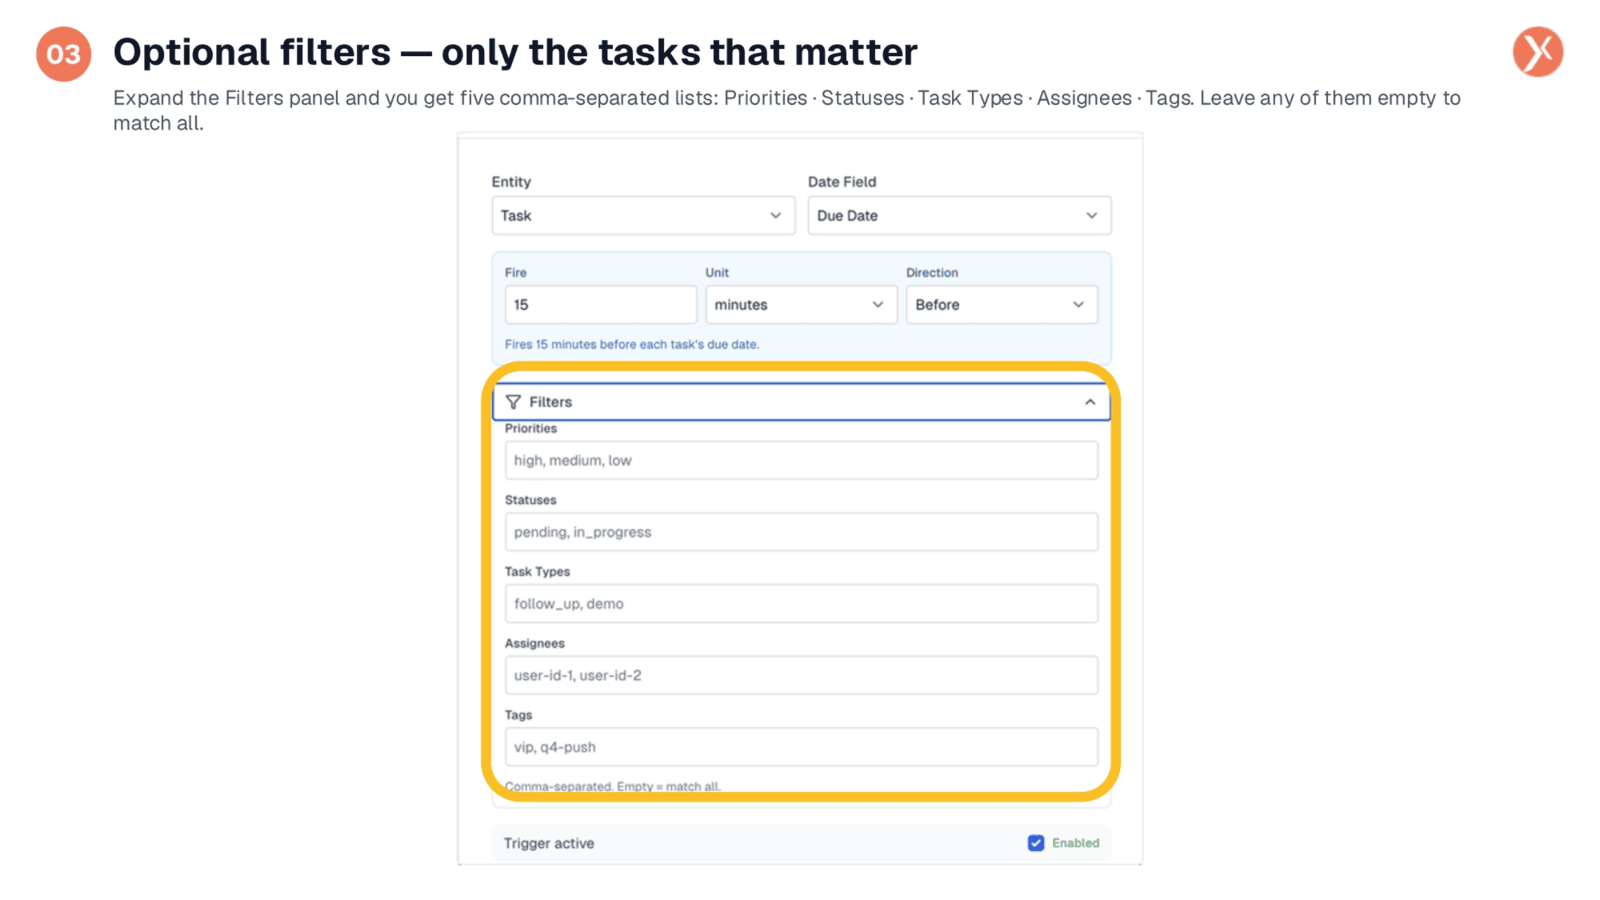
To ensure your workflows are precise, the Due Time Trigger offers powerful optional filters. Expanding the Filters panel reveals five categories: Priorities, Statuses, Task Types, Assignees, and Tags. You can specify multiple values within each category by using comma-separated lists. For instance, you might configure the trigger to only activate for "high, medium" priority tasks that are "pending" and assigned to specific users. Leaving any filter field blank means it will match all values for that particular category. These filters work in conjunction with your chosen fire settings, ensuring the trigger only acts on the most relevant tasks.
Understanding Due Time Trigger Outputs
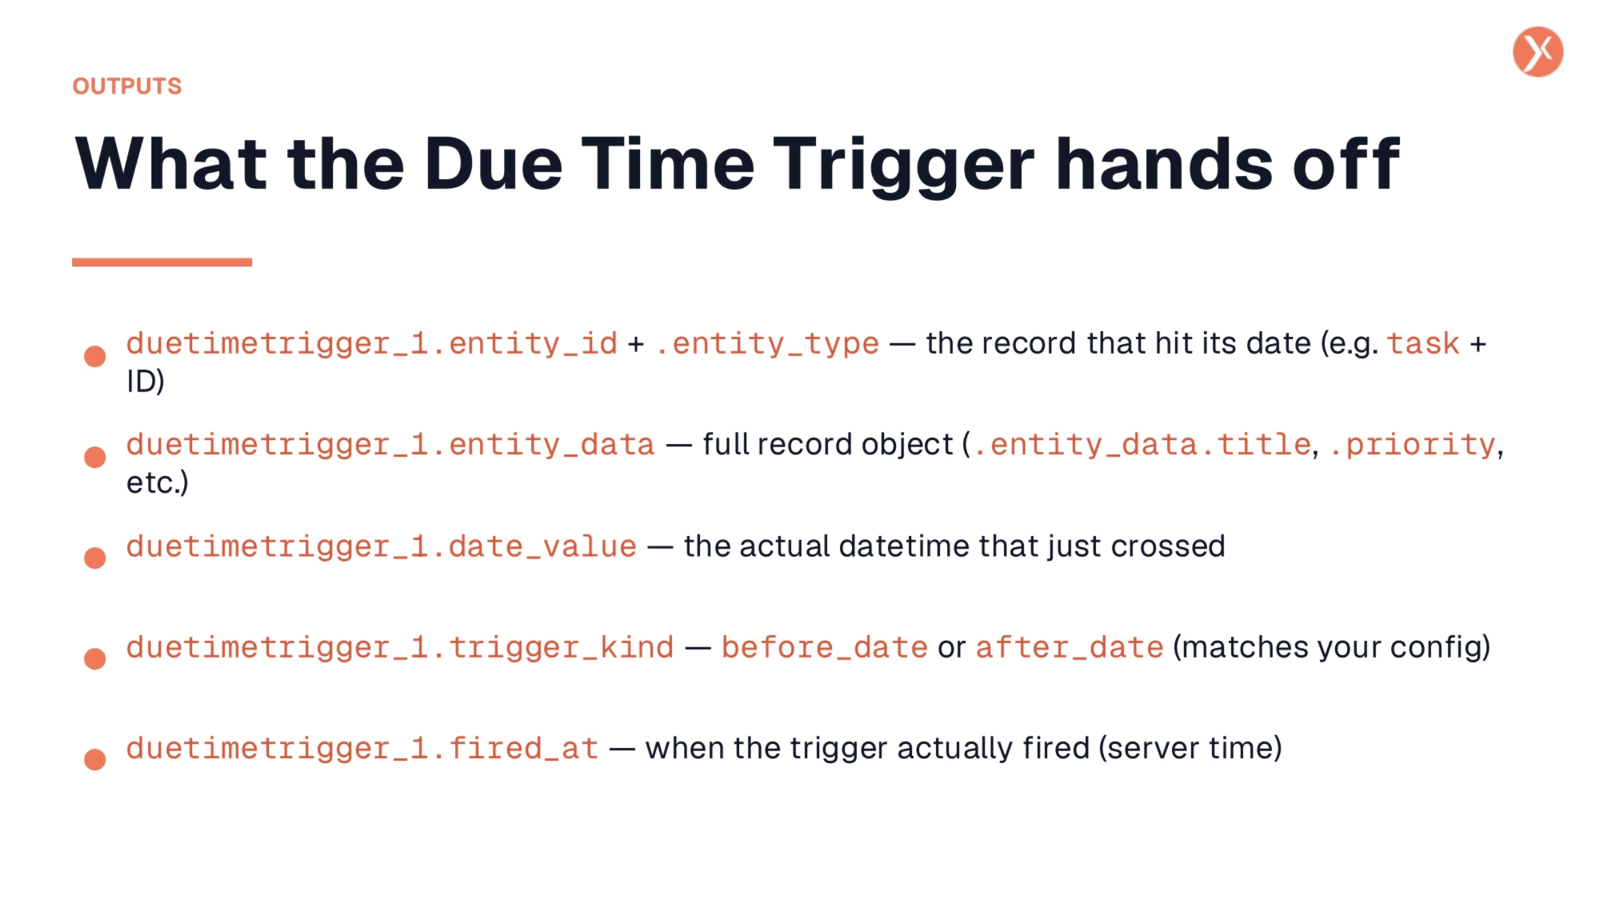
Understanding the output variables from the Due Time Trigger is crucial for building effective downstream actions. The duetimetrigger_1.entity_id and entity_type provide the specific record that activated the trigger, such as a task ID and its type. The duetimetrigger_1.entity_data delivers the complete task object, allowing you to access details like the task's title or priority for use in subsequent steps. You also receive duetimetrigger_1.date_value, which is the exact datetime that triggered the action, and duetimetrigger_1.trigger_kind, indicating whether it fired "before_date" or "after_date." Finally, duetimetrigger_1.fired_at gives you the server timestamp of when the trigger executed.
Recap: The Due Time Trigger
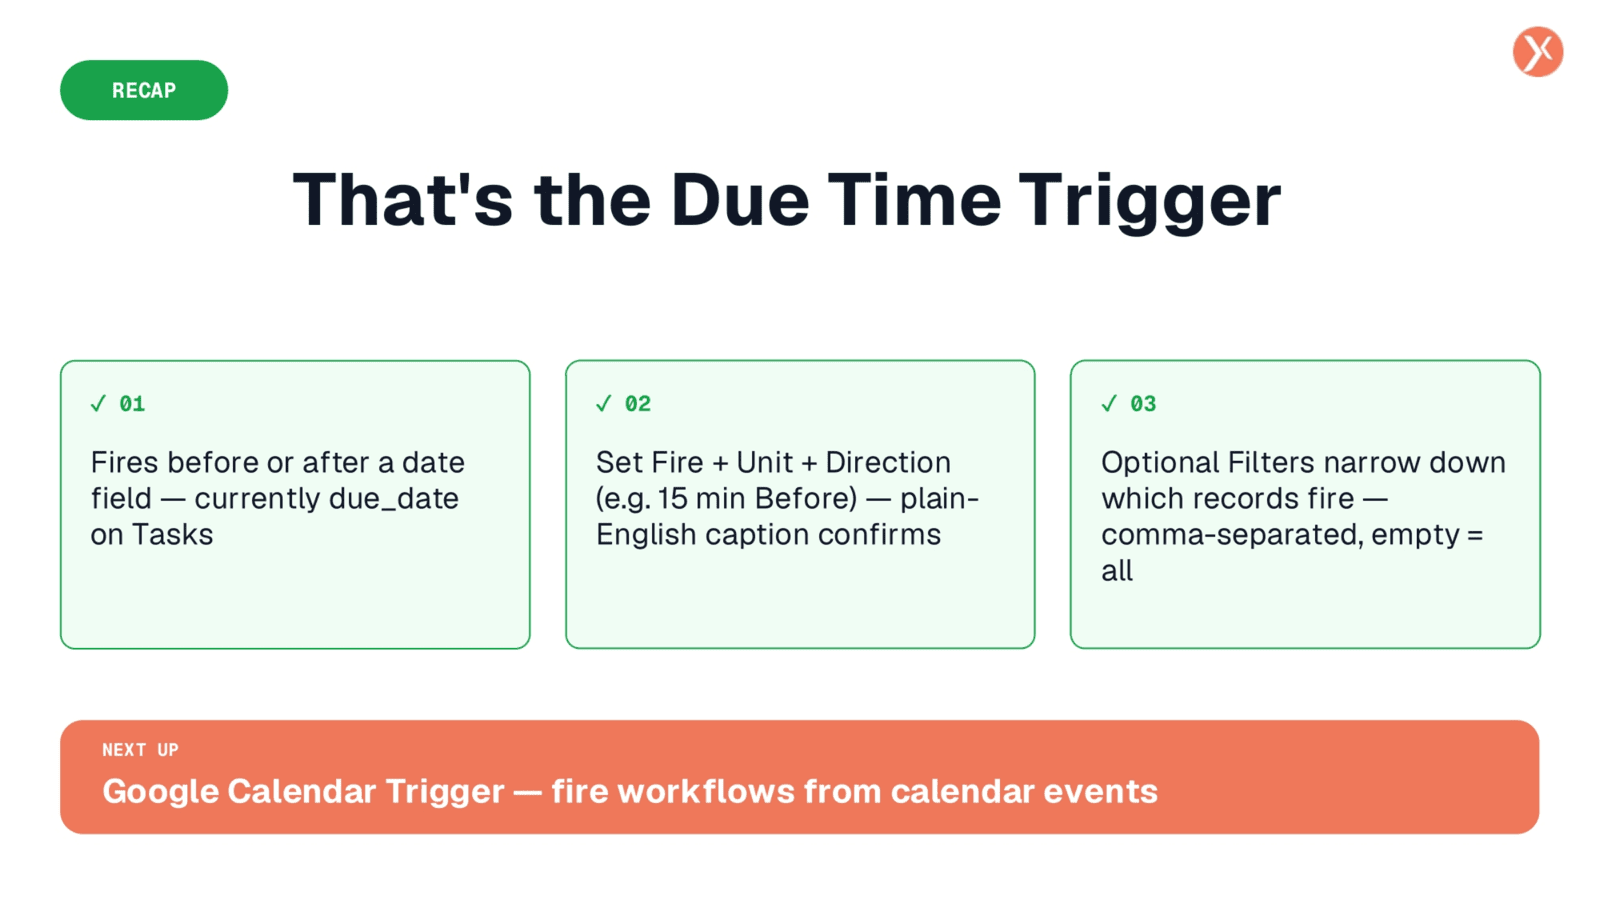
That concludes our overview of the Due Time Trigger. It's a versatile tool for automating time-sensitive actions by selecting a date field, defining a time offset, and applying optional filters. This enables precise, automated follow-ups and reminders for various tasks.