Contact Summary
Welcome to the Contact Summary node, an AI-powered shortcut designed to streamline your workflows. This tool provides an intelligent overview of contacts, their activities, and key insights. It integrates contact profiles, deals, tasks, notes, emails, WhatsApp messages, and voice calls, processing them through a language model. The result is a concise AI summary, actionable insights, and next-action recommendations, acting as your 'brief me on this person' button within any workflow.
Contact Summary Demo
Let's explore the Contact Summary node in action. This demonstration will guide you through the four key configuration areas: identifying the contact to summarize, selecting which contact fields to include, choosing relevant related records, and defining the historical time frame. Mastering these settings allows the AI to deliver precise and valuable summaries. We'll now open the configuration panel to delve into the details.
Introducing the Contact Summary Node
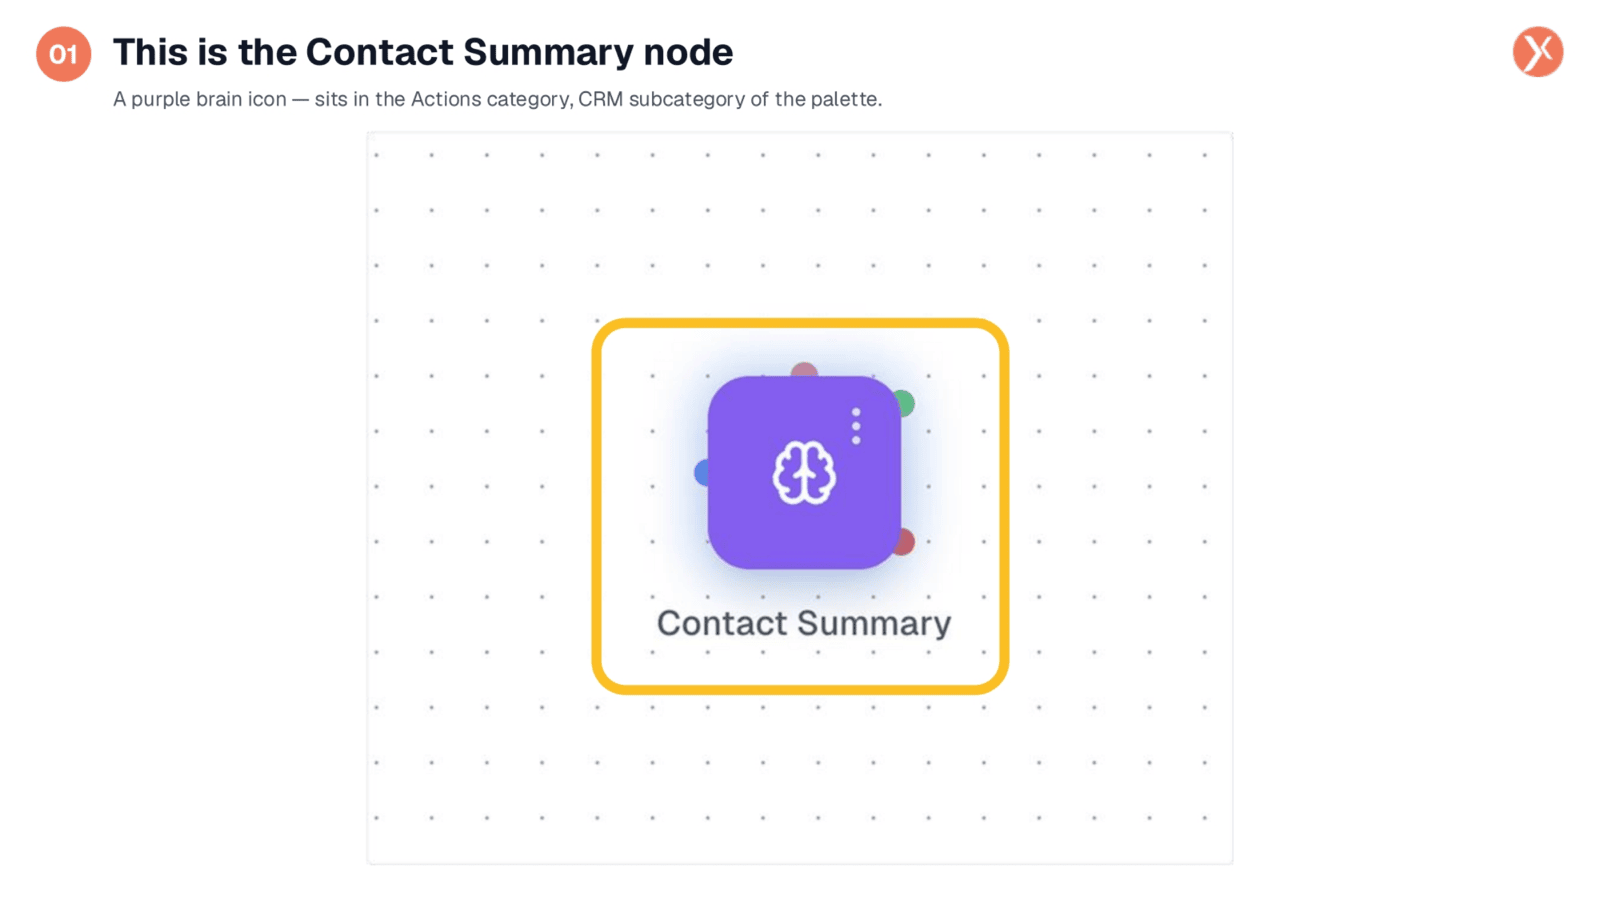
This is the Contact Summary node, easily recognizable by its purple brain icon, which signifies an AI-powered action node within Expedify. You'll find it in the Actions category, under the CRM subcategory of the palette. This node is typically integrated into workflows after a trigger that provides contact information, such as a database change or an inbound call, enabling seamless automation for subsequent actions like sending emails or updating your CRM.
Opening the Node Configuration
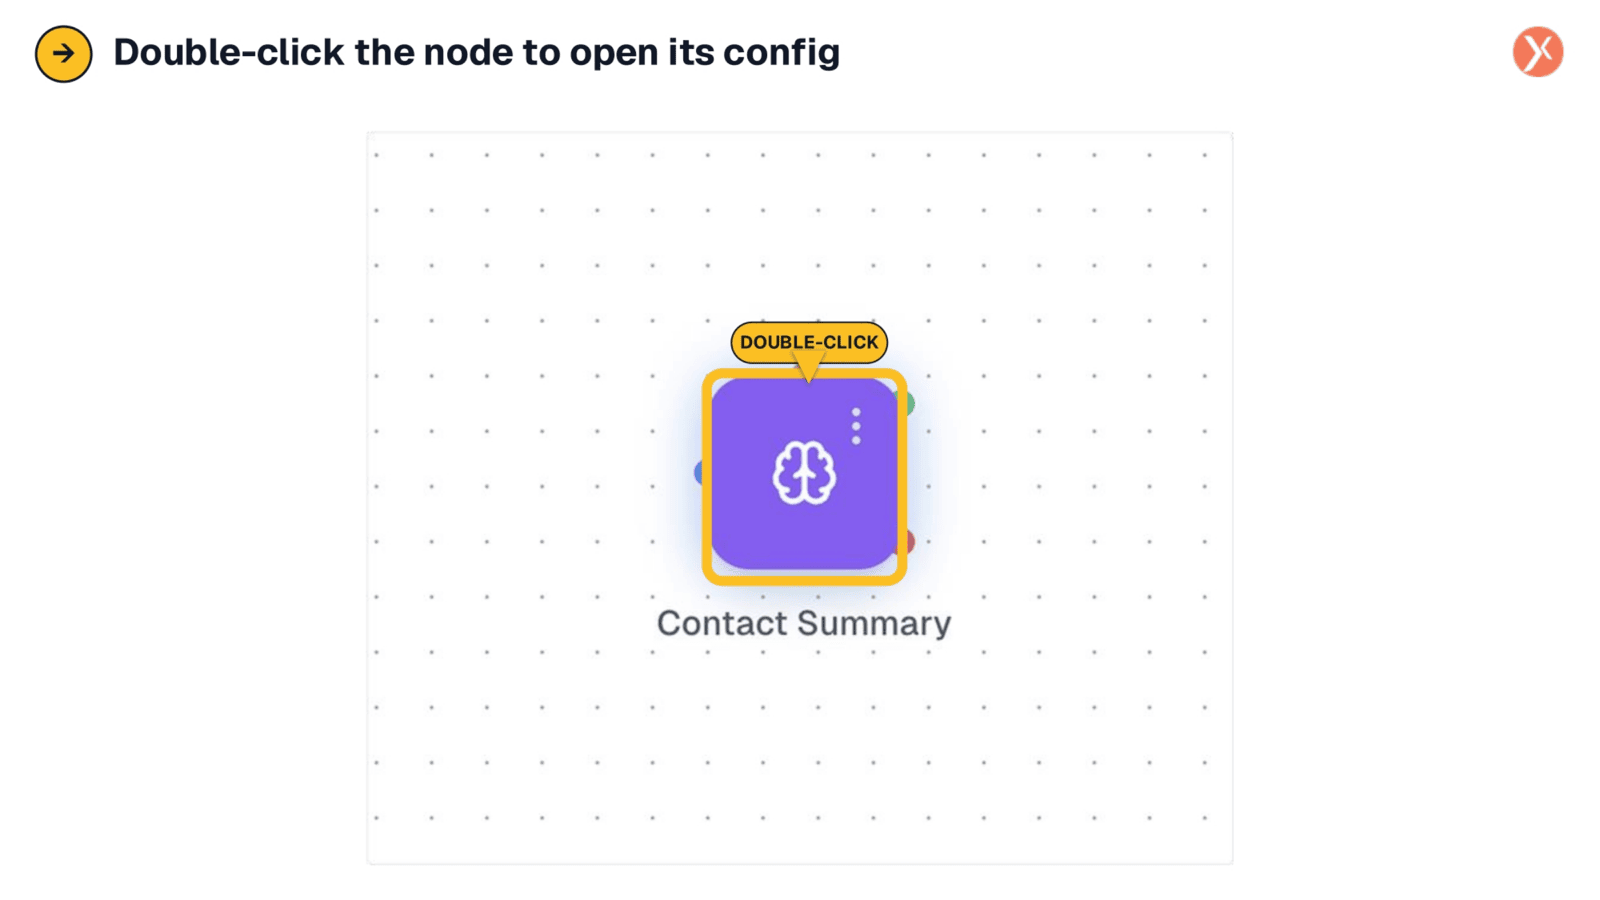
To access the detailed settings for the Contact Summary node, simply double-click its icon on the canvas. This action will open the Configuration Panel, where you can customize how the node processes and summarizes contact information. This panel is your gateway to tailoring the AI's output to your specific workflow needs.
Node Configuration Panel Overview
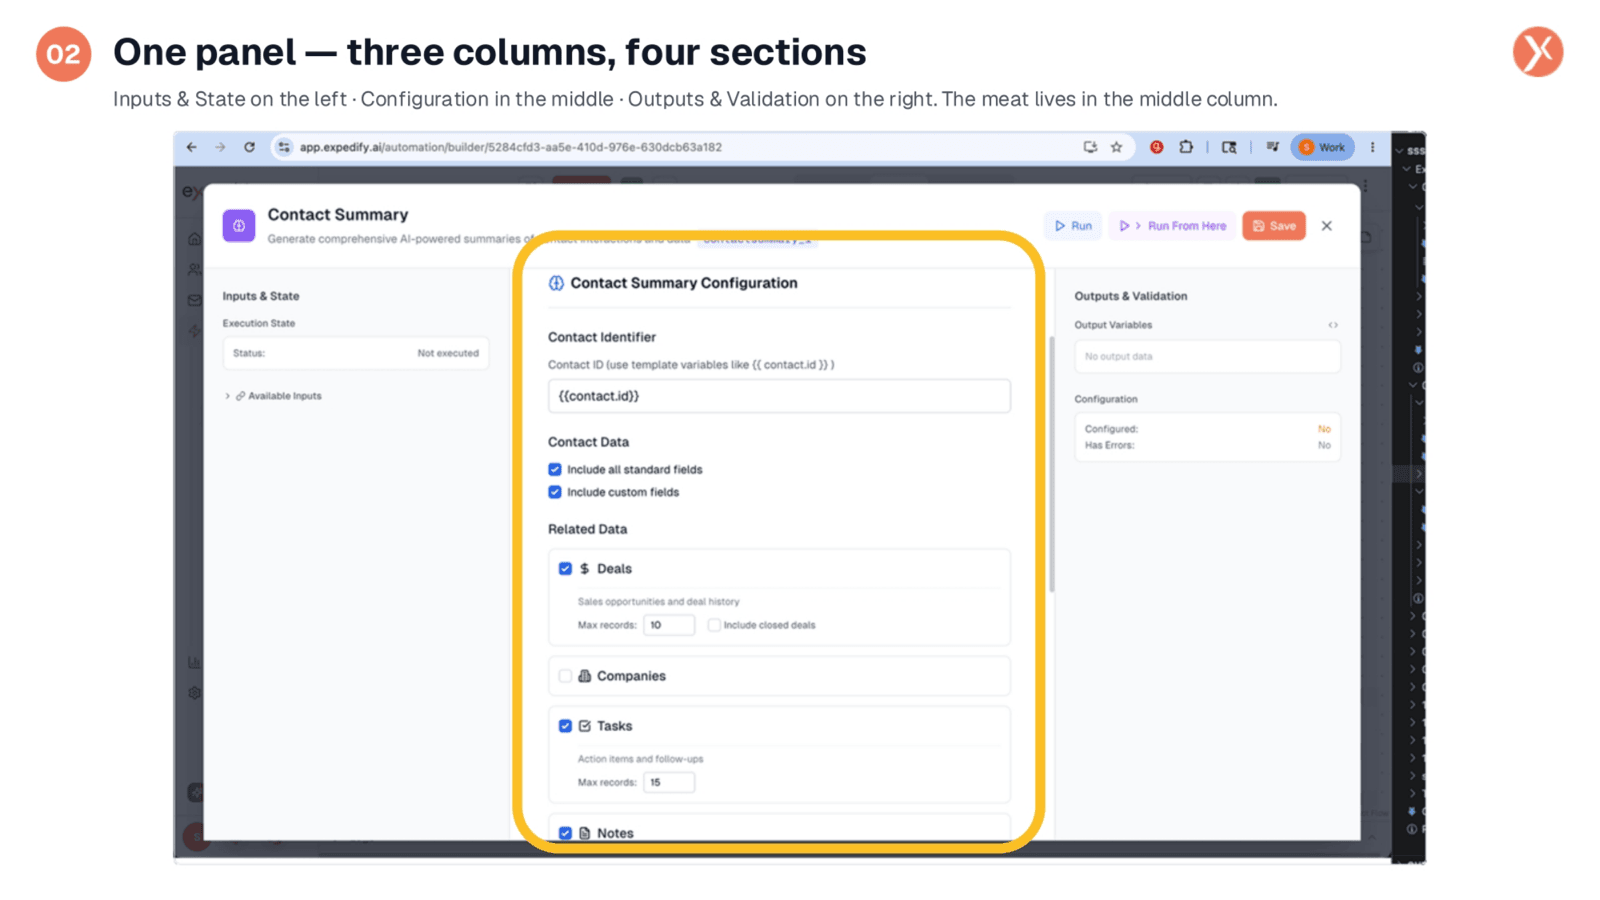
The Node Configuration Panel features a consistent three-column layout. On the left, you'll find Inputs and State, showing incoming data and run status. The right column displays Outputs and Validation, detailing what the node returns and its configuration status. The central column is where you define the contact, select data to bundle, and set the time window. At the top, 'Run' and 'Run From Here' allow for testing, and 'Save' finalizes your changes. We'll now examine each section of the middle column.
Defining the Contact Identifier
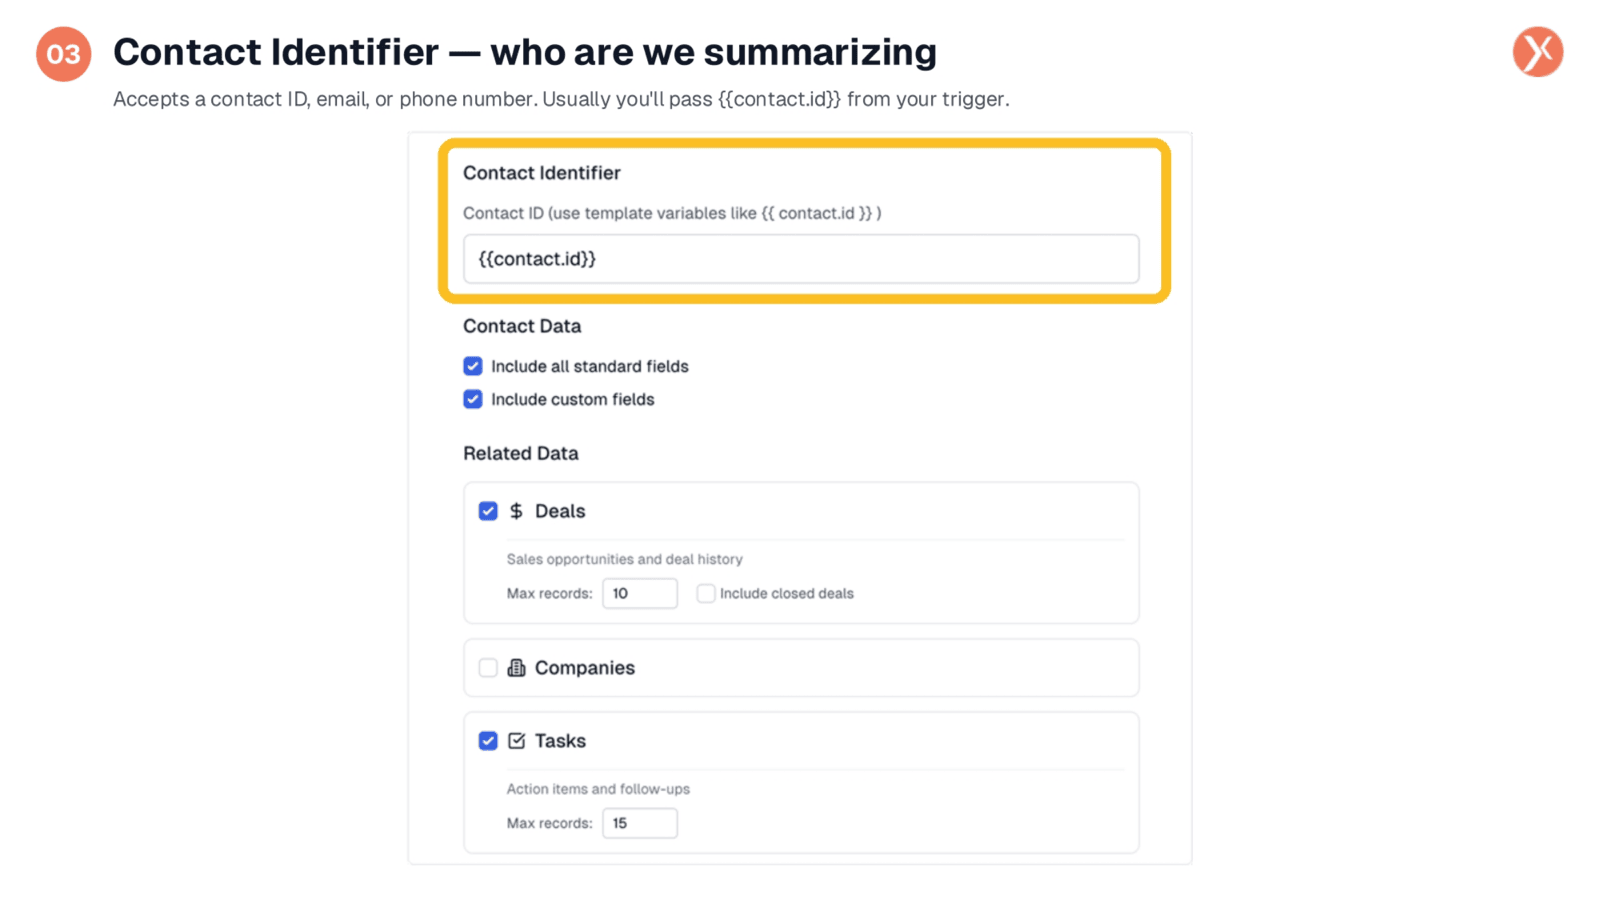
The first and only required field is the Contact Identifier, which specifies who you want to summarize. It accepts a contact ID, email address, or phone number, with the node intelligently determining the correct lookup method. In most workflows, you'll use a template variable from your trigger, such as {{contact.id}}, ensuring the node summarizes the contact relevant to the current workflow execution. This dynamic input makes the node highly adaptable.
Configuring Contact Data Fields
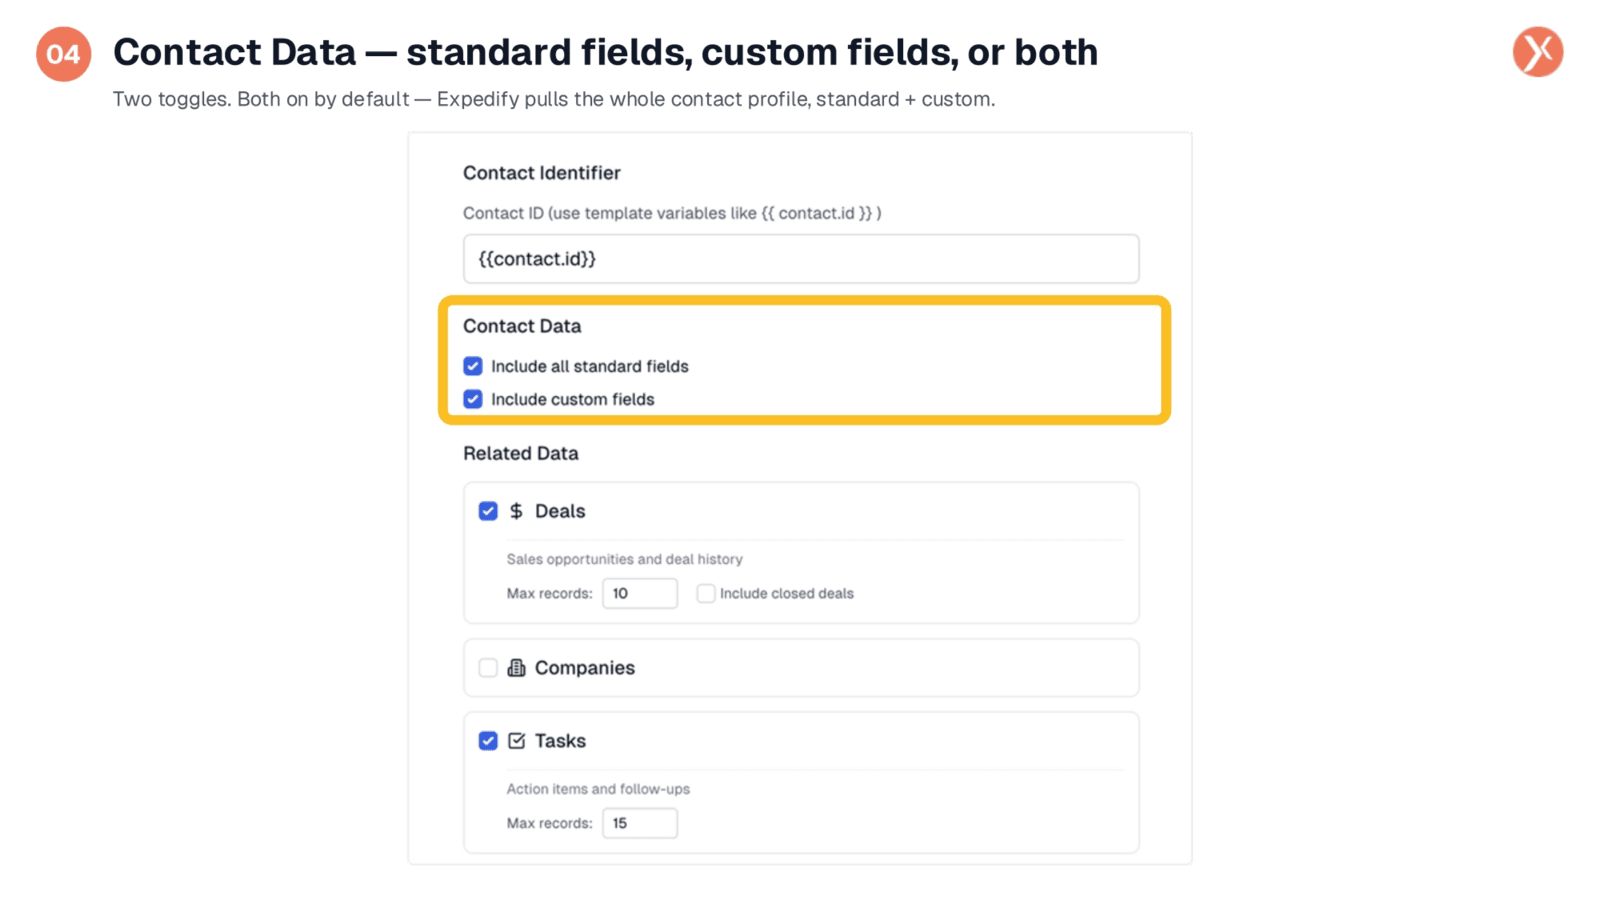
Below the identifier, the Contact Data section offers two toggles: 'Include all standard fields' and 'Include custom fields'. Standard fields cover essential information like name, email, and lifecycle stage, while custom fields encompass any additional data you've added. Both are enabled by default, which is ideal for most scenarios. If the AI summary becomes too verbose due to numerous custom fields, you can deselect that option to focus the AI on core profile data.
Bundling Related Data Records
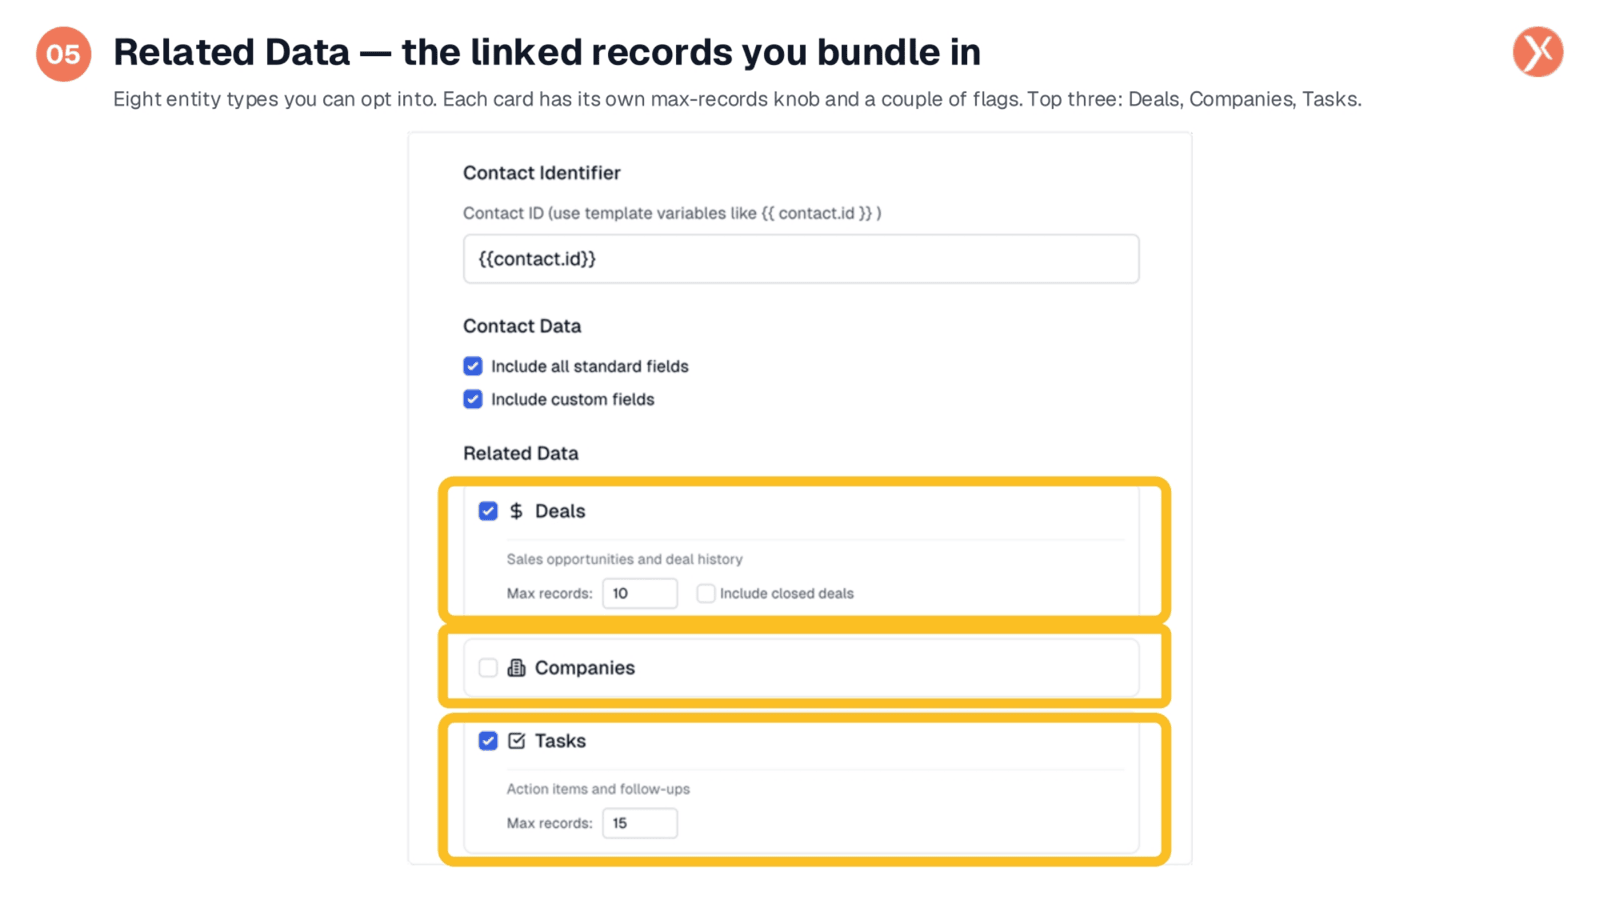
The Related Data section is crucial for providing comprehensive context. It features eight entity types that Expedify can pull in. The top three visible here are 'Deals', which includes sales opportunities and history, 'Companies', and 'Tasks', covering action items and follow-ups. Each card has options for maximum records and specific flags, like 'include closed deals'. Ticking a card ensures that entity's data is passed to the AI summary, allowing you to tailor the information provided to the AI.
Expanding Related Data: Communications and Activity
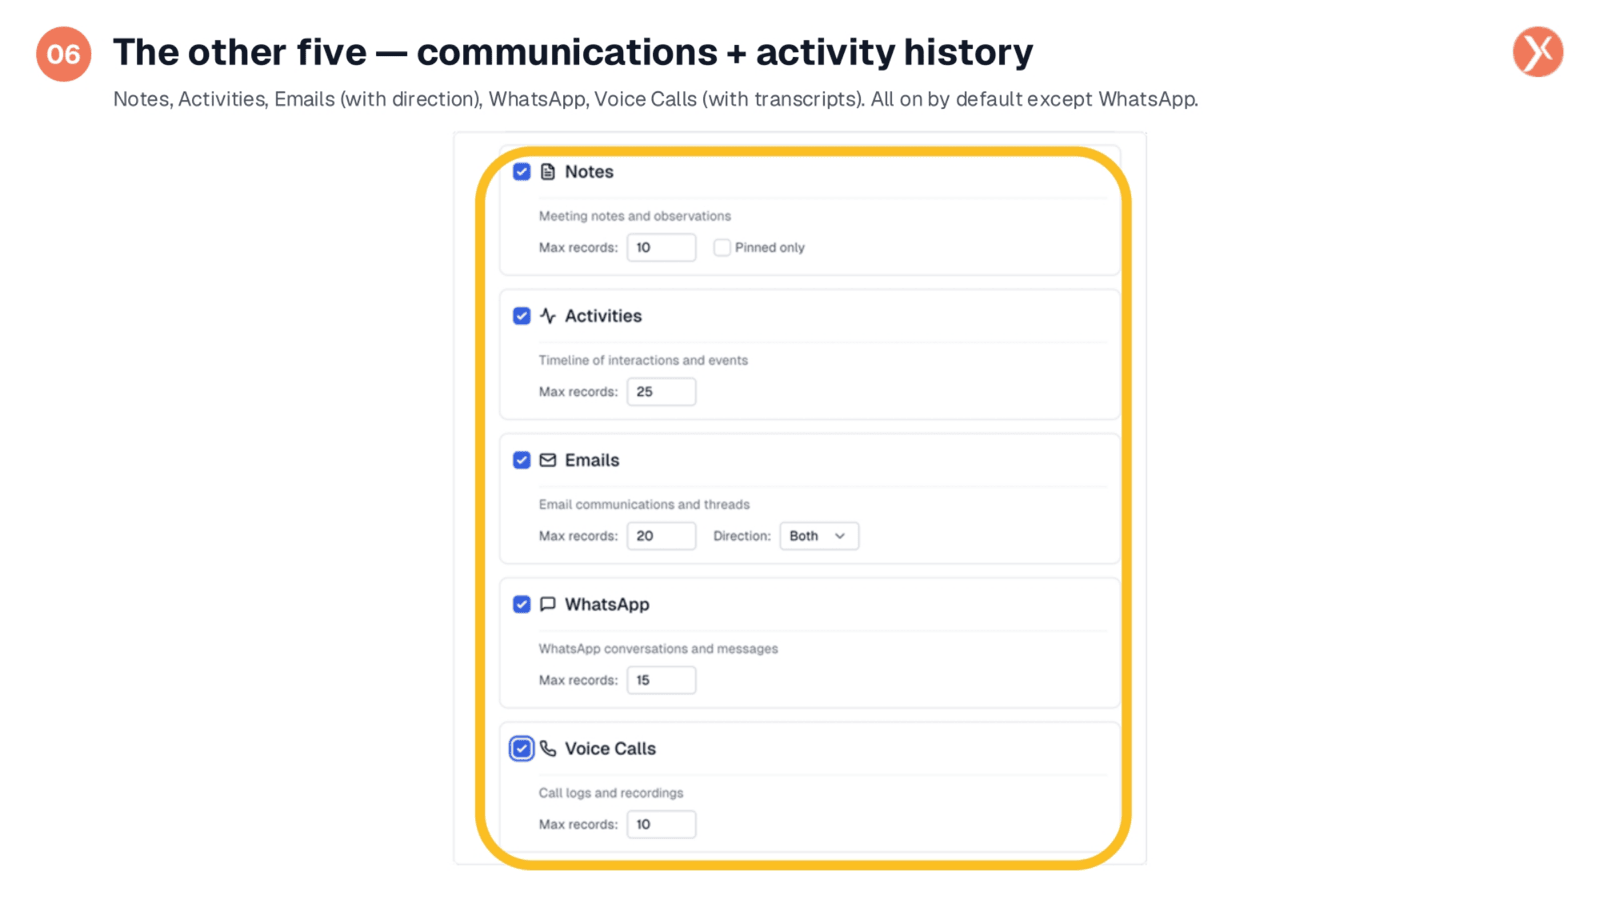
Scrolling down reveals the remaining five related data types, focusing on communications and activity history. These include 'Notes' for meeting observations, 'Activities' for interaction timelines, and 'Emails' with direction options. 'WhatsApp' conversations and 'Voice Calls' with AI transcriptions are also available. The voice call feature is particularly powerful, as it integrates call logs and their AI transcriptions directly into the summary, providing deep insights into recent interactions. Select only what's essential for your AI summary.
Setting Time Filters for Analysis
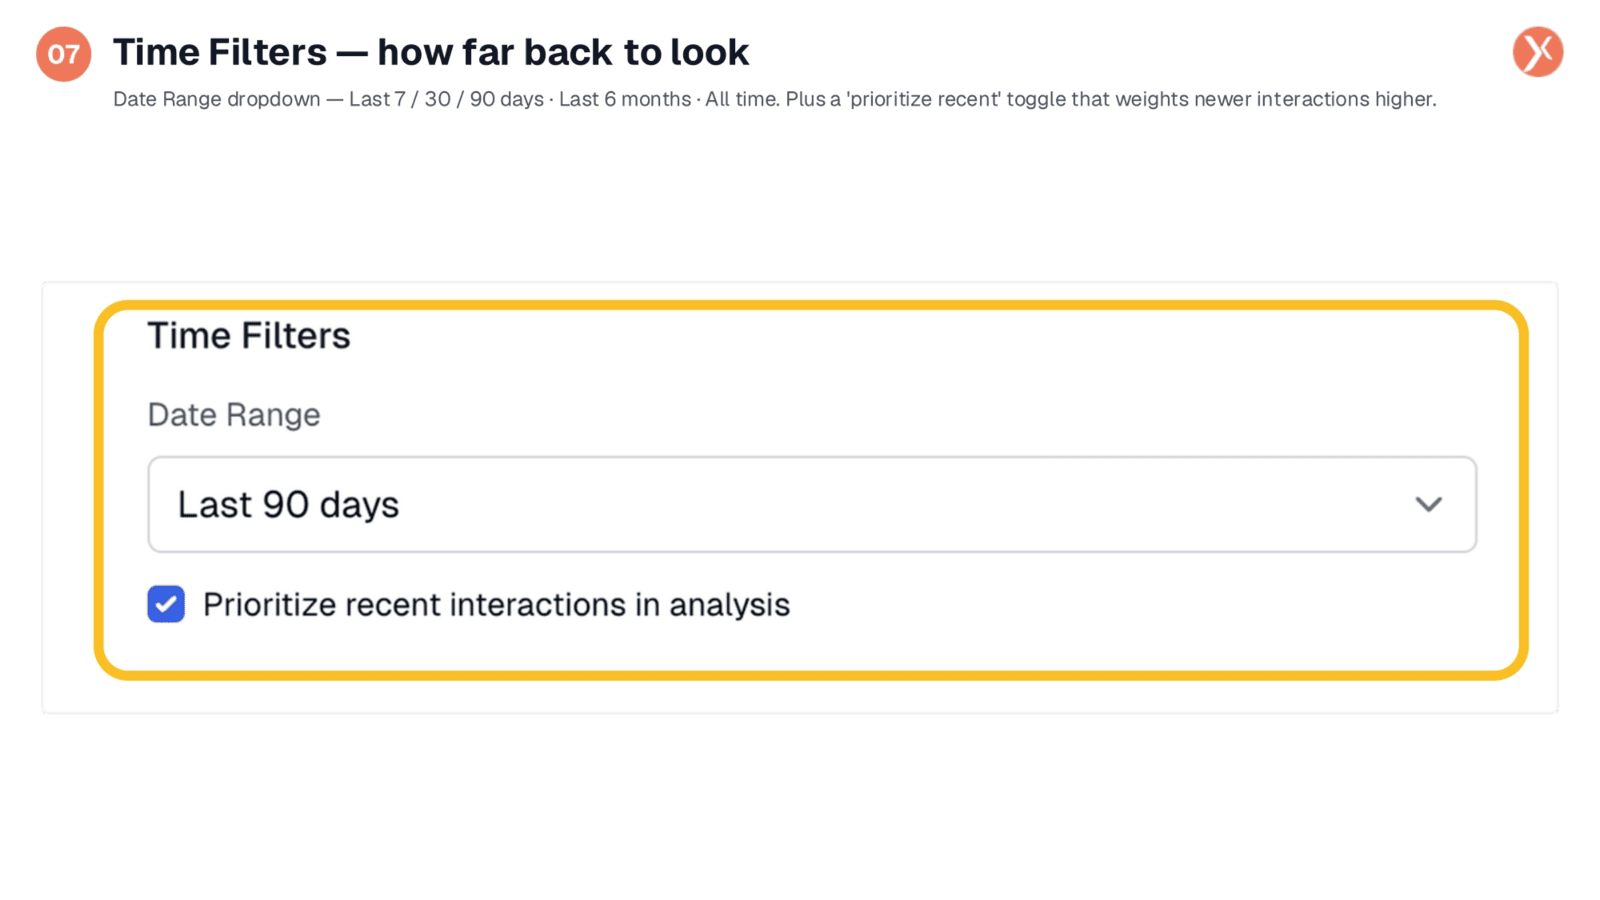
The final section, Time Filters, determines the historical depth of the data the AI analyzes. The default setting is ninety days, which is optimal for many B2B sales workflows, balancing useful history with current relevance. You can adjust this to shorter periods for quick-cycle businesses or extend it for long-term client management. The 'Prioritize recent interactions' toggle instructs the AI to give more weight to newer data, ensuring the summary reflects the most current relationship status.
Understanding Contact Summary Node Outputs
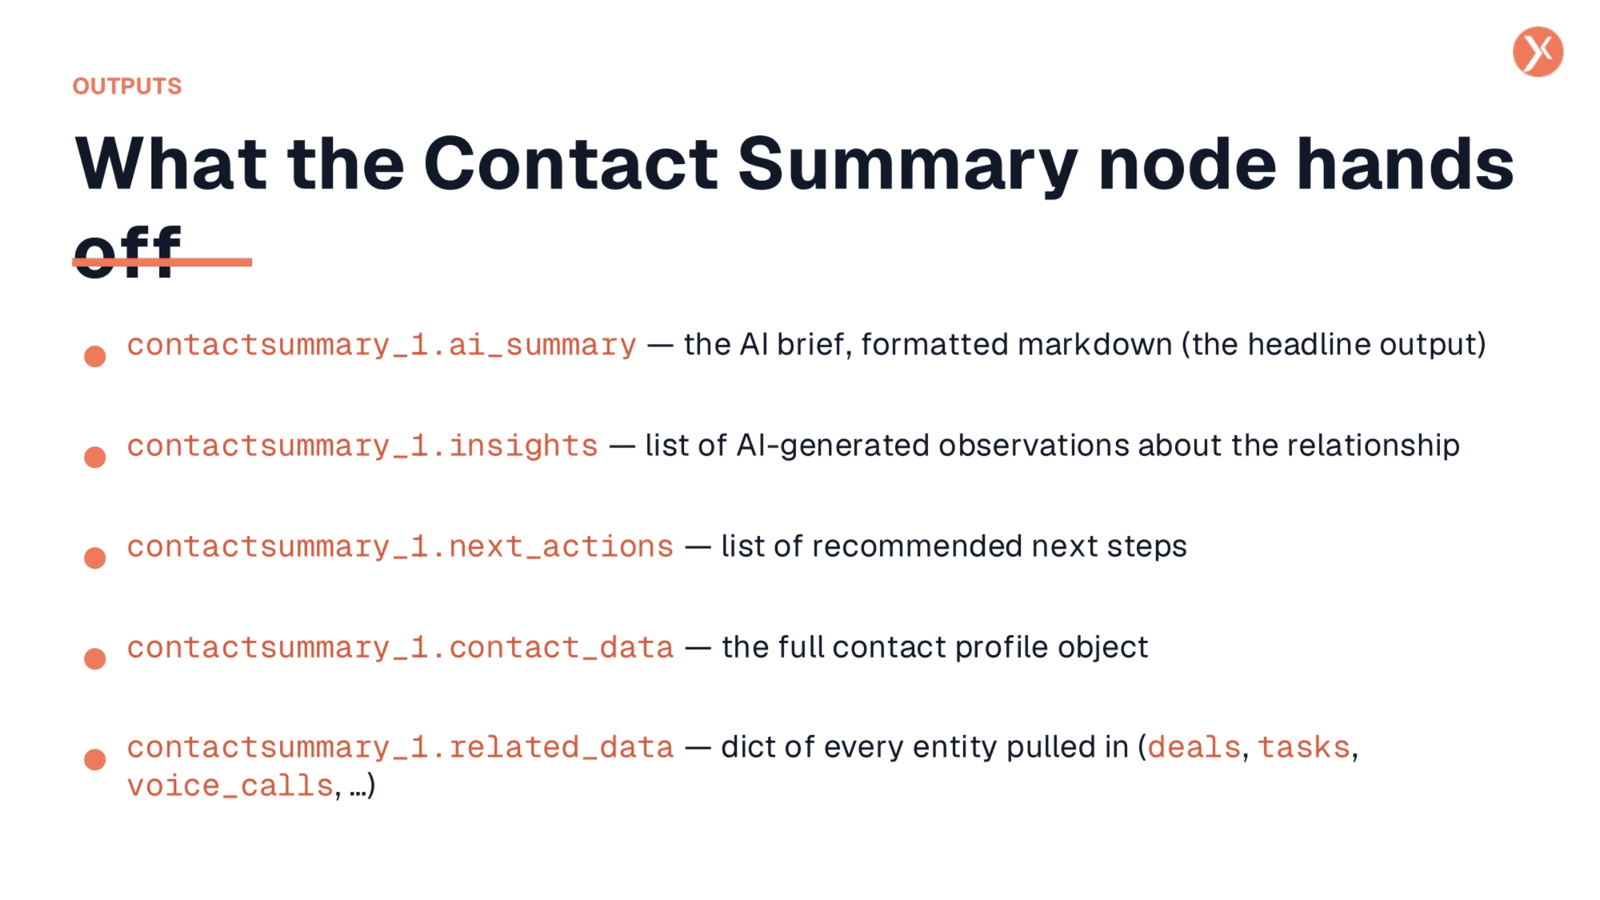
After the node runs, it provides several valuable outputs for your downstream actions. The primary output is contactsummary_1.ai_summary, a human-readable AI brief formatted in markdown, perfect for direct use in Slack messages or CRM notes. You also receive contactsummary_1.insights and contactsummary_1.next_actions as lists, ideal for bullet points or triggering follow-up tasks. For raw data needs, contactsummary_1.contact_data provides the full contact object, and contactsummary_1.related_data offers the complete bundle of related records the AI processed.
Recap: Contact Summary Node
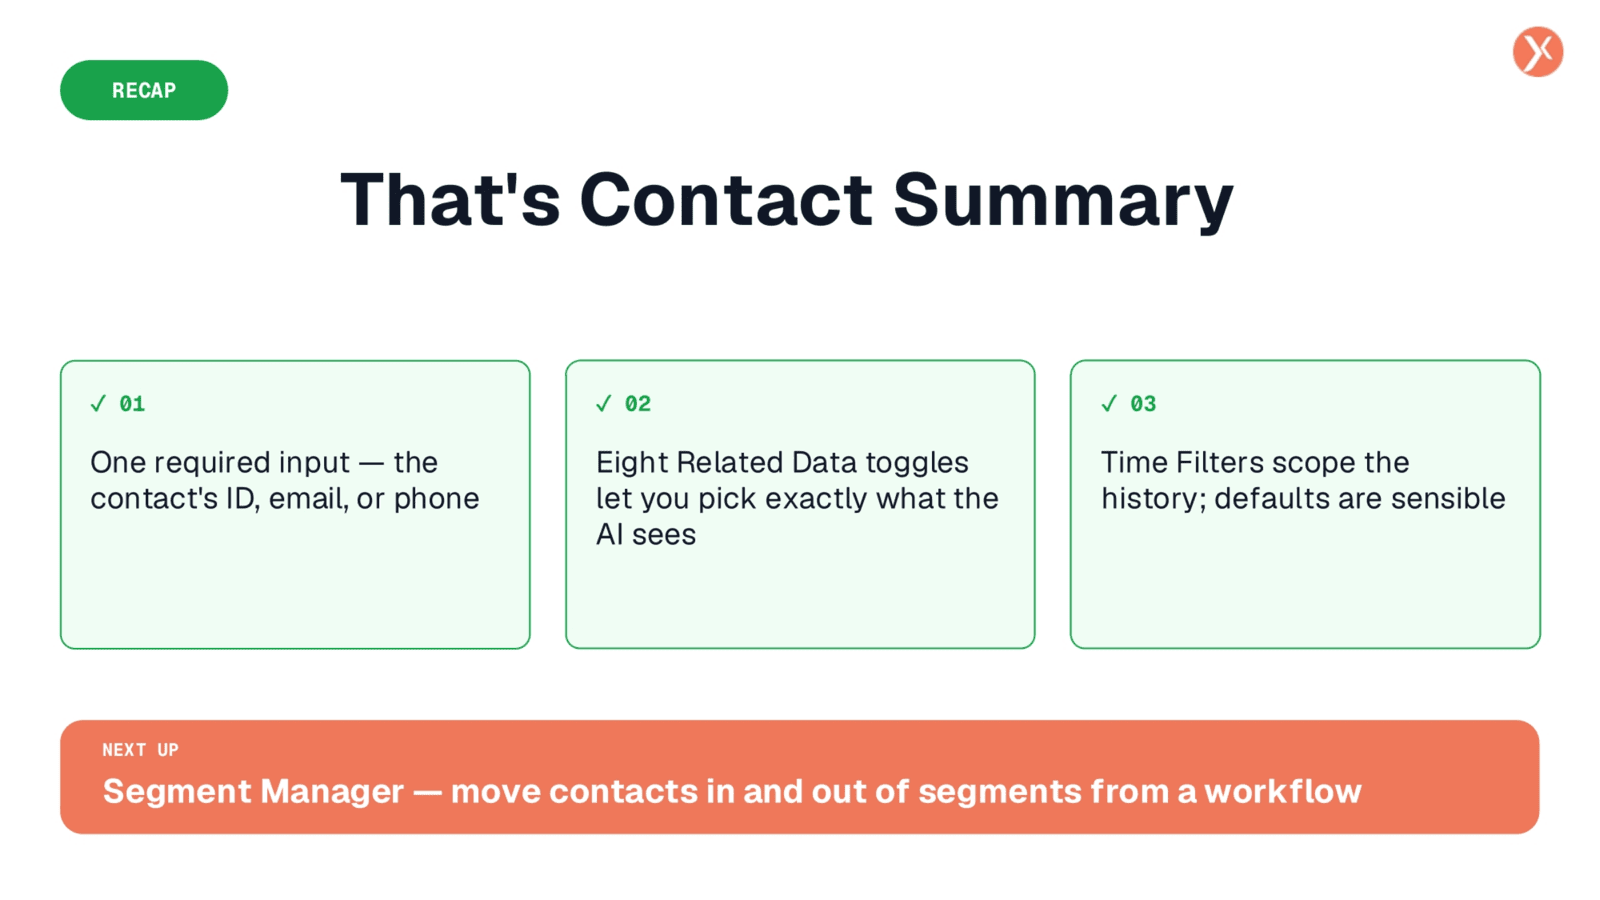
That concludes our overview of the Contact Summary node. It efficiently synthesizes contact information, related entities, and activity history into actionable insights. With smart default settings, you can often simply connect the contact identifier and deploy. This node significantly enhances workflows by providing pre-call briefs, daily digests, and AI-generated emails. Thank you for your attention.