Segment Manager
The Segment Manager is your essential lifecycle automation node within Expedify. It allows you to automatically move contacts into or out of specific segments as they progress through their customer journey. This ensures your marketing efforts are always targeted with the right messages, whether a lead upgrades, a trial expires, or a customer churns. It's a single, powerful node designed to handle all these critical segmentation tasks efficiently.
Segment Manager Demo
Welcome to our Segment Manager demo. We'll explore the three key drivers: the operation, the target contact, and the specific segment. This demonstration will guide you through configuring the node and understanding its capabilities.
Segment Manager on Canvas
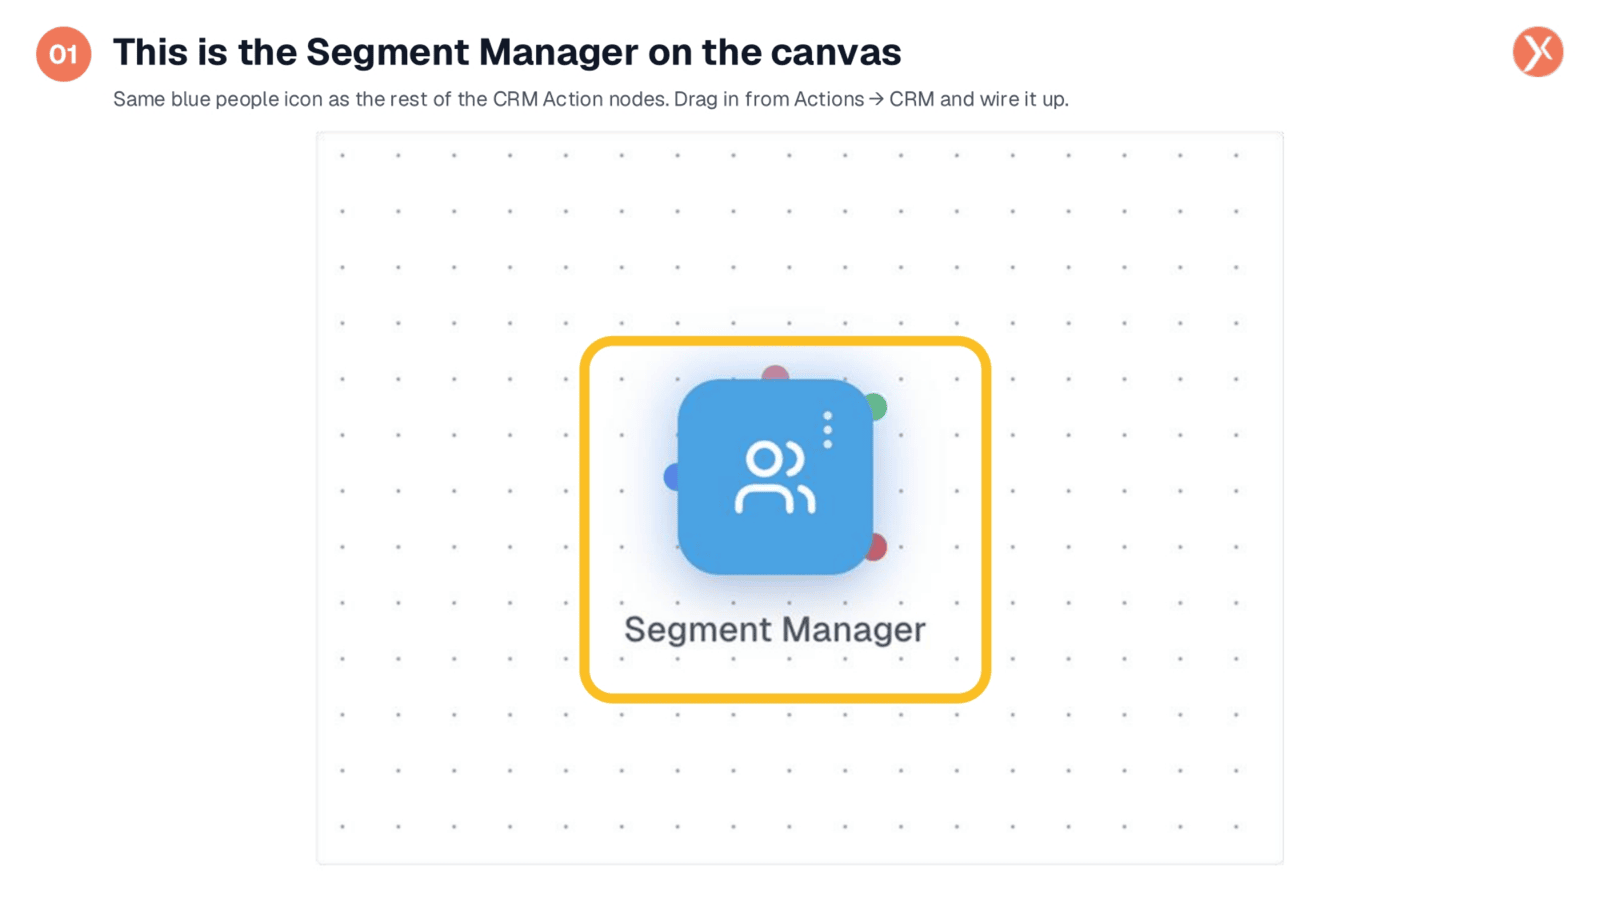
Here we see the Segment Manager node on the canvas. It shares the familiar blue icon with a people glyph, consistent with other CRM Action nodes. To use it, simply drag it from the Actions category in the Node Palette, connect it after the trigger or step that provides the contact you wish to act upon, and then double-click to access its configuration panel. All the detailed settings are managed within this panel.
Opening Configuration Panel
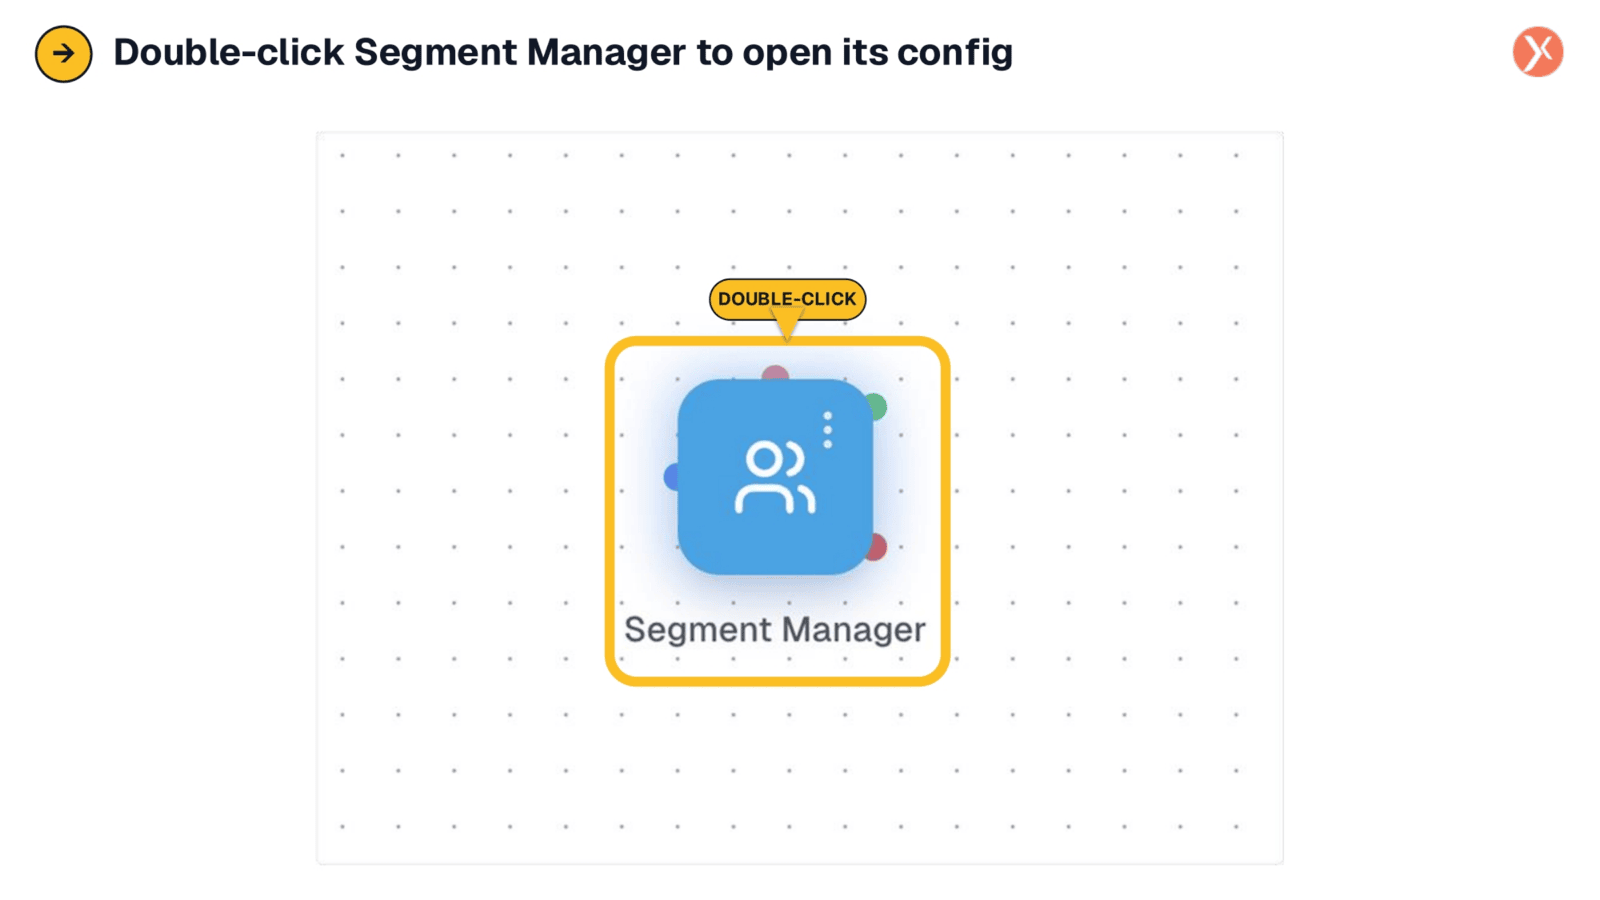
To access the Segment Manager's settings and begin configuring its behavior, simply double-click the node directly on the canvas. This action will open its dedicated configuration panel, allowing you to define all the necessary parameters for your segmentation operations and tailor it to your specific workflow needs.
Configuration Panel Fields
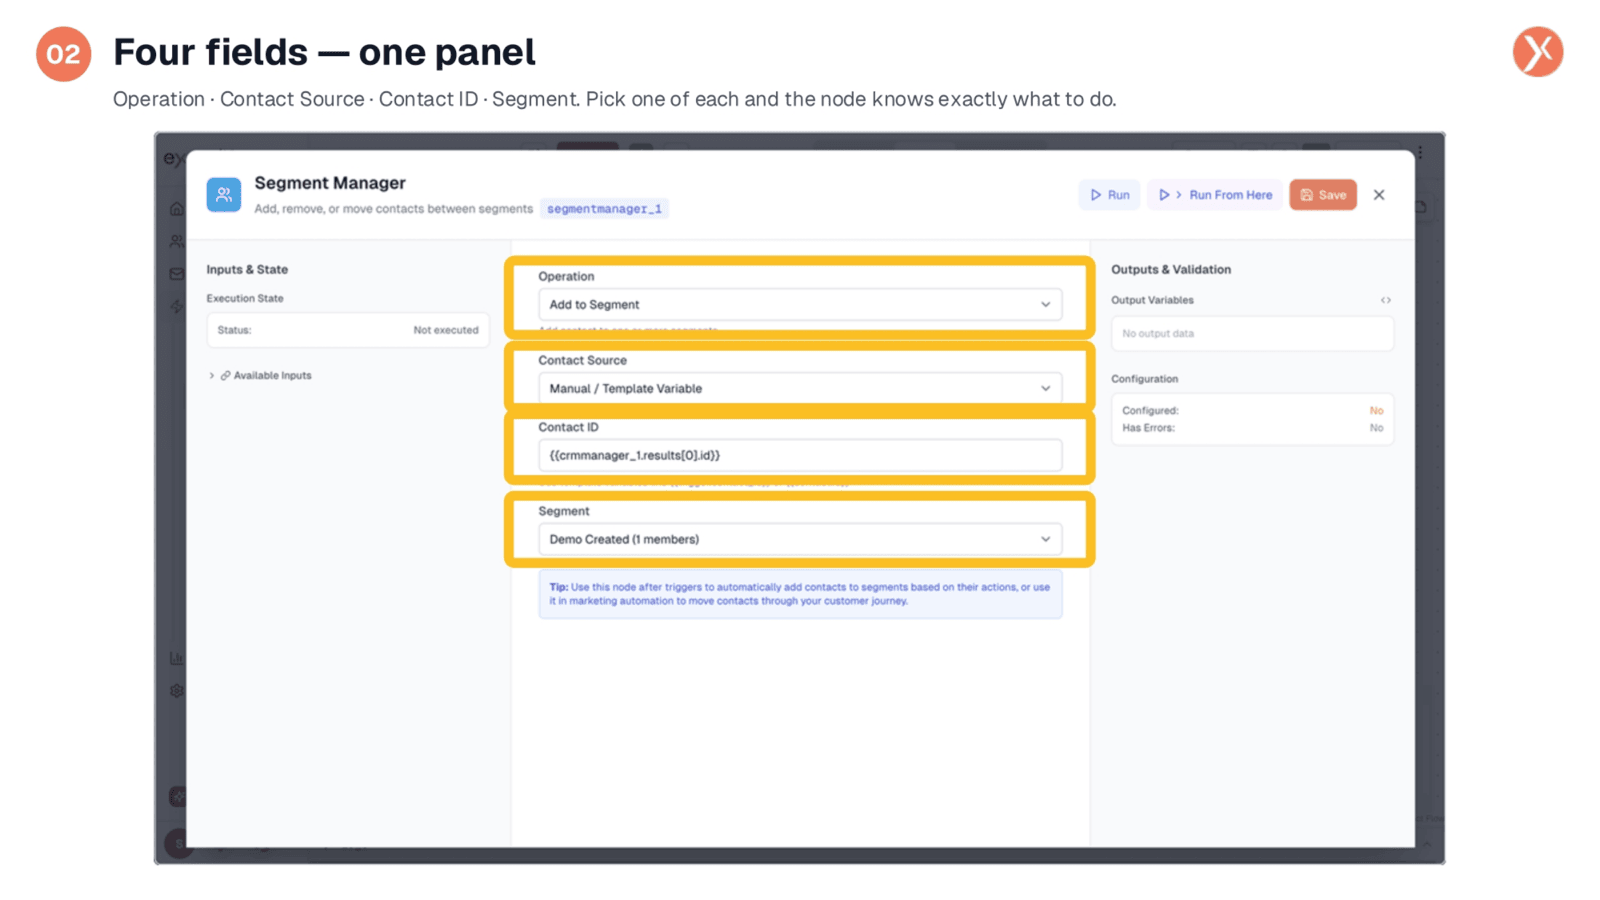
The Segment Manager's configuration panel presents four key fields, stacked vertically for clarity. These include Operation, defining the node's action; Contact Source, indicating where the contact originates; Contact ID, specifying the exact contact; and Segment, identifying the target segment. By completing these four fields, the node understands precisely what to do. This node is ideal for automatically tagging contacts based on their actions or guiding them through a customer journey.
Operation Choices
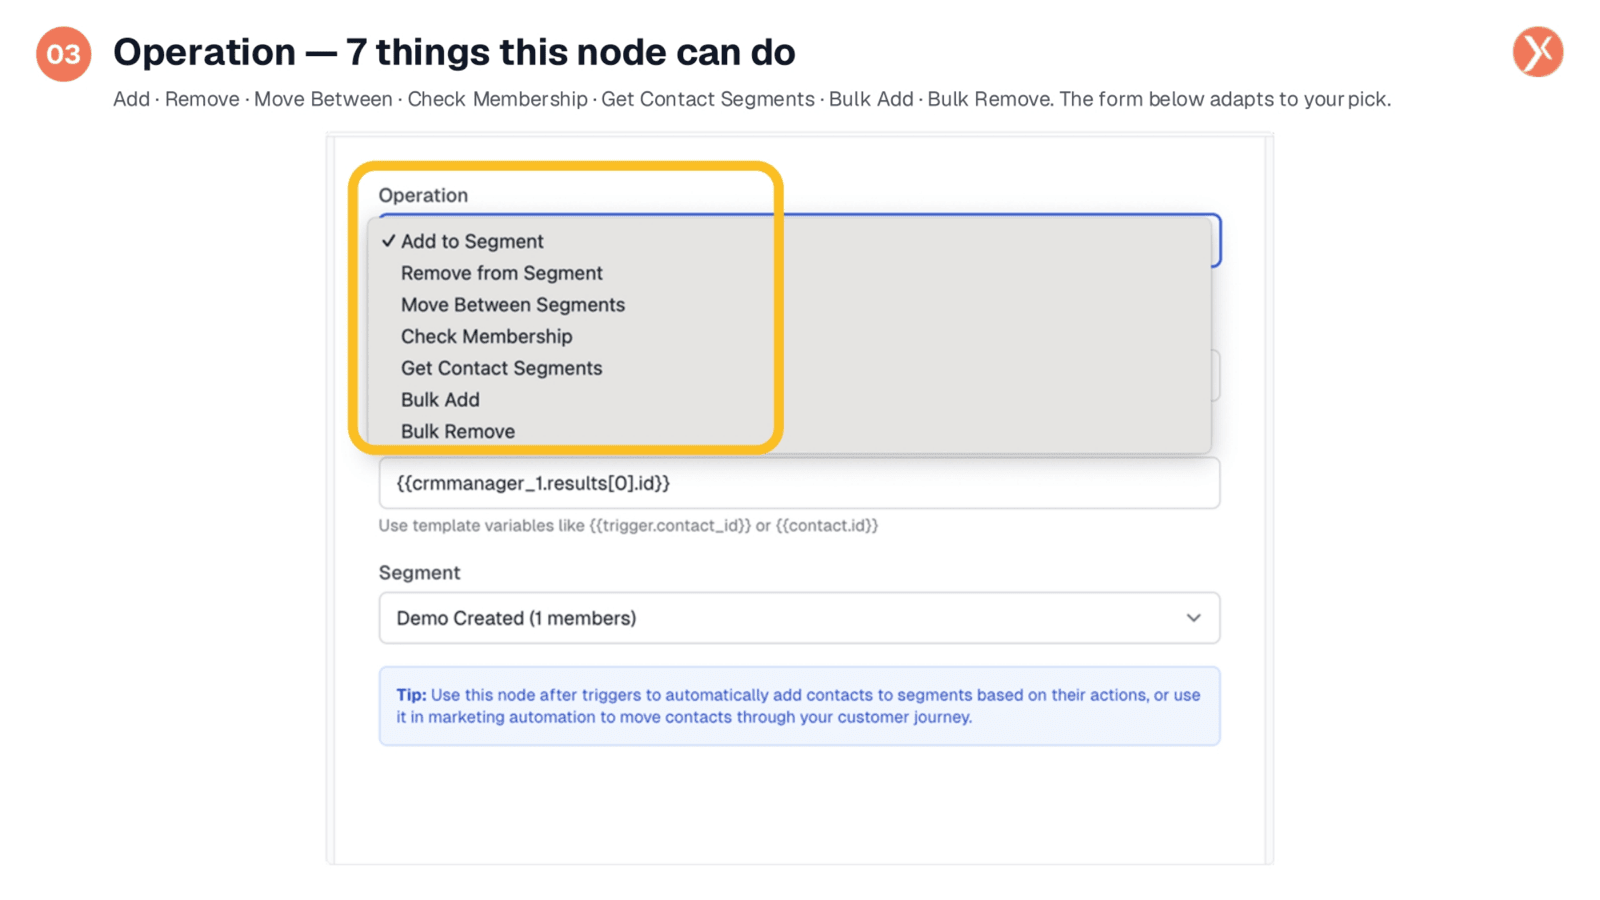
The first field, Operation, offers seven distinct choices, covering every membership action you might need. Options include adding or removing a single contact from a segment, or moving a contact between two segments, which is perfect for managing stage changes. You can also check a contact's membership status, retrieve a list of all segments a contact belongs to, or perform bulk additions and removals using an array of contact IDs. The fields below this dropdown dynamically adjust based on your selection.
Contact Source Options
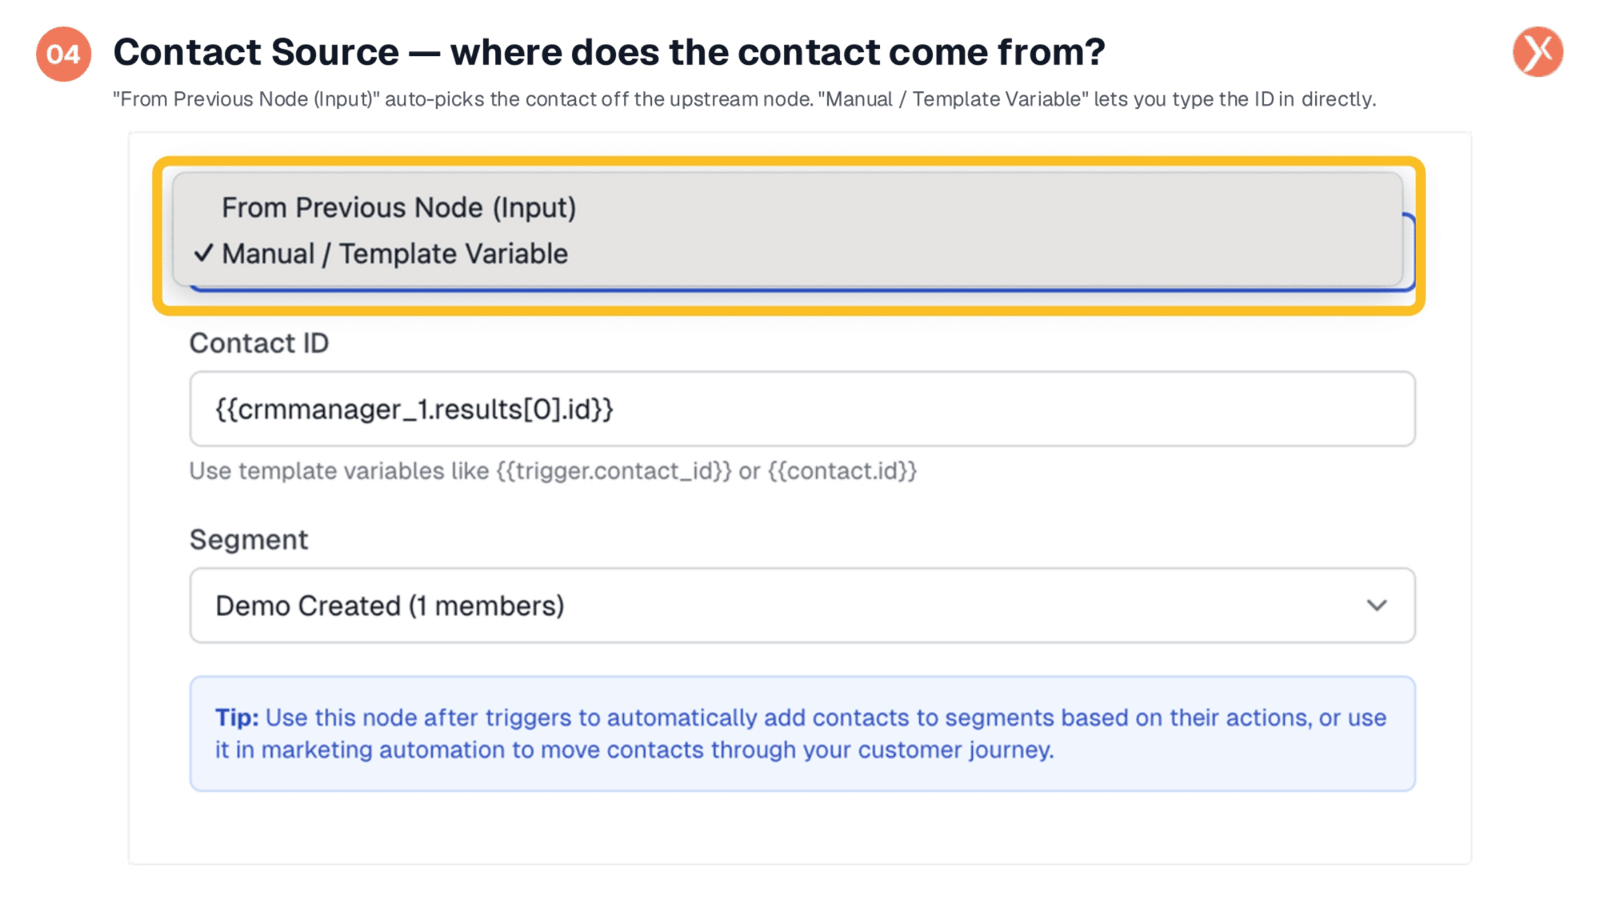
Next, we define the Contact Source, which has two primary modes. "From Previous Node (Input)" is the automatic option, where the node intelligently extracts a contact ID from the upstream node's output. This is often preferred when the preceding node is a CRM Manager or a trigger. Alternatively, "Manual / Template Variable" allows you to explicitly input a contact ID or use a template variable, providing flexibility when you need to target a specific contact from a broader scope.
Specifying Contact ID
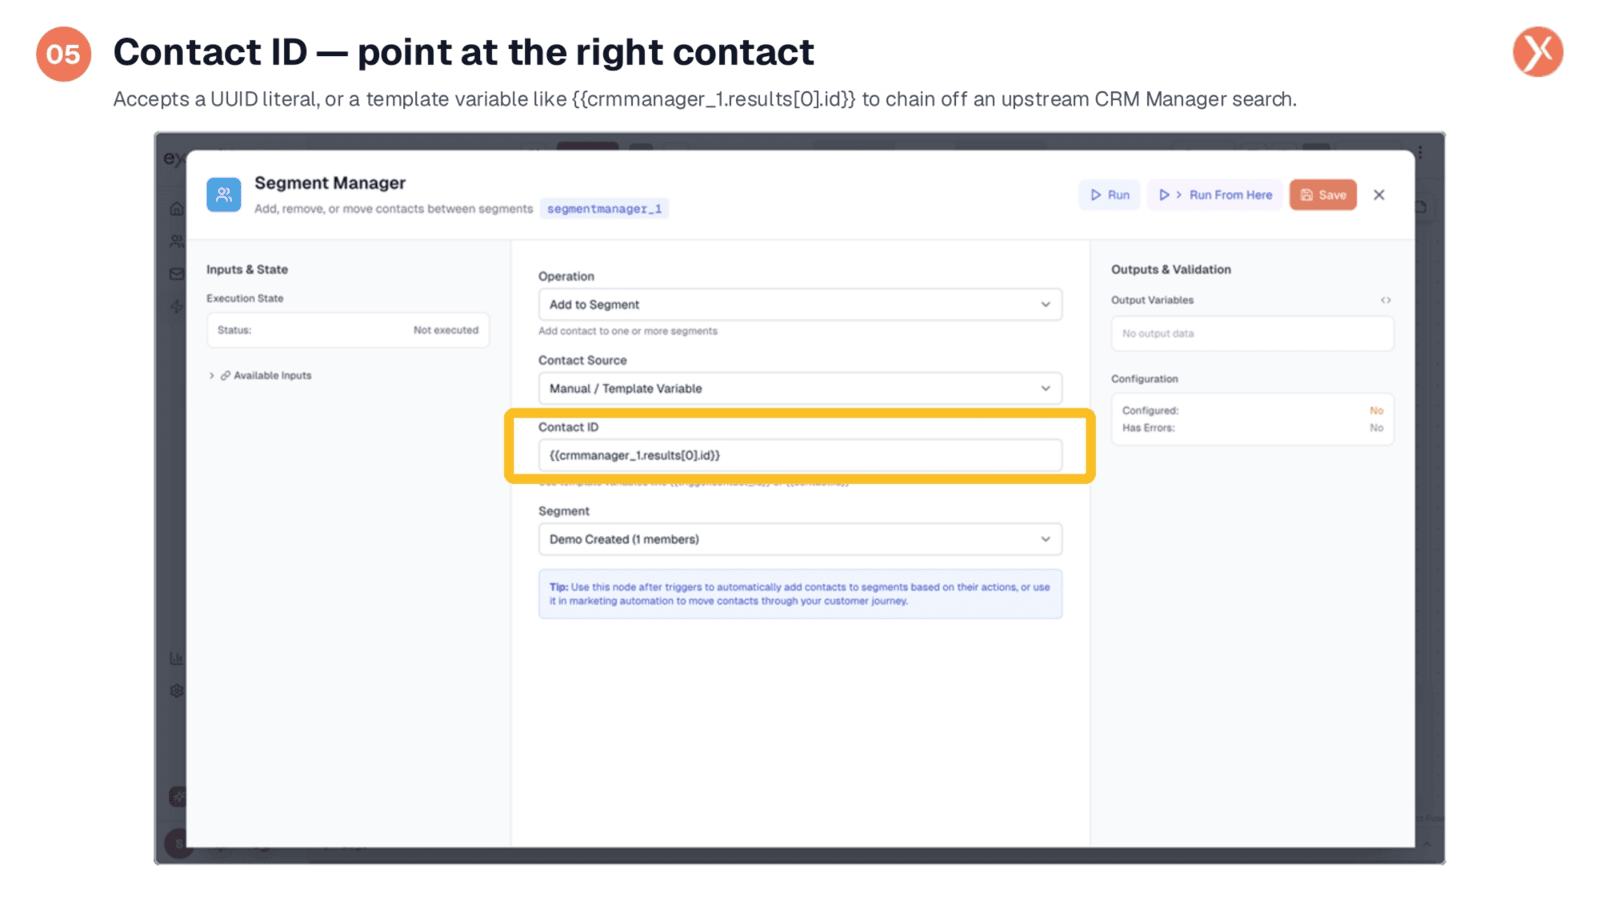
The Contact ID field is where you precisely identify the contact for the operation. This often leverages template variables, such as crmmanager_1.results[0].id to target the first contact from a CRM Manager search, or trigger.contact_id if the workflow is initiated by a database trigger. This flexibility ensures that the Segment Manager can accurately pinpoint the correct contact, regardless of how their ID is generated upstream in your workflow.
Selecting Target Segment
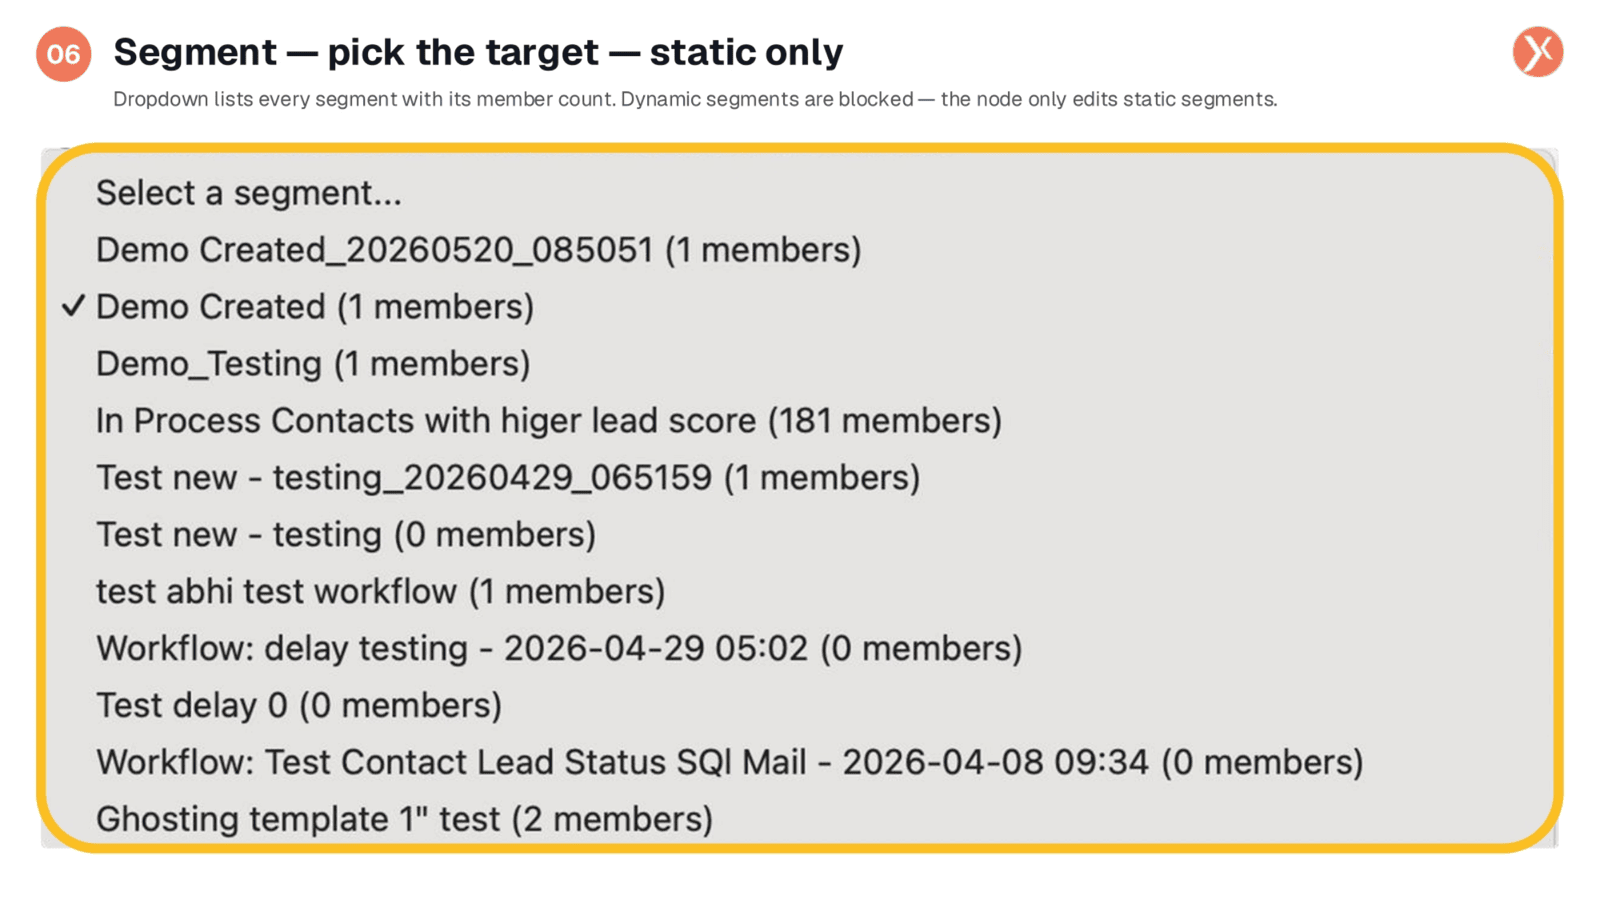
The final field is Segment, where you select your target. The dropdown conveniently lists all segments in your organization, along with their current member counts. It's crucial to note that dynamic segments are not available as targets here. This is because dynamic segments automatically rebuild based on filter rules, and manual additions or removals would simply be overwritten. For workflow-driven membership, always use a static segment. This same dropdown is used for source, target, and bulk targets in other operations.
Segment Manager Outputs
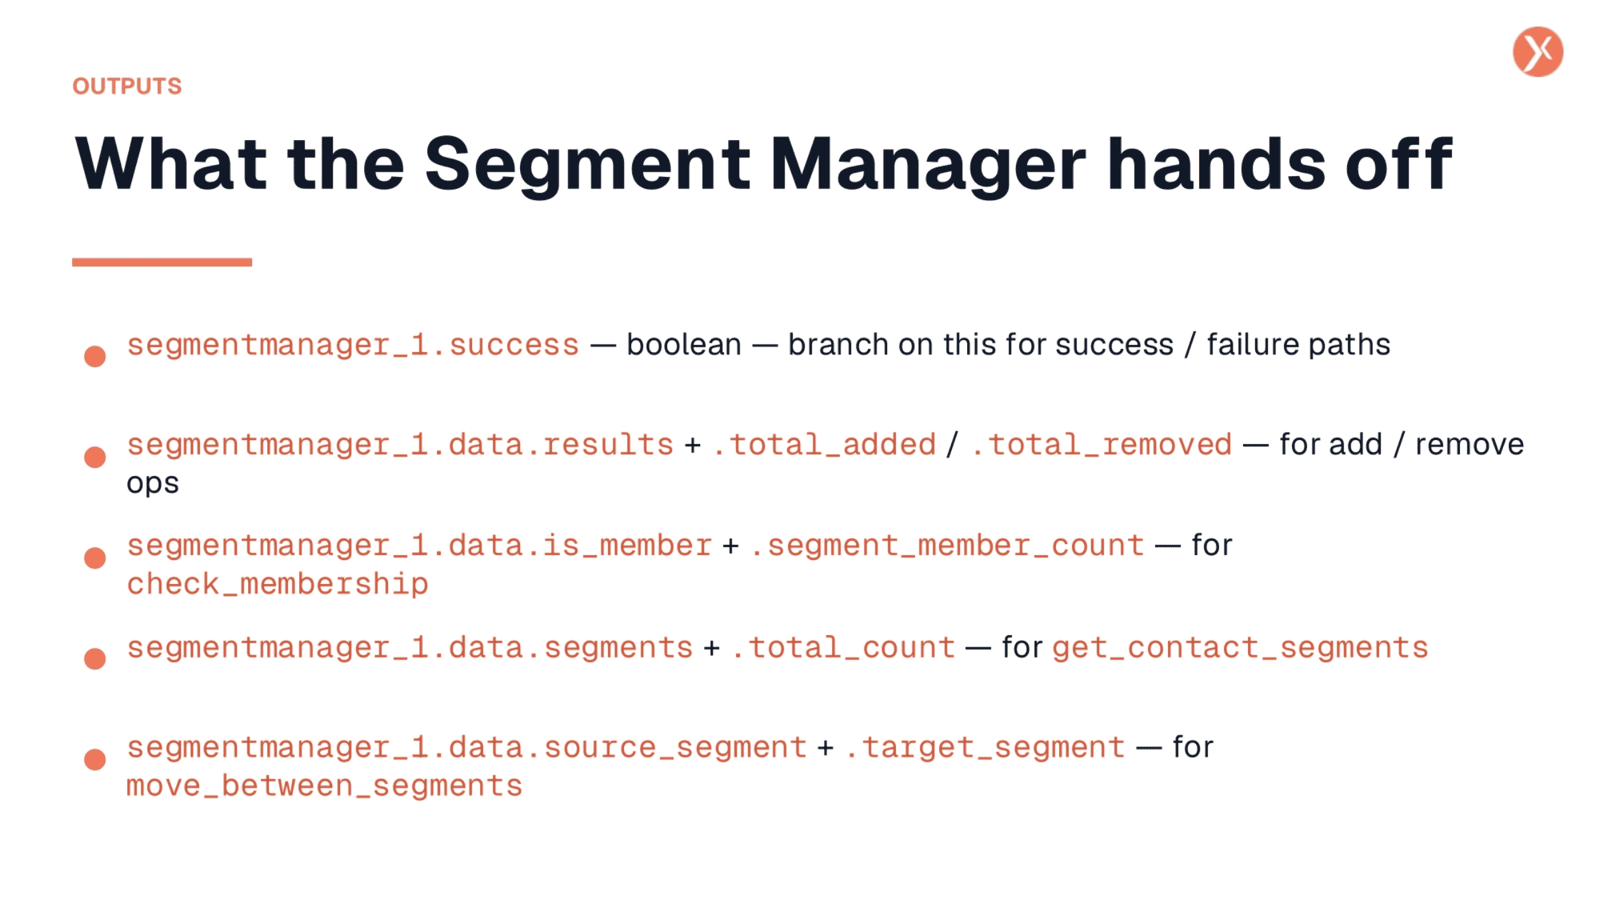
Understanding the outputs of the Segment Manager is key for building robust downstream workflows. The segmentmanager_1.success boolean allows you to branch your workflow based on the operation's outcome. Detailed payload information is found under segmentmanager_1.data, with its structure varying by operation. For add and remove, you'll find total_added or total_removed counts. check_membership provides is_member and segment_member_count, while get_contact_segments returns an array of segments. For move_between_segments, you receive both source_segment and target_segment objects.
Segment Manager Recap
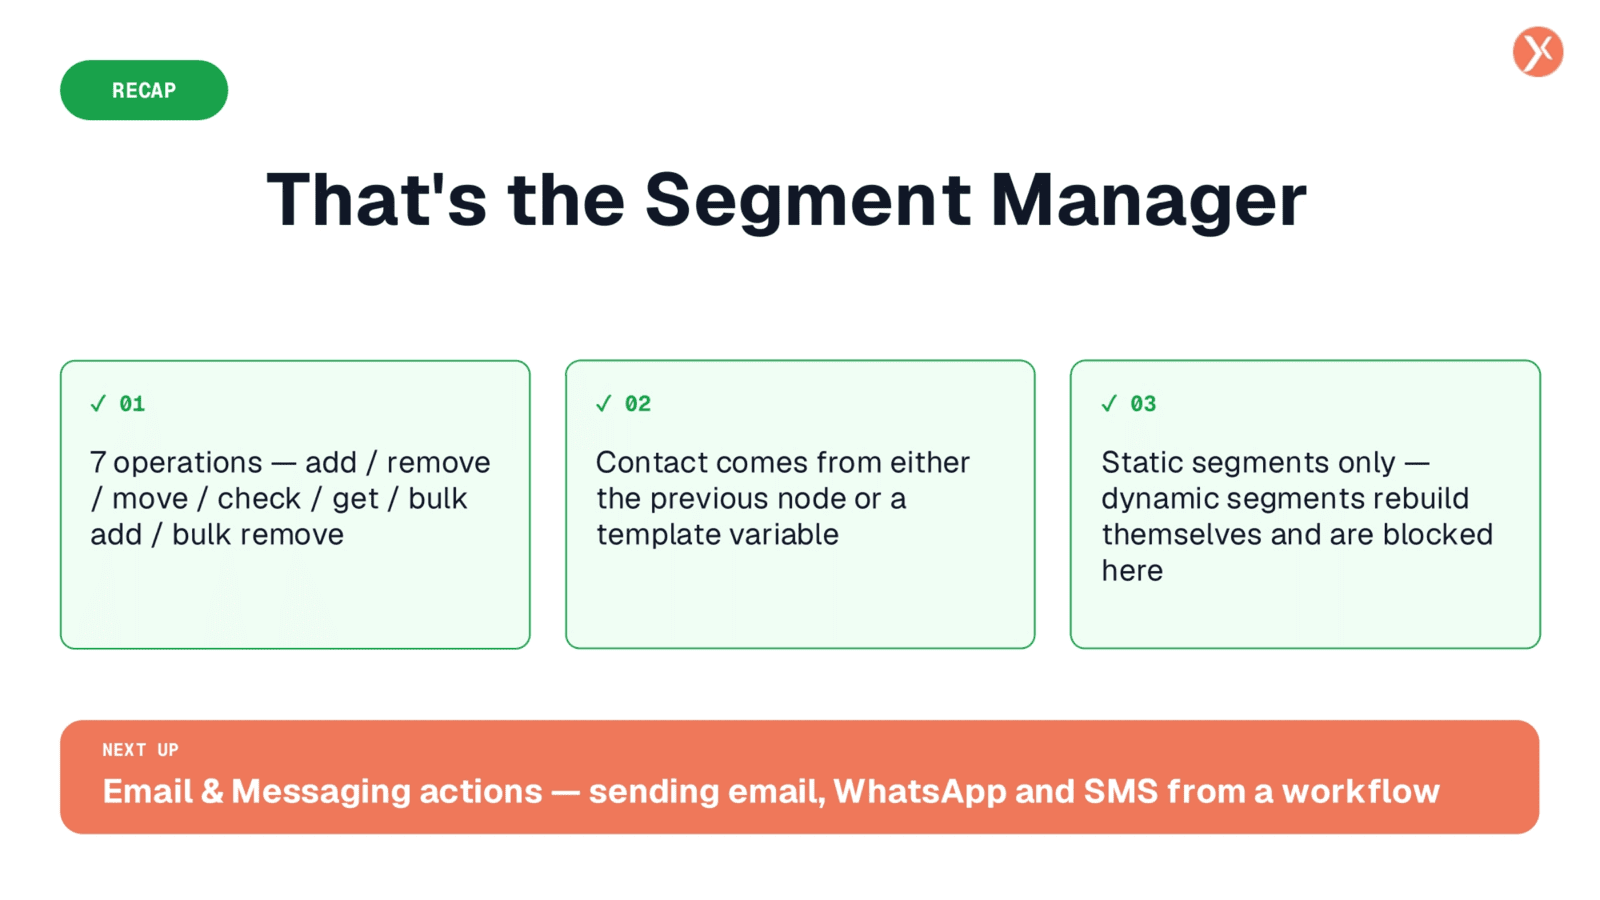
That concludes our overview of the Segment Manager. This powerful lifecycle automation node offers seven distinct operations for managing static segments. Remember, only static segments are editable here.