Google Sheets
Today, we're diving into the Google Sheets node, designed to automate your data, rows, and spreadsheets. We'll cover essential operations like reading, writing, and appending data, demonstrating how Expedify can streamline your spreadsheet-based workflows.
Google Sheets Operations and Sub-tabs
This demonstration focuses on the Google Sheets node, which offers seven distinct operations across three sub-tabs. We'll specifically highlight the core trio: Read Range, Write Range, and Append Rows, showing how they simplify common spreadsheet tasks. The other four operations follow a similar pattern once you understand these fundamentals.
Introducing the Google Sheets Node
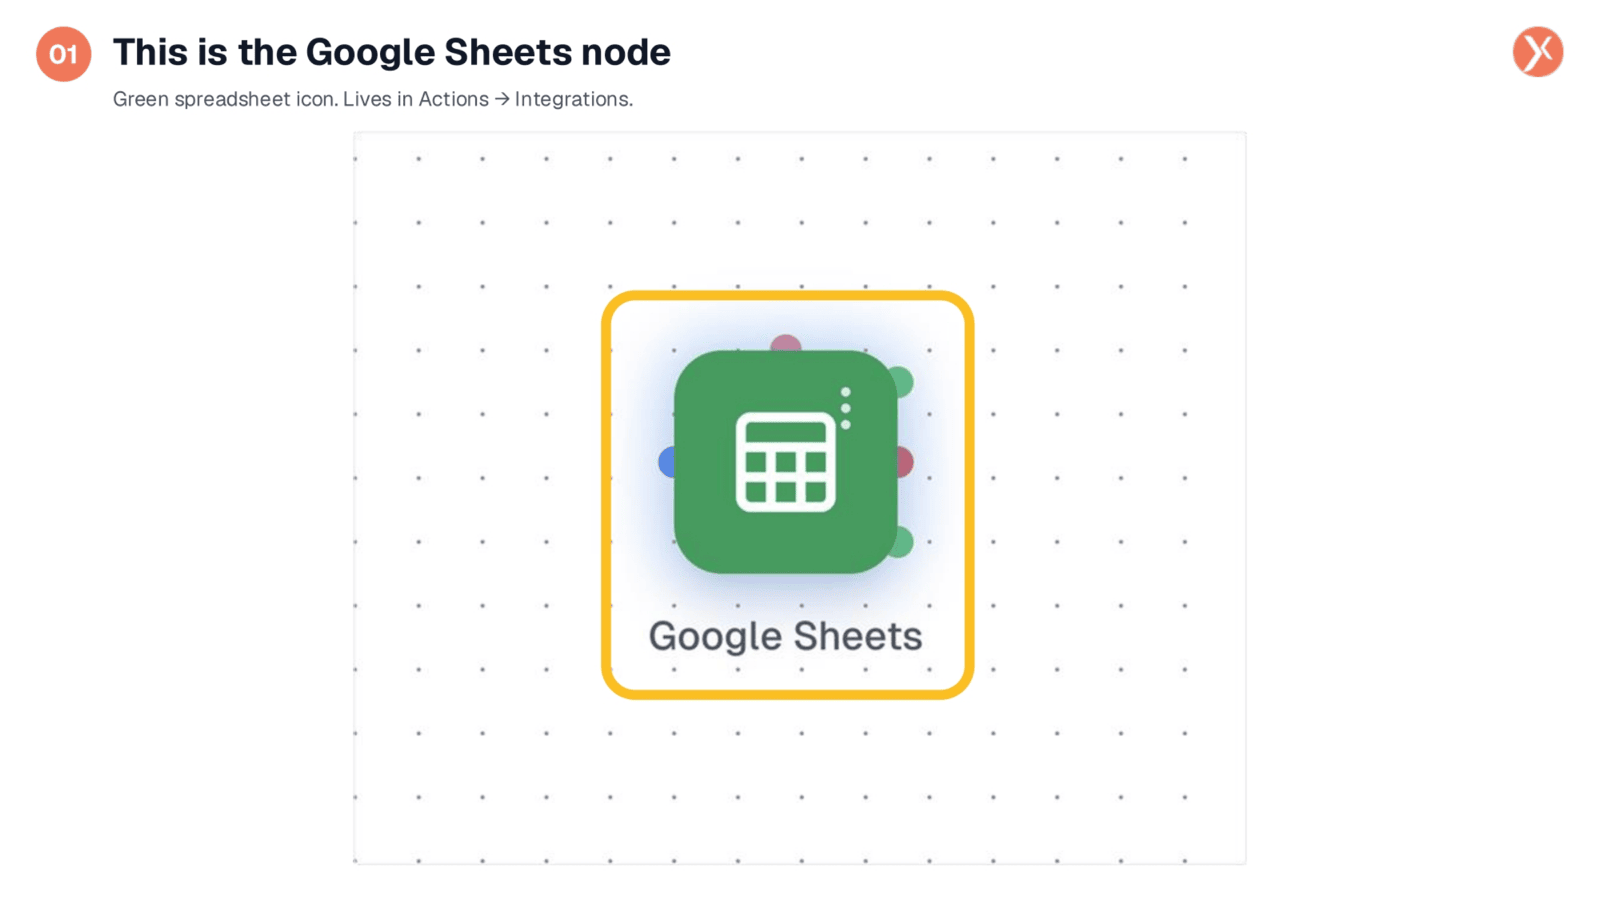
Here is the Google Sheets node on the canvas, represented by its familiar green spreadsheet icon. You'll find this node within the Actions section under Integrations. It's designed to keep your spreadsheets synchronized with workflow data automatically, eliminating the need for manual copy-pasting or intermediate tools.
Opening the Node Configuration
To access the configuration settings for the Google Sheets node, simply double-click on its icon. This action will open the Node Configuration Panel, providing you with all the necessary options to define how the node interacts with your Google Sheets and automates your data processes.
The Google Sheets Panel Layout
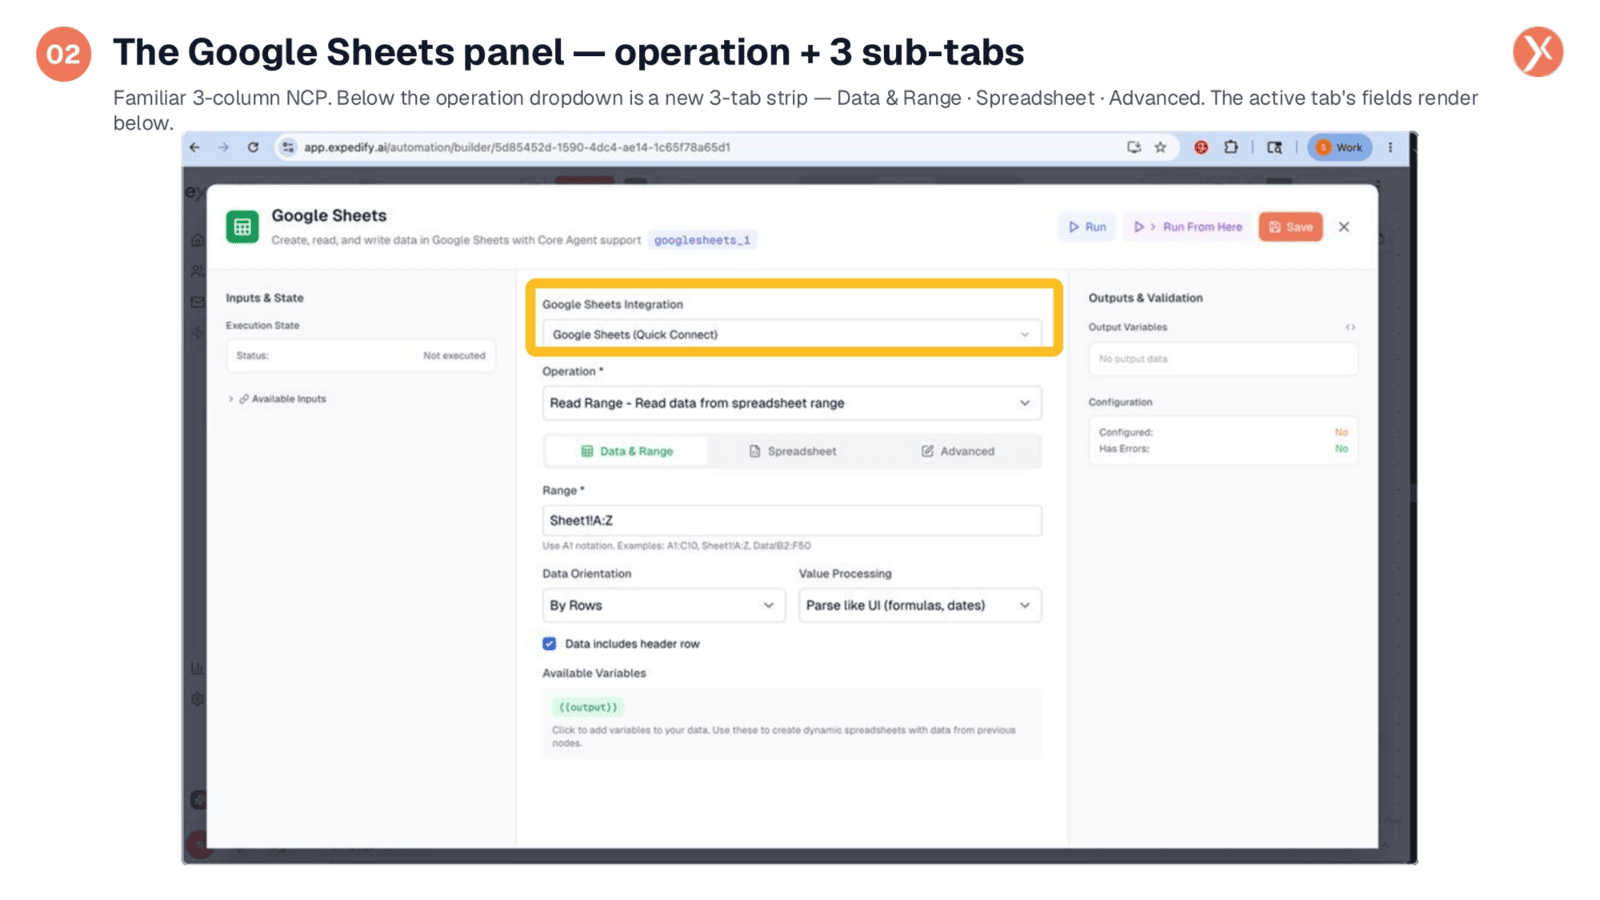
The Node Configuration Panel features a familiar three-column layout, with Inputs and State on the left, the main form in the middle, and Outputs and Validation on the right. A key new element here is the three-tab strip below the operation dropdown: Data & Range, Spreadsheet, and Advanced. You'll primarily use Data & Range for values and ranges, and Spreadsheet to specify the target sheet.
Understanding the Operation Dropdown
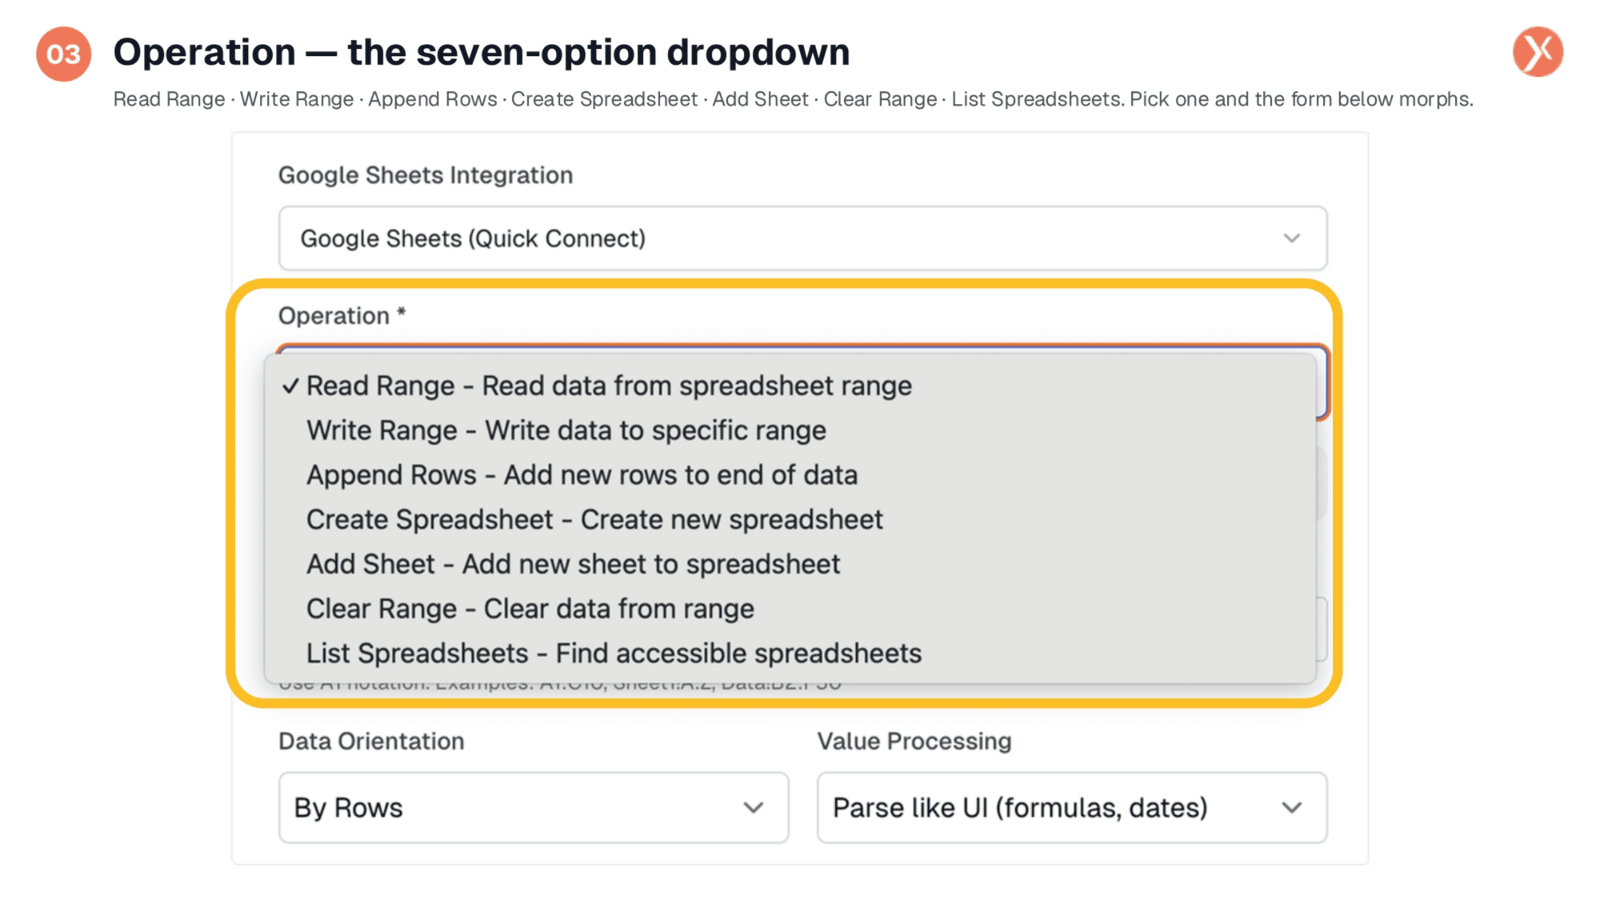
The operation dropdown provides seven distinct choices for interacting with Google Sheets. These include Read Range, Write Range, Append Rows, Create Spreadsheet, Add Sheet, Clear Range, and List Spreadsheets. The Read, Write, and Append operations are the most frequently used, covering about ninety percent of typical spreadsheet automation needs. Selecting an operation dynamically reshapes the fields below to match its specific requirements.
Configuring the Spreadsheet Tab
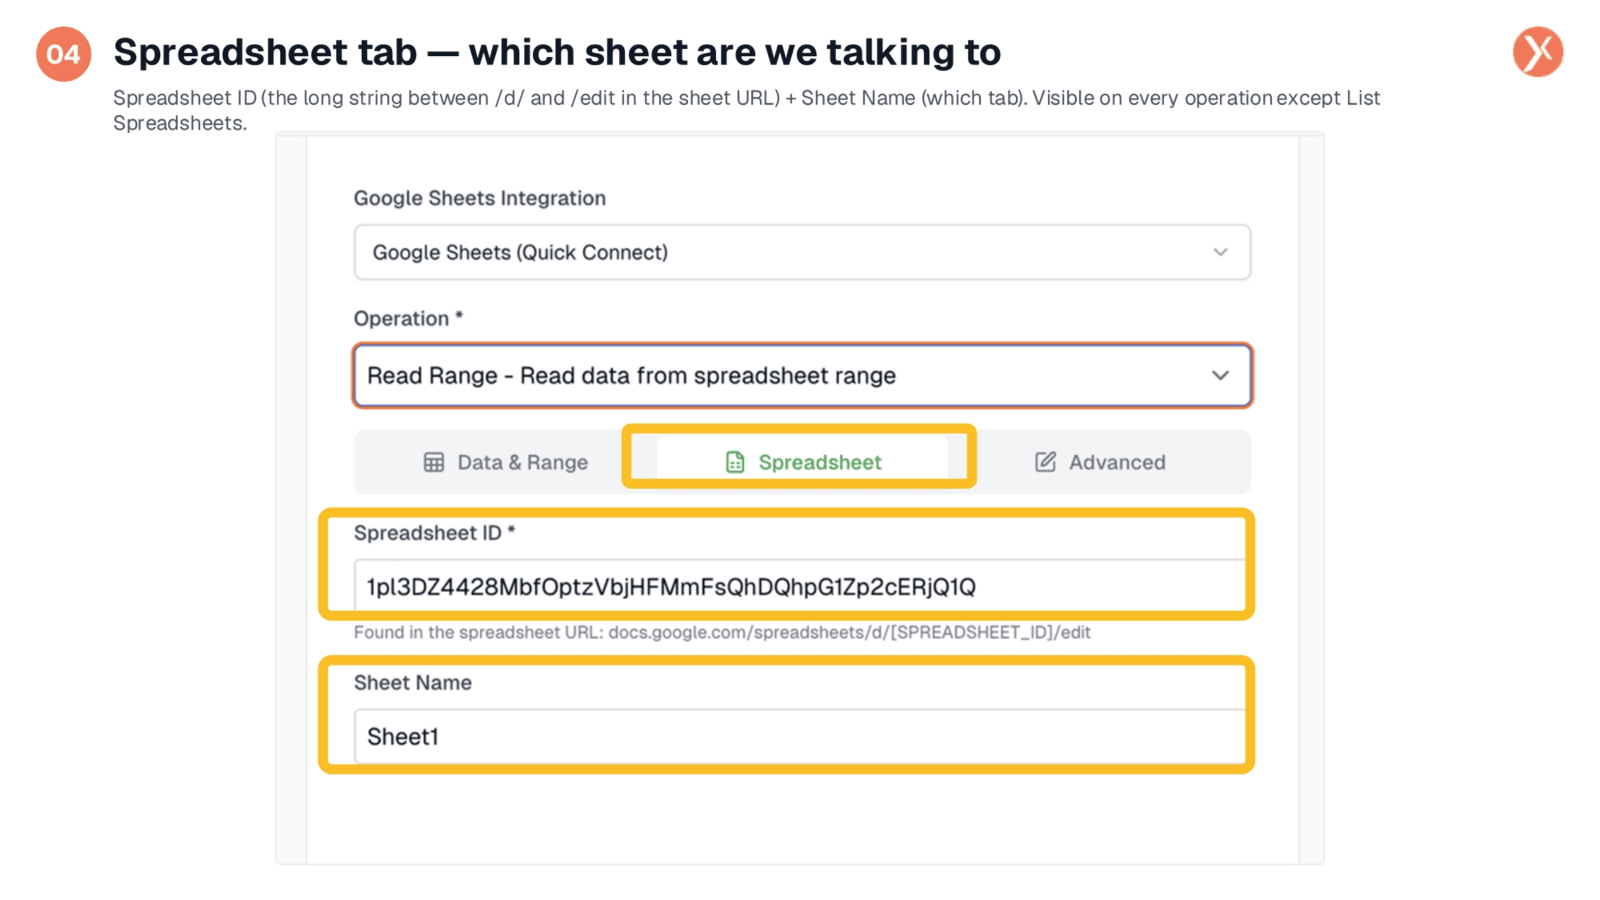
Before configuring any specific operation, navigate to the Spreadsheet tab. Here, you'll define two crucial fields: the Spreadsheet ID and the Sheet Name. The Spreadsheet ID is the unique string found in your Google Sheet's URL, located between "/d/" and "/edit/". The Sheet Name specifies which tab within that spreadsheet you intend to target, defaulting to "Sheet1" if not otherwise specified. These settings are essential for every operation, except for listing spreadsheets.
Using the Read Range Operation
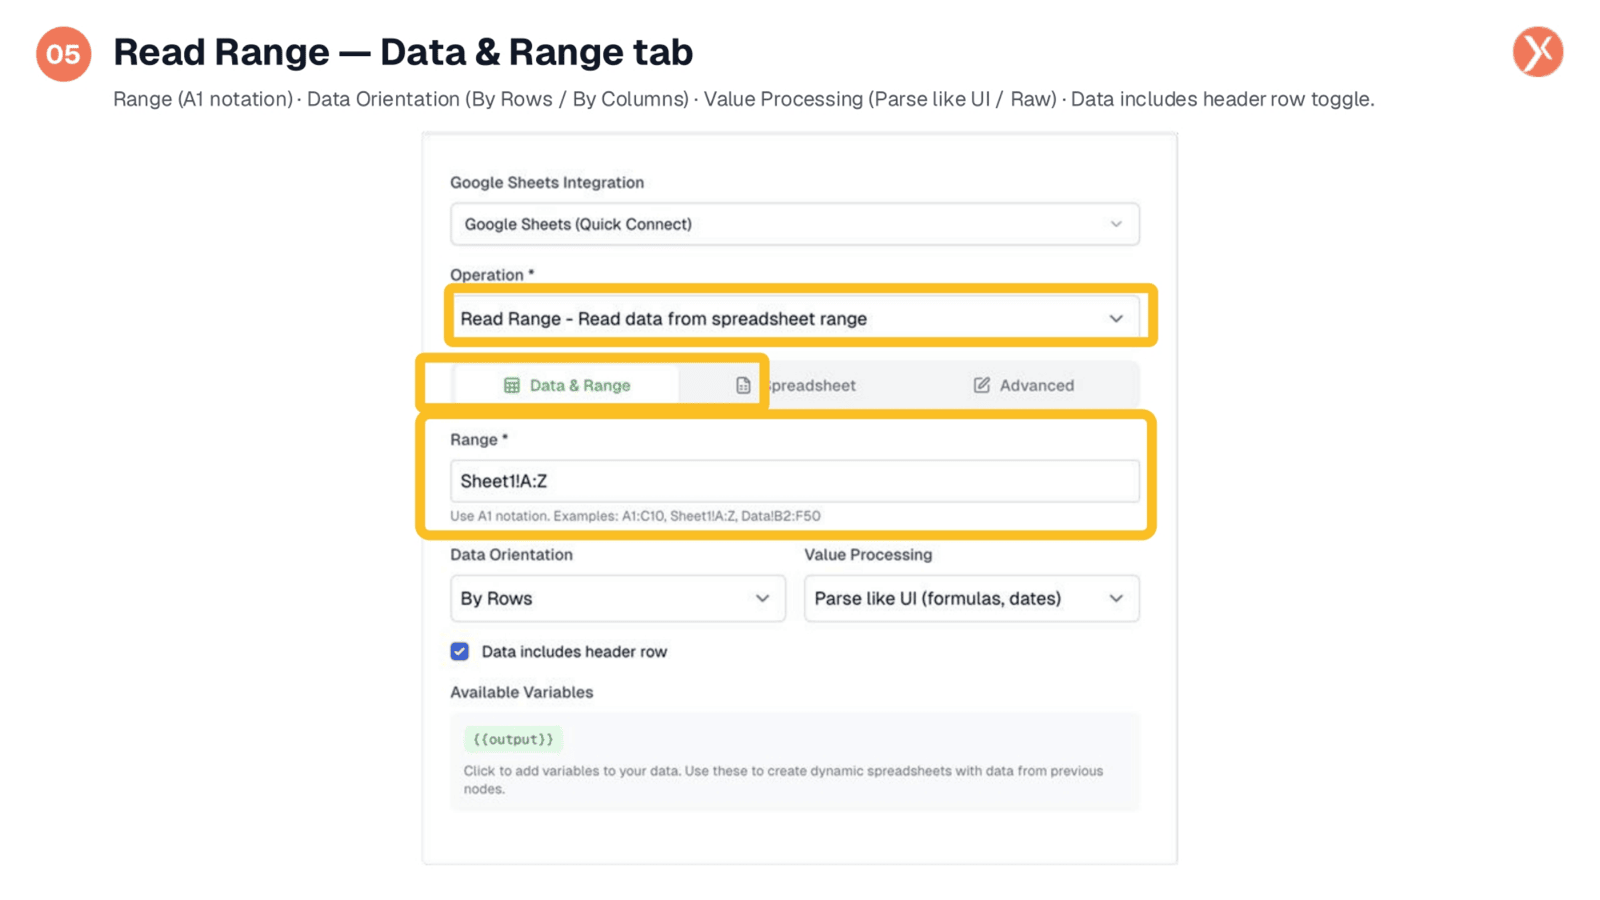
When using the Read Range operation, the Data & Range tab becomes central. The required "Range" field uses A1 notation, allowing you to specify cells like "Sheet1!A:Z" for an entire sheet or "A1:C10" for a specific block. Data Orientation typically defaults to "By Rows," which is usually preferred. Value Processing can be set to "Parse like UI" for formatted values or "Raw" for underlying data. Additionally, the "Data includes header row" toggle allows the node to treat the first row as headers, keying the returned array by your column names.
Implementing the Write Range Operation
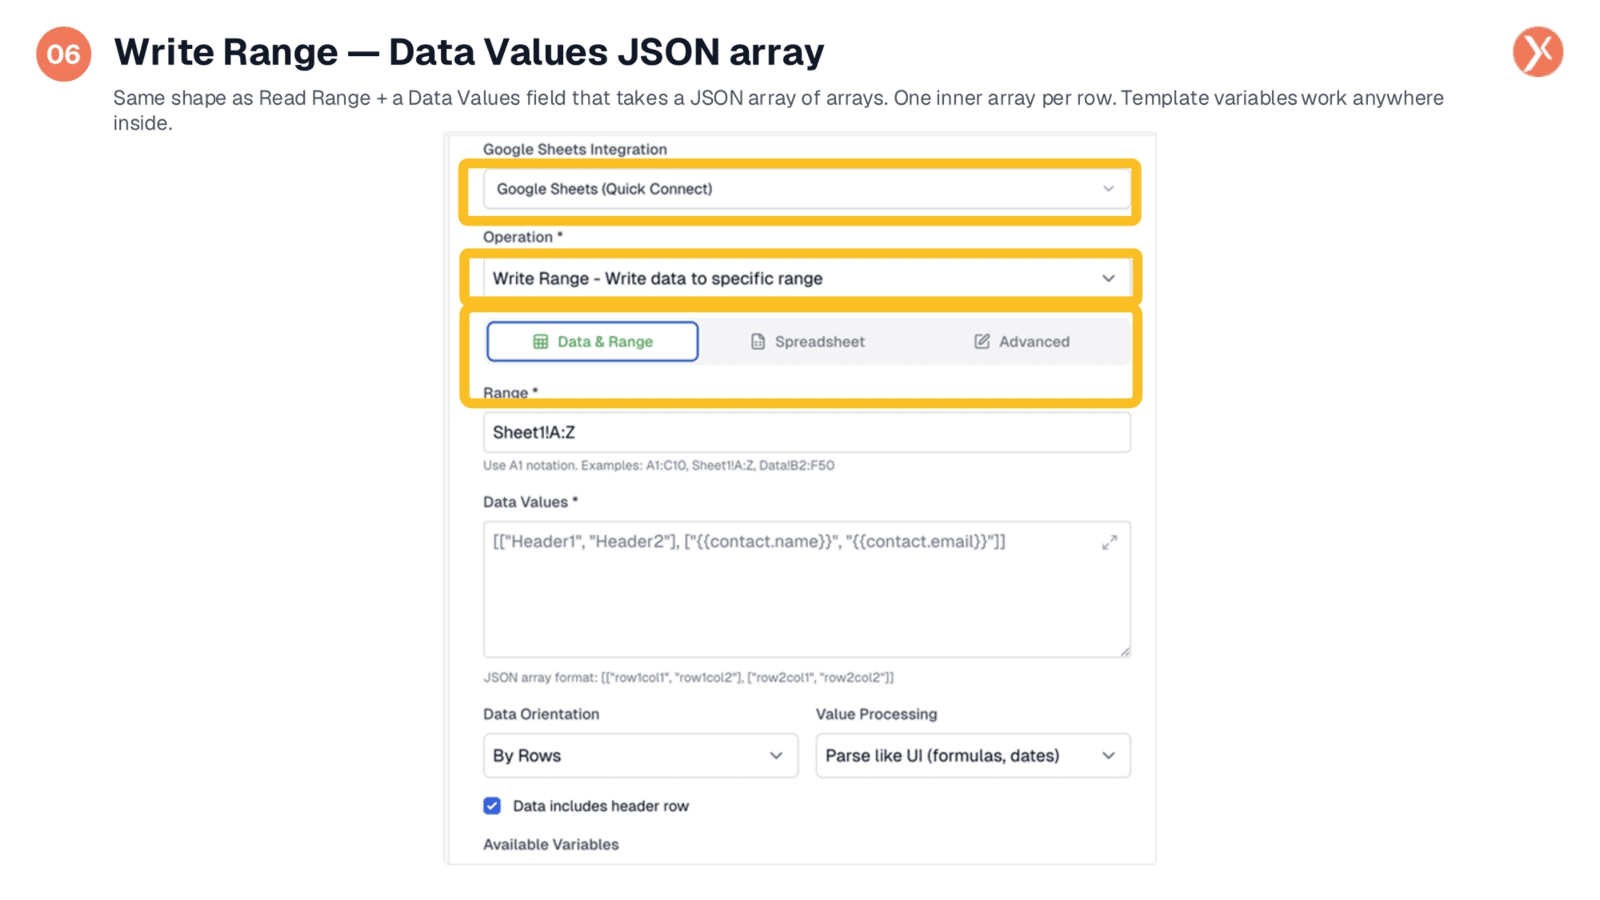
Switching to the Write Range operation on the Data & Range tab introduces the "Data Values" field. This field accepts a JSON array of arrays, where each inner array represents a row and each element within it is a column value. This structure allows you to dynamically insert data from upstream variables into your spreadsheet cells. The Range field above specifies where this data will be written, and existing cells within that range will be overwritten.
Understanding Append Rows
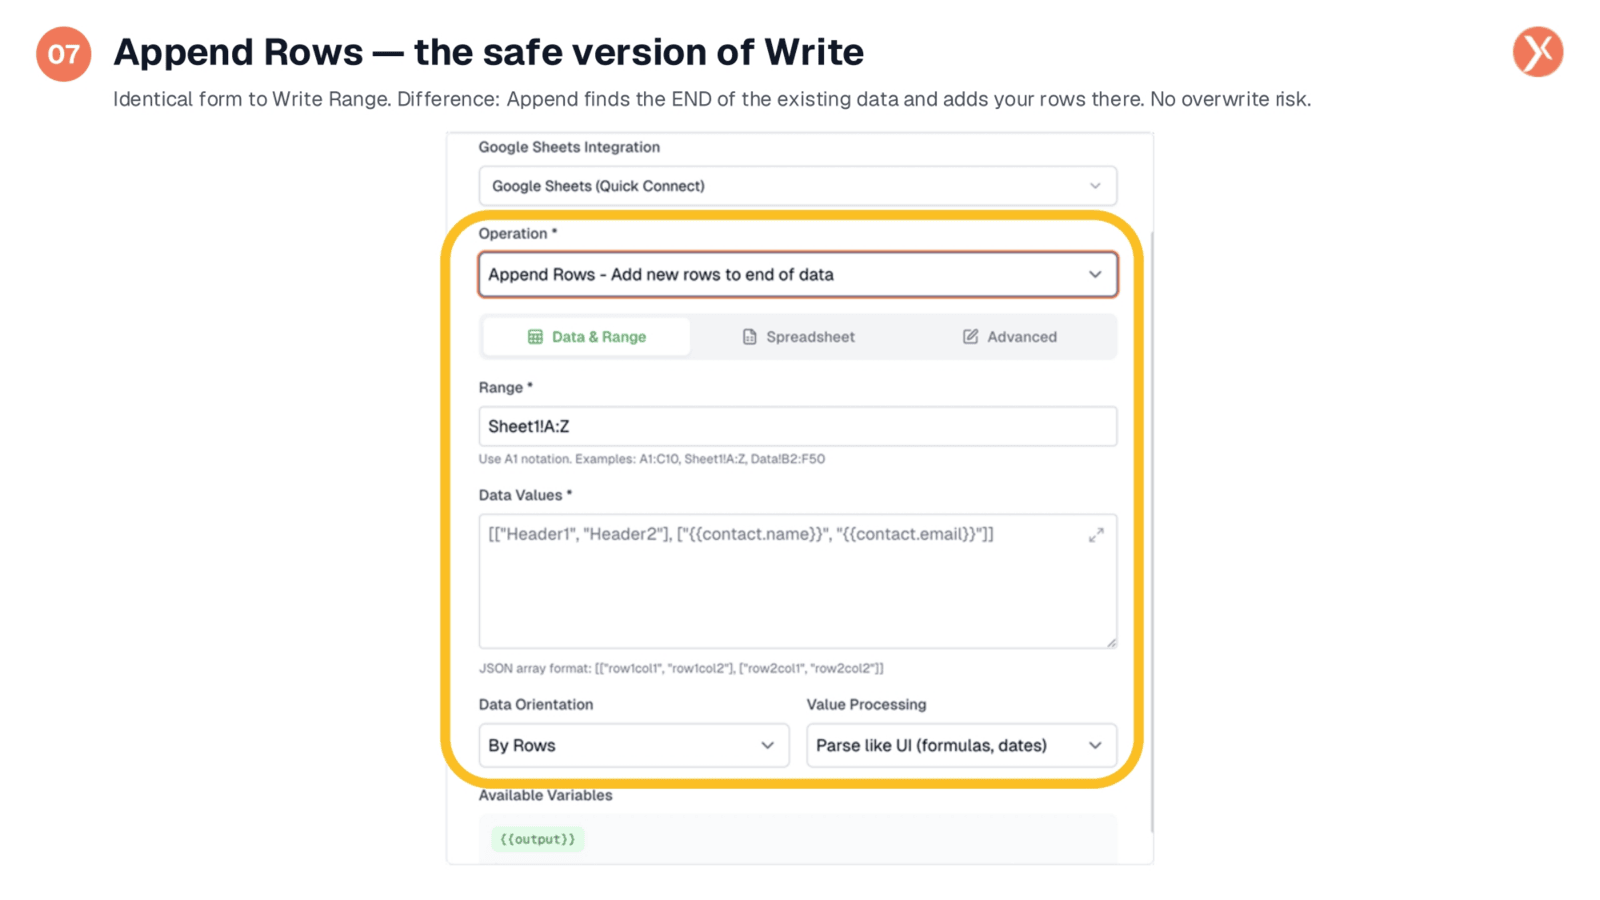
The Append Rows operation shares an identical form with Write Range, including the Range field, Data Values JSON, and orientation toggles. The key distinction lies in its behavior: Append Rows intelligently locates the last row containing data and adds your new rows immediately after it. This ensures no existing data is overwritten, making it ideal for maintaining ongoing logs or trackers where new entries are continuously added.
Google Sheets Node Outputs
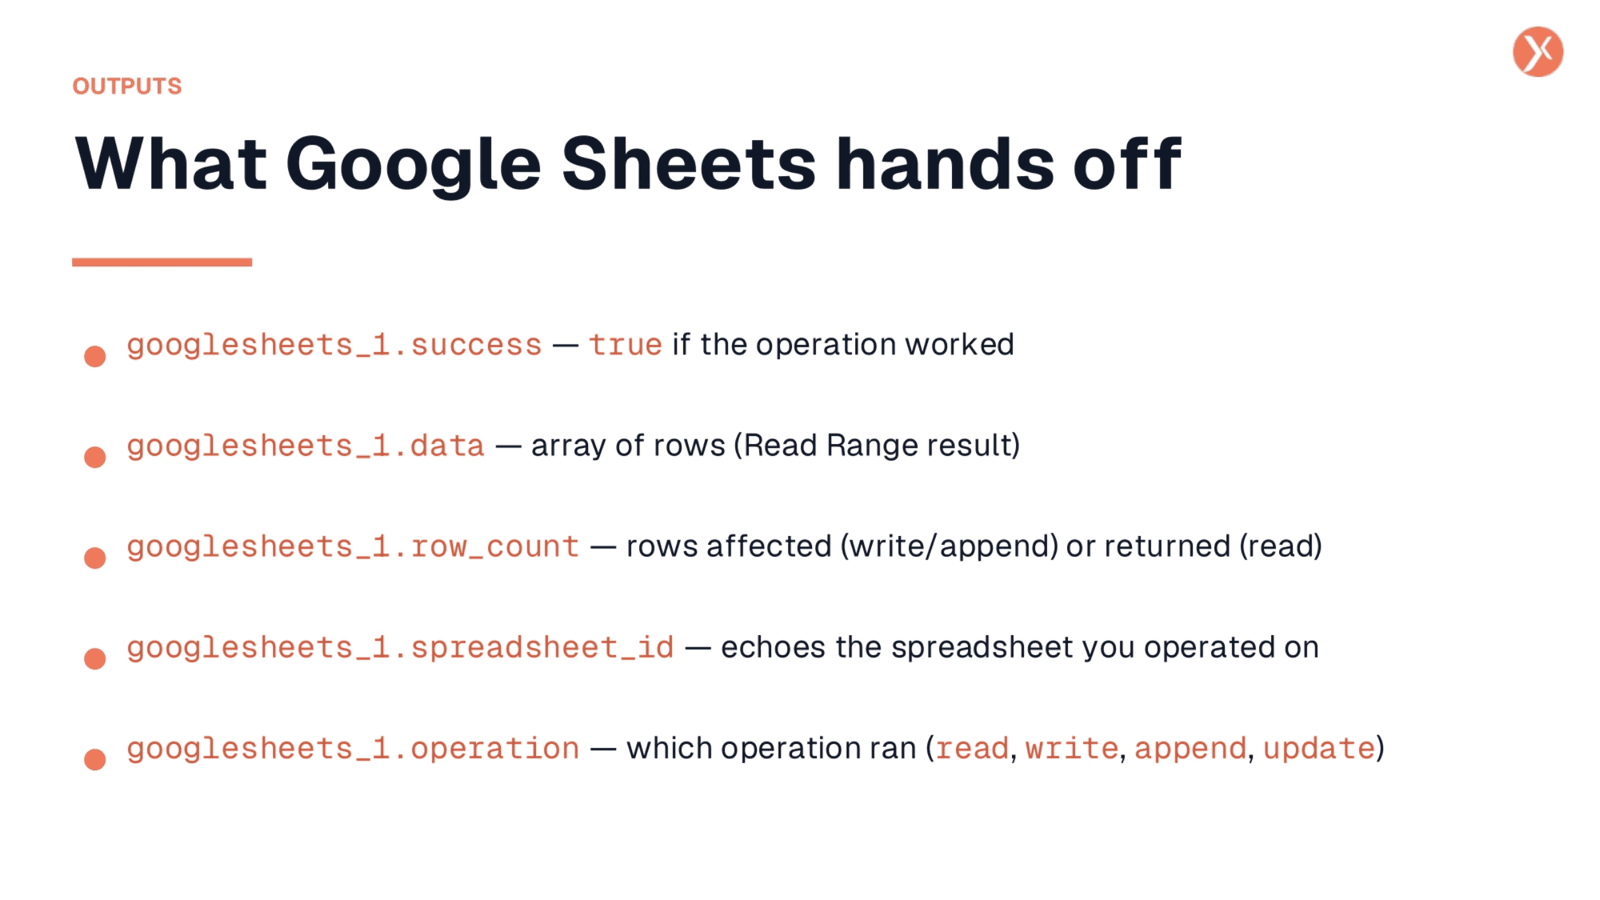
After any operation runs, the Google Sheets node provides several outputs for downstream use. googlesheets_1.success indicates if the operation completed successfully. googlesheets_1.data contains the array of rows, specifically populated after a Read Range operation. googlesheets_1.row_count shows how many rows were affected or returned. googlesheets_1.spreadsheet_id echoes the ID of the spreadsheet involved, and googlesheets_1.operation confirms which action was executed. These outputs are valuable for conditional branching in your workflows.
Google Sheets Node Recap
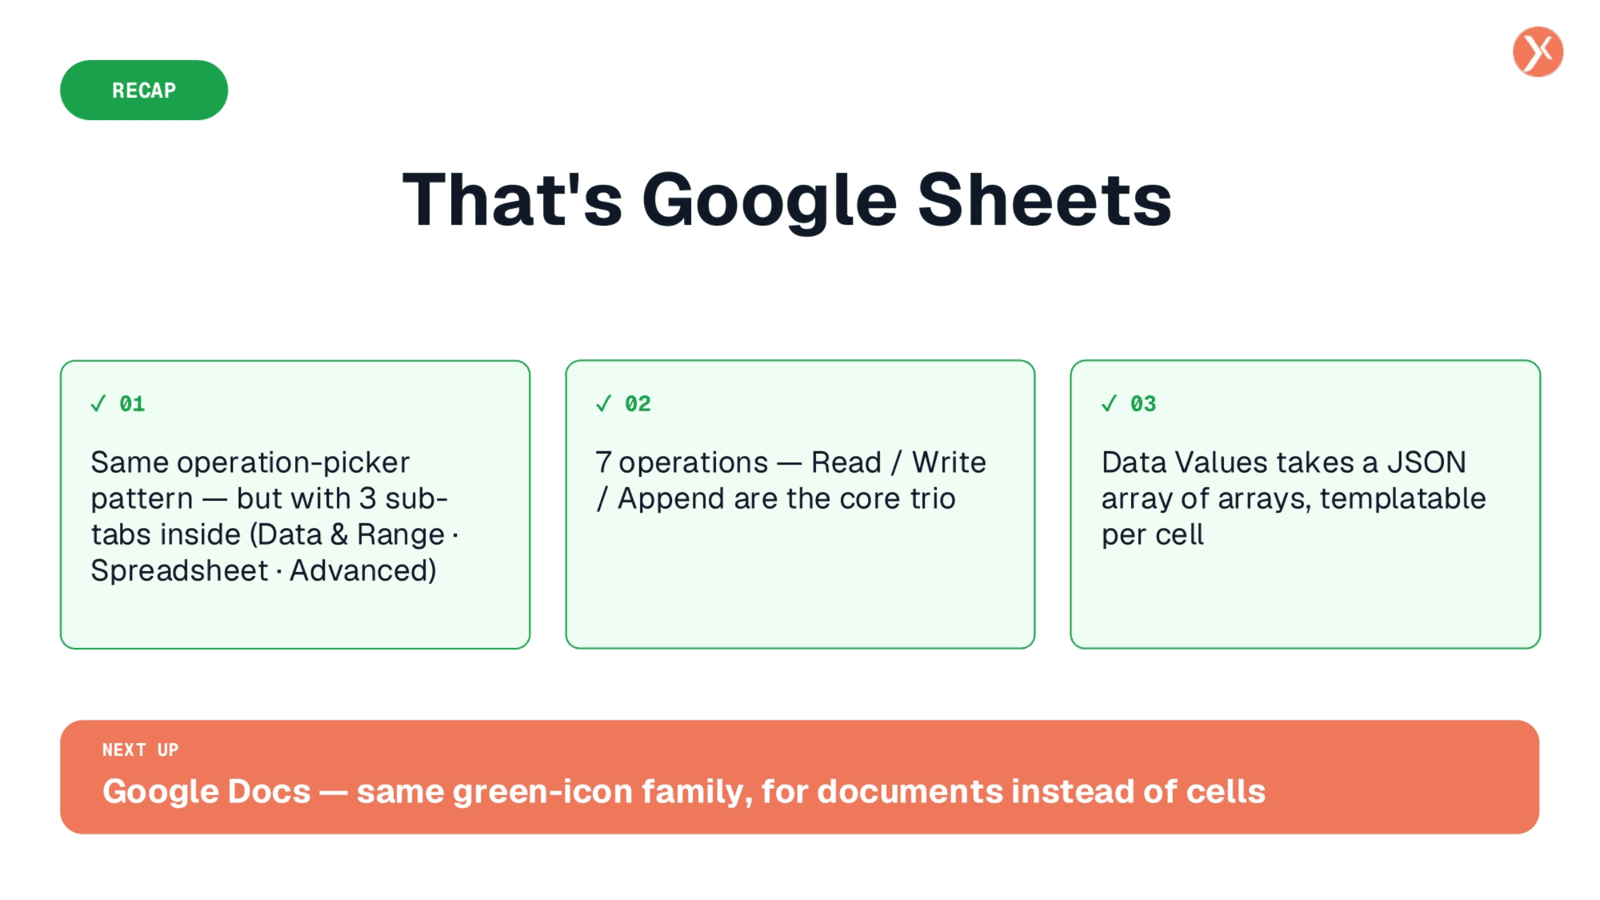
That concludes our overview of the Google Sheets node. We've covered its seven operations, the three sub-tabs for configuration, and focused on the core Read, Write, and Append functions. This powerful node enables seamless spreadsheet automation within your workflows.