Email Nodes
Expedify's Email Nodes empower you to send one or many emails, personalize each message, and track what matters most. We'll begin by detailing the Email Send node, covering its configuration fields, before moving on to the Email Bulk Send node and its unique features. Both nodes support full HTML designer emails, a key differentiator.
Email Send and Email Bulk Send Demo
Let's begin our demonstration of the Email Send and Email Bulk Send nodes.
Introducing the Email Send Node
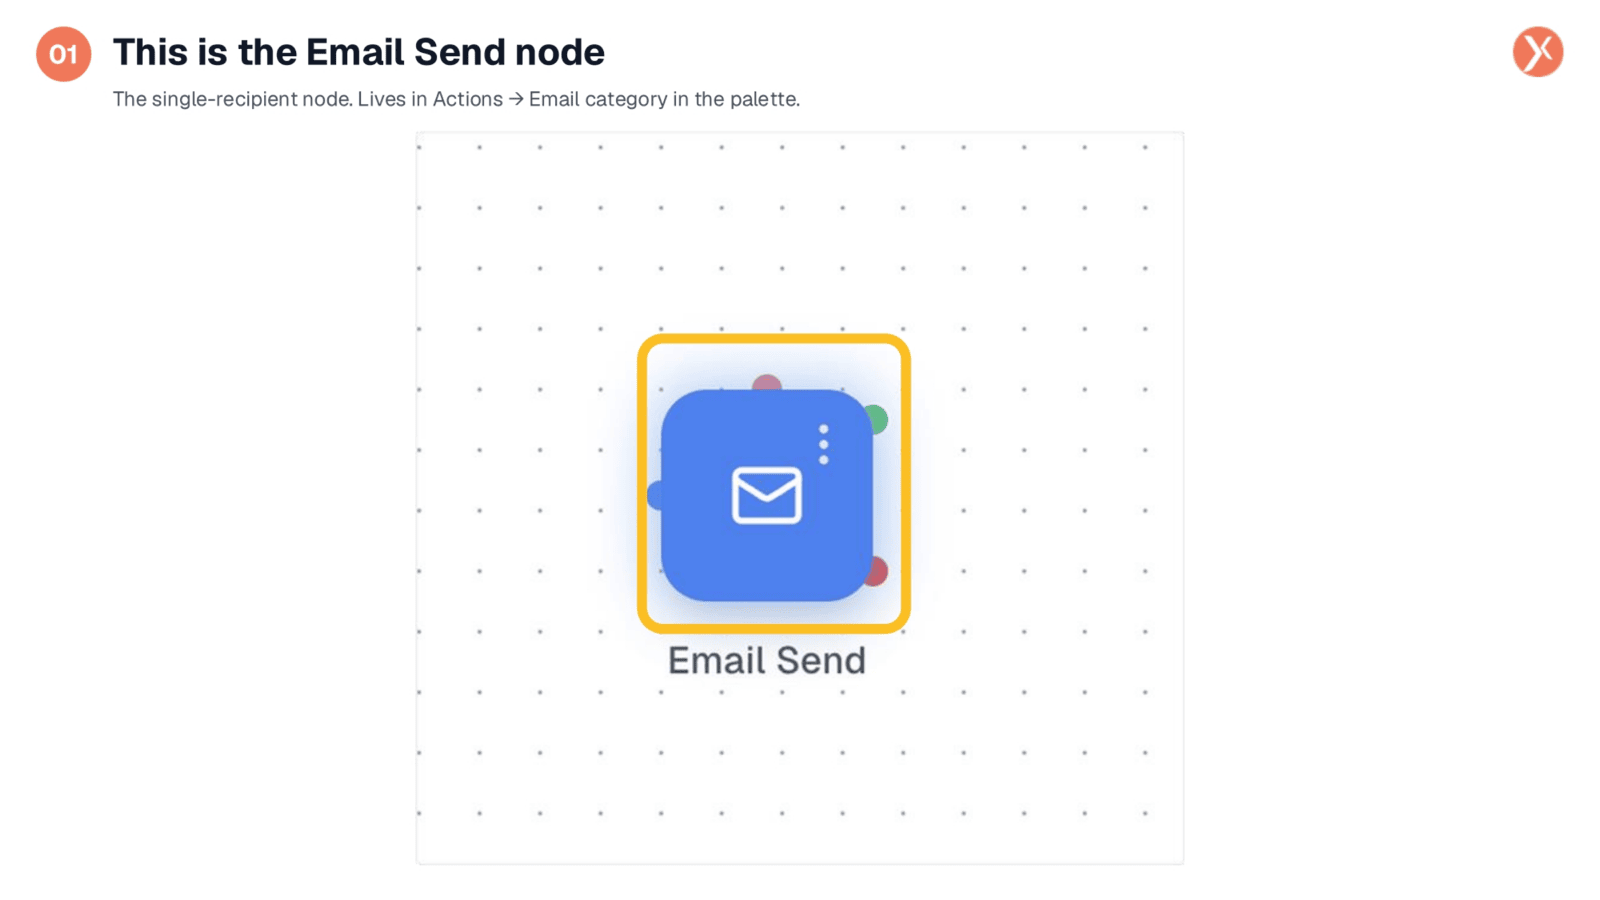
The Email Send node is a single-recipient tool, found in the Actions category under Email. It's ideal for transactional workflows like welcome emails, password resets, or order confirmations, where you need to send a personalized message to one individual. You typically place this node after a step that provides recipient information, such as a Database Change Trigger or a CRM Manager lookup. This node then handles the actual email dispatch.
Opening the Email Send Node Configuration
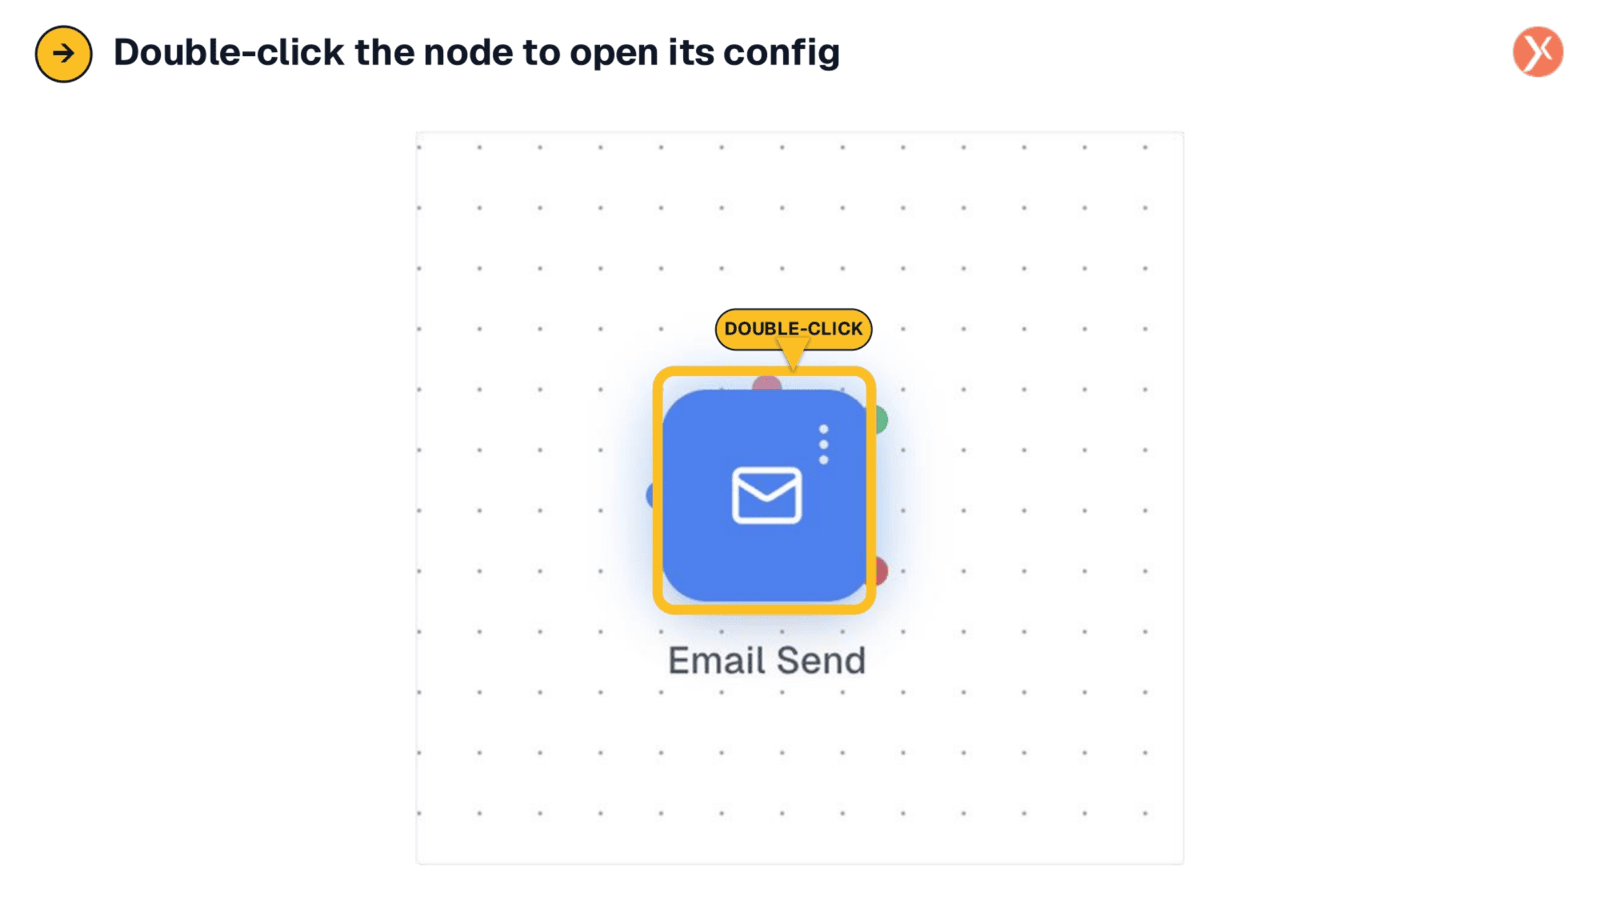
To configure the Email Send node, simply double-click it on your canvas. This action opens the Node Configuration Panel, which is a familiar interface for setting up various Expedify nodes. Here, you'll define all the necessary parameters to ensure your personalized email is sent correctly.
Email Send Panel Overview
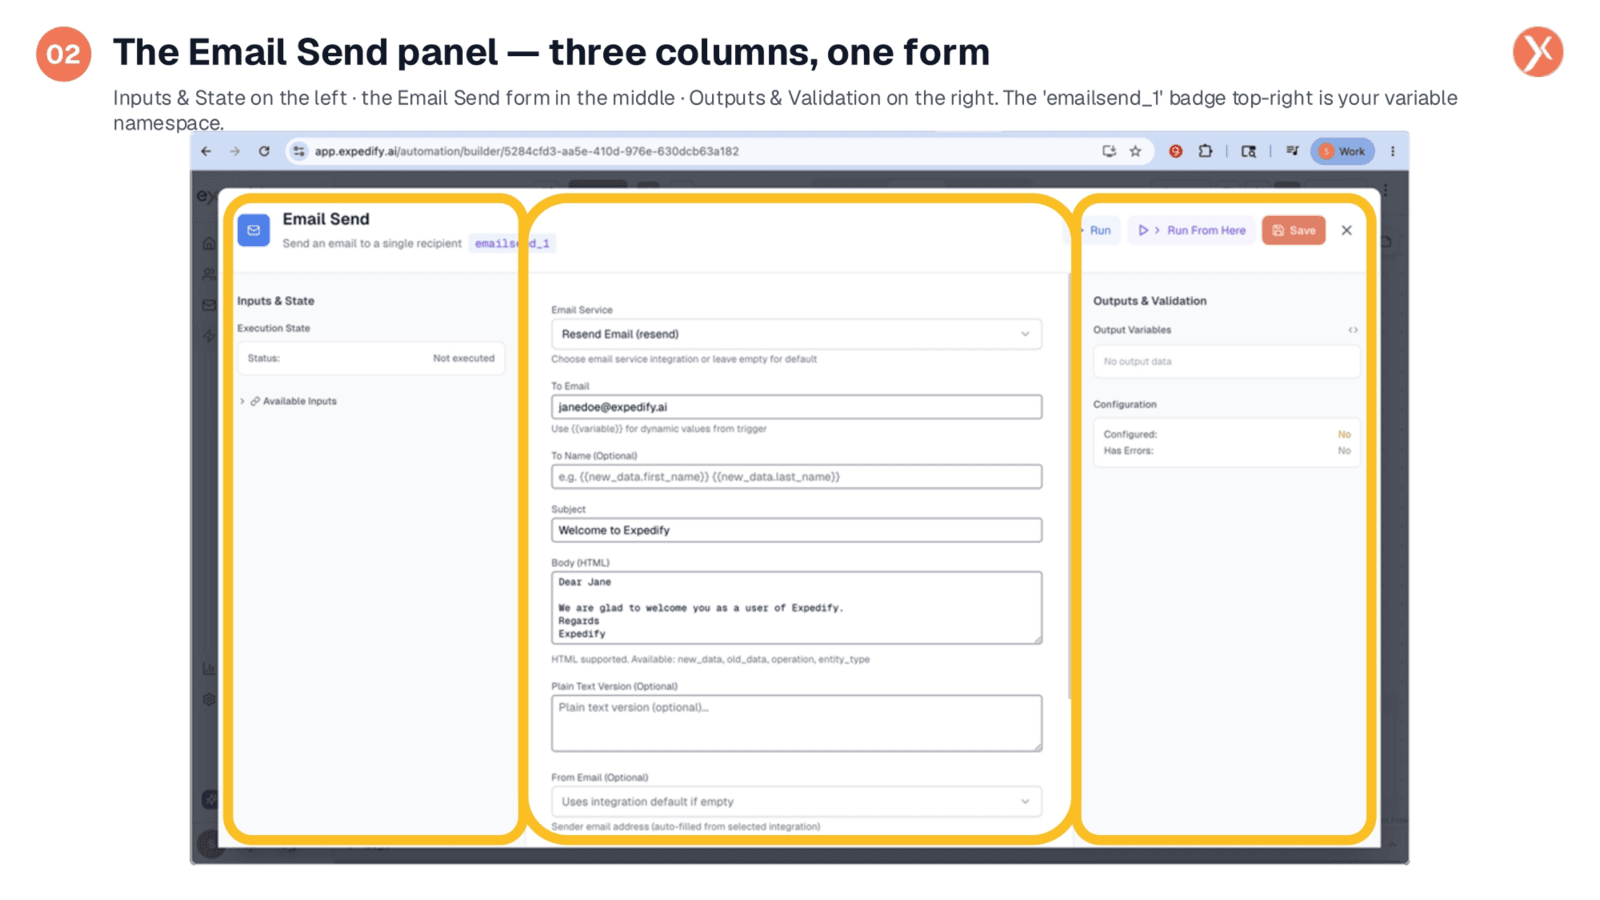
The Email Send panel features a standard three-column layout. On the left, you'll find Inputs and State, showing the data flowing into the node. The right column displays Outputs and Validation, indicating what the node returns and its configuration status. The central column contains the main form for setting up your email. Notice the 'emailsend_1' badge at the top, which serves as the variable name for this node within your workflow, allowing you to reference its outputs later.
Selecting an Email Service Integration
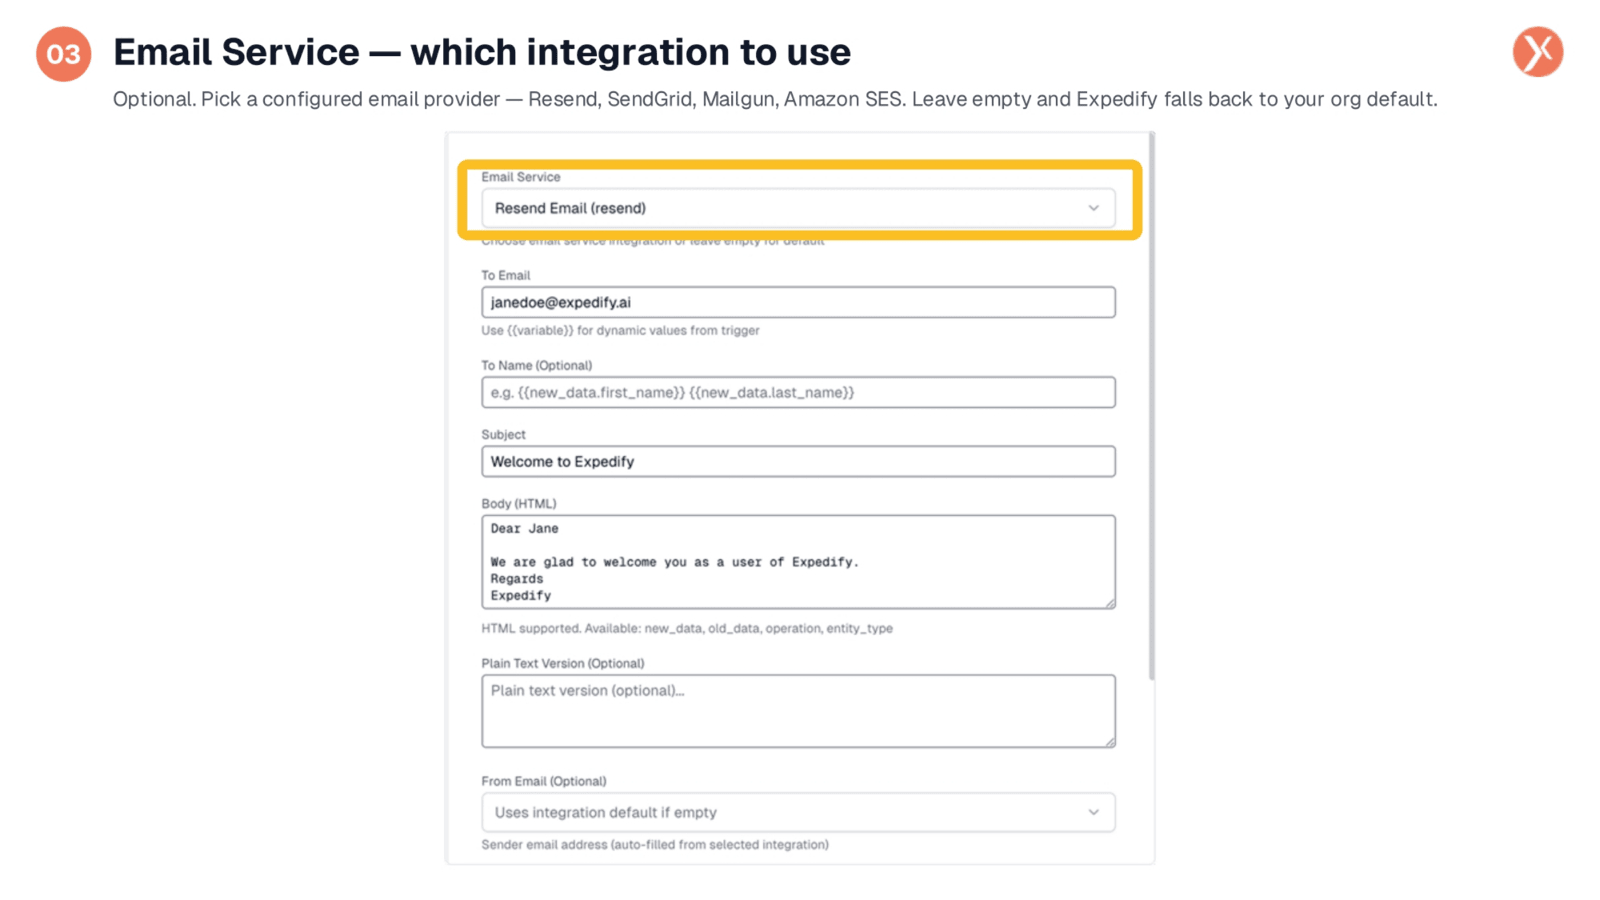
The Email Service field allows you to select the integration responsible for sending your email. Expedify supports providers like Resend, SendGrid, Mailgun, and Amazon SES, which will appear in the dropdown if configured in your organization's integrations. If left empty, Expedify defaults to your organization's primary email provider. Explicitly choosing a service is only necessary when you have multiple providers and require a specific one for a particular workflow.
Configuring Recipient and Subject with Variables
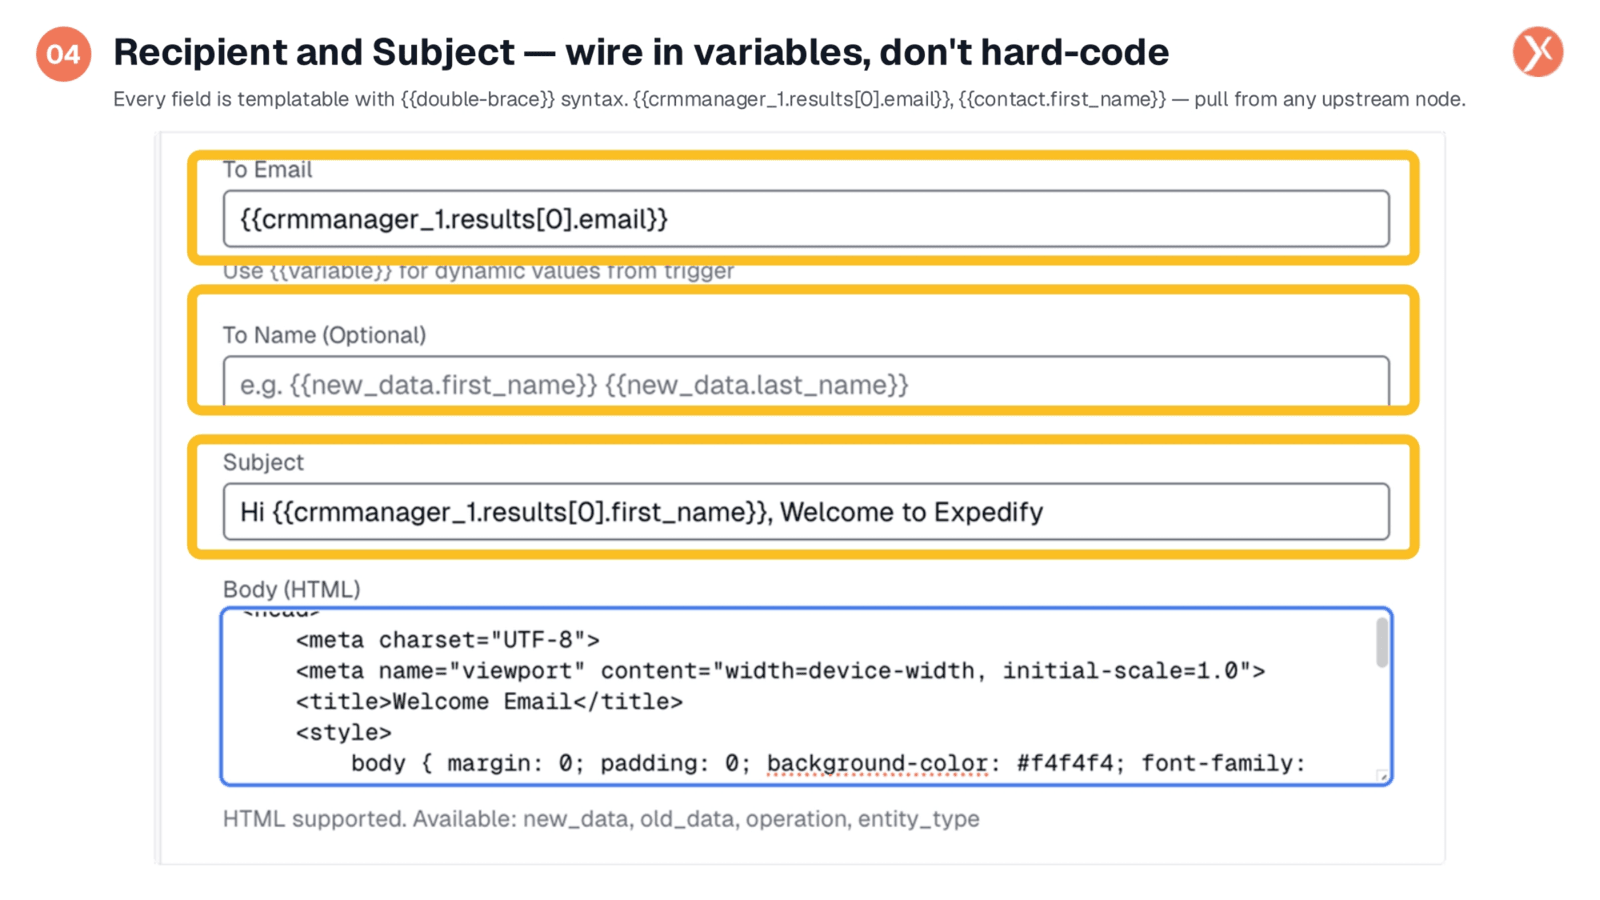
For the recipient and subject fields, it's crucial to use template variables rather than hard-coding values. The 'To Email' field specifies the recipient's address, while 'To Name' is an optional field for a friendly display name. The 'Subject' line also supports dynamic content. All these fields accept double-brace syntax, allowing you to pull data from upstream nodes, such as a CRM Manager lookup. This ensures each email is personalized with the correct recipient details and a customized subject line when the workflow executes.
Utilizing Full HTML in the Email Body
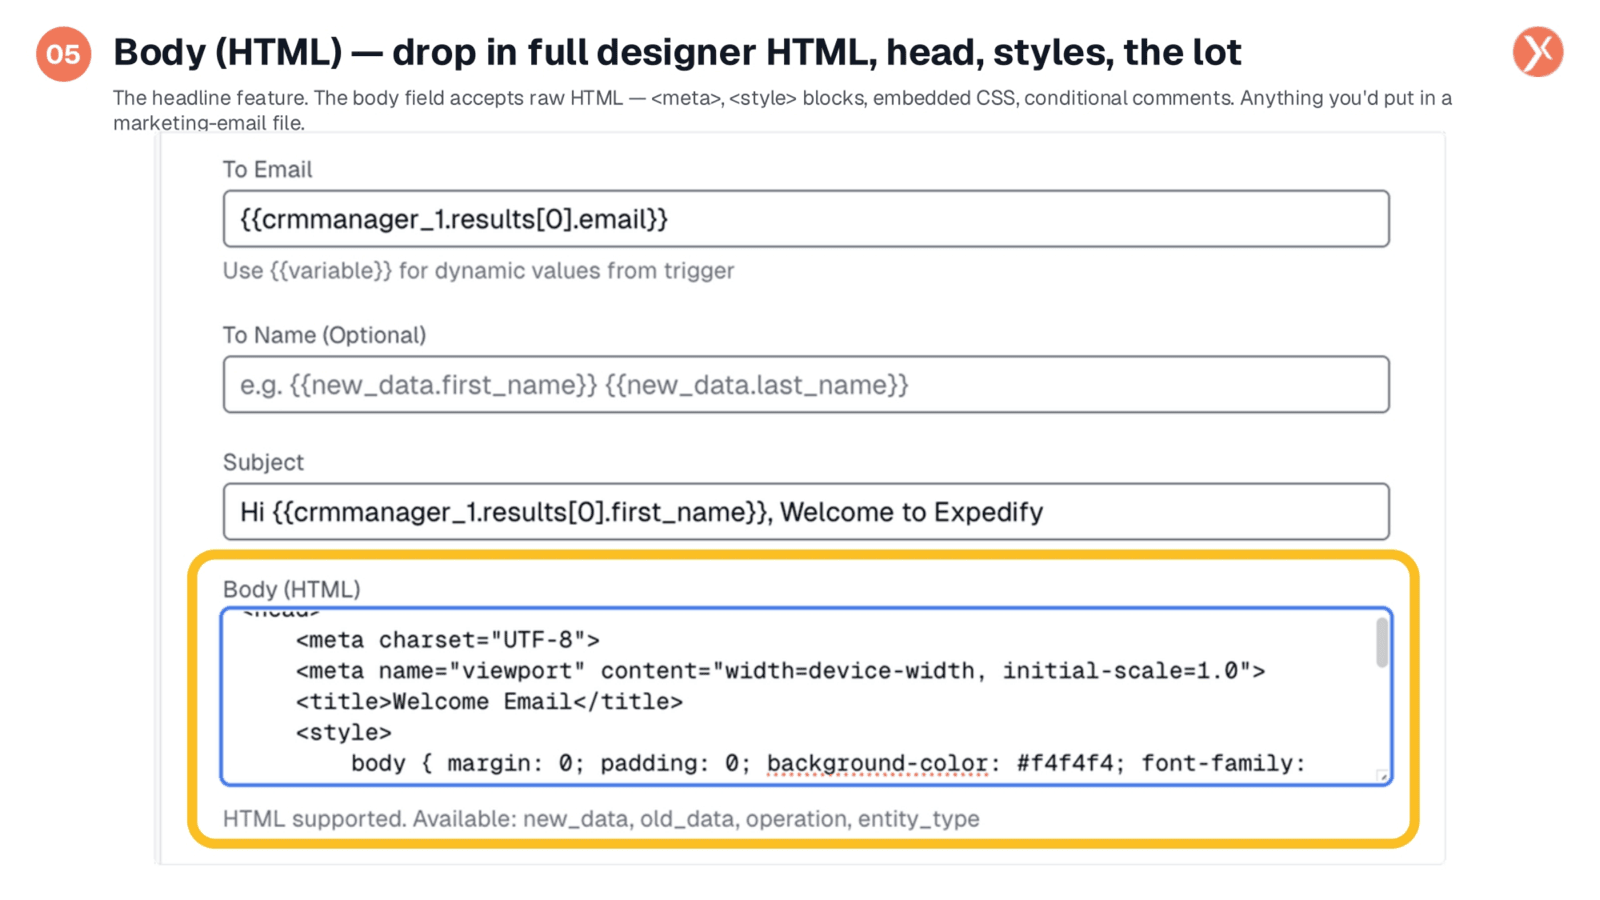
A standout feature of the email nodes is the Body field, which fully supports raw HTML. This means you can paste in complete designer emails, including meta tags, style blocks, embedded CSS, and conditional comments. Whether you're using a design tool or a code snippet, Expedify renders valid HTML to create marketing-quality emails directly within your workflow. Importantly, all variables referenced with double-braces within the HTML are also dynamically replaced, enabling truly personalized and visually rich communications.
From Email and Plain Text Version Options
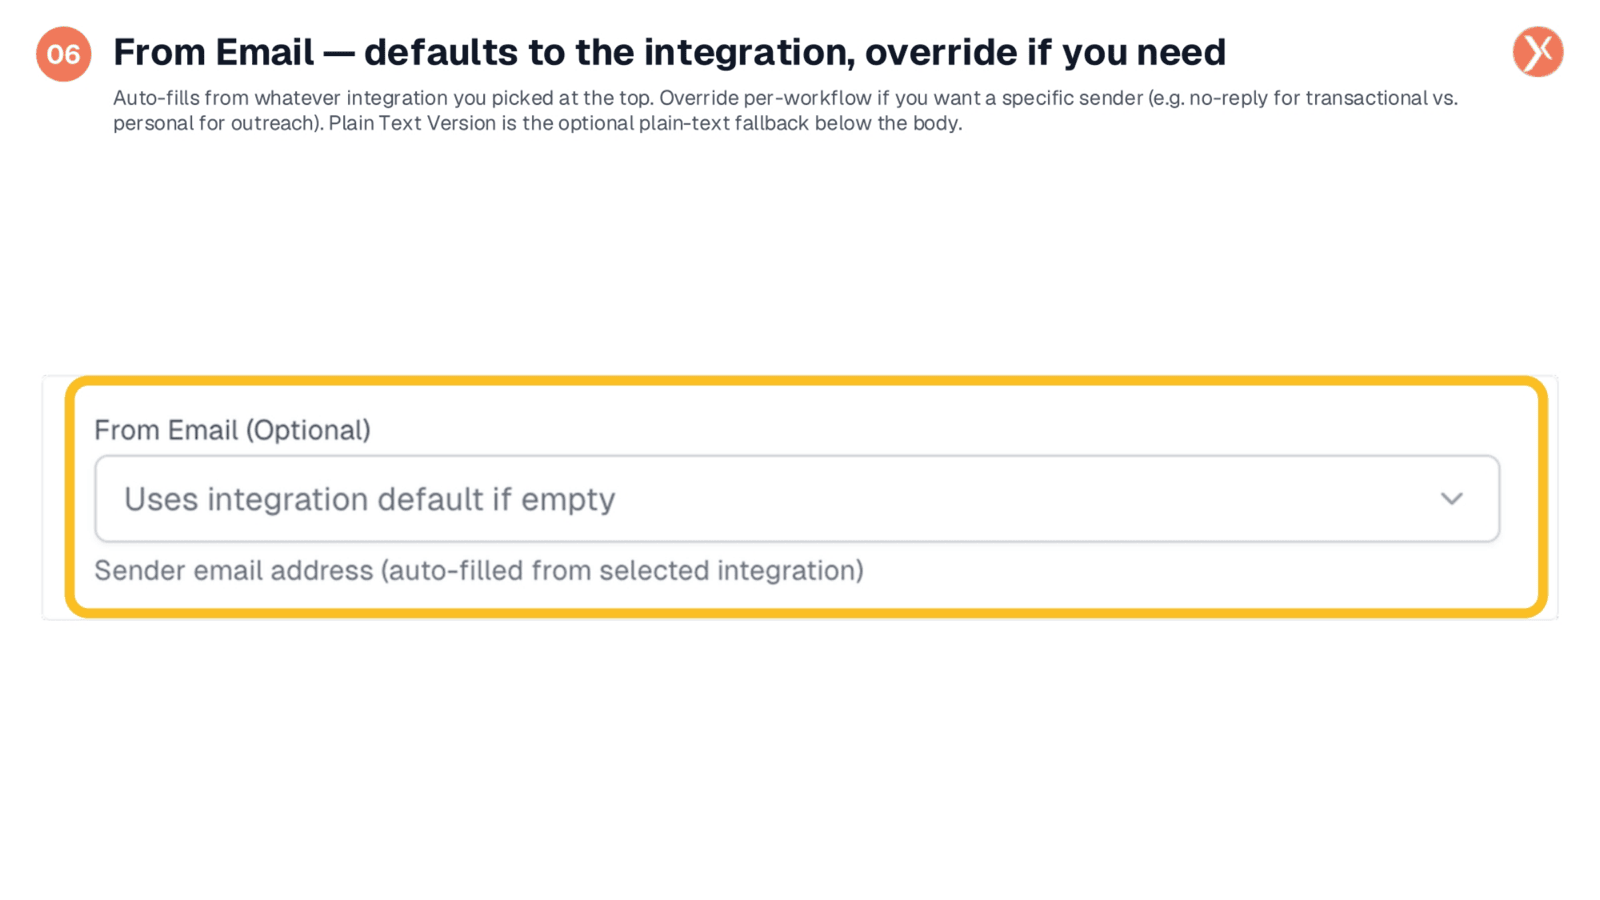
Below the main body, you'll find the 'Plain Text Version' and 'From Email' fields. While optional, providing a plain-text version is highly recommended as a fallback for email clients that don't render HTML, which can also improve your inbox placement. The 'From Email' field automatically populates based on the email service integration selected earlier. You would typically override this default only if a specific sender address is required for the workflow, such as a 'no-reply' address for transactional messages or a personal address for outreach.
Email Send Node Outputs
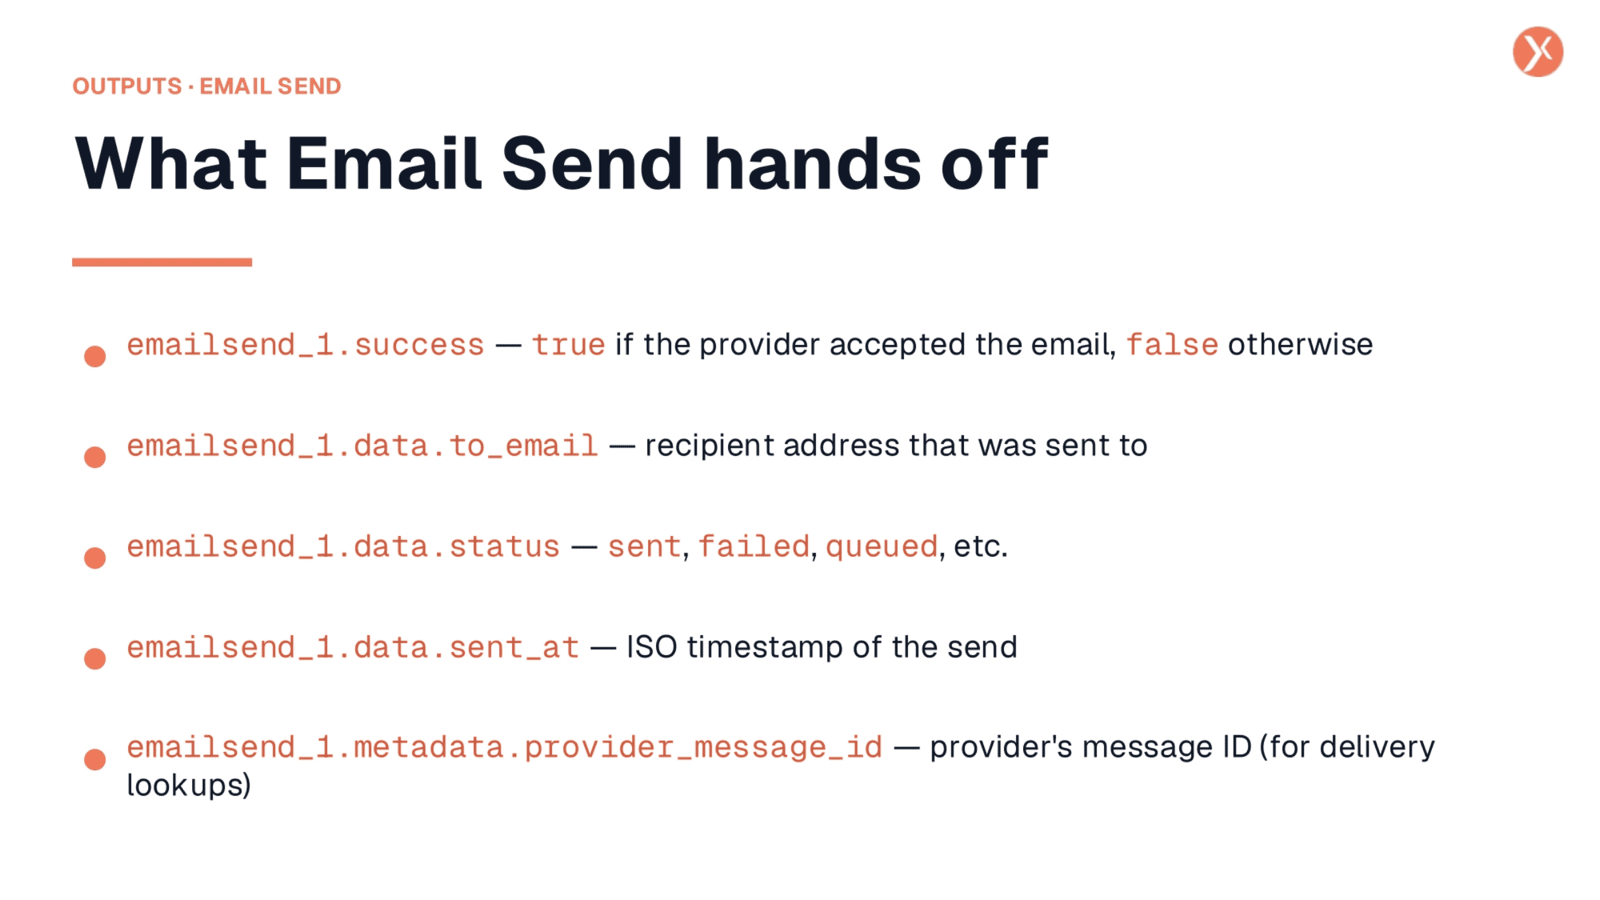
After execution, the Email Send node provides several key outputs. The emailsend_1.success boolean indicates if the email provider accepted the message, allowing you to branch workflows based on delivery status. You'll also receive emailsend_1.data.to_email and emailsend_1.data.status to confirm the recipient and the email's final state. An emailsend_1.data.sent_at ISO timestamp is provided for logging, and emailsend_1.metadata.provider_message_id offers the provider's unique ID for delivery lookups and troubleshooting.
Introducing Email Bulk Send
Now, let's explore the Email Bulk Send node.
Opening the Email Bulk Send Node Configuration
To access the configuration for the Email Bulk Send node, simply double-click its icon on the canvas. This action will open the Node Configuration Panel, which shares a familiar layout with the Email Send node. While many fields are similar, we'll focus on the key distinctions that enable sending to multiple recipients.
Email Bulk Send Panel: New Fields
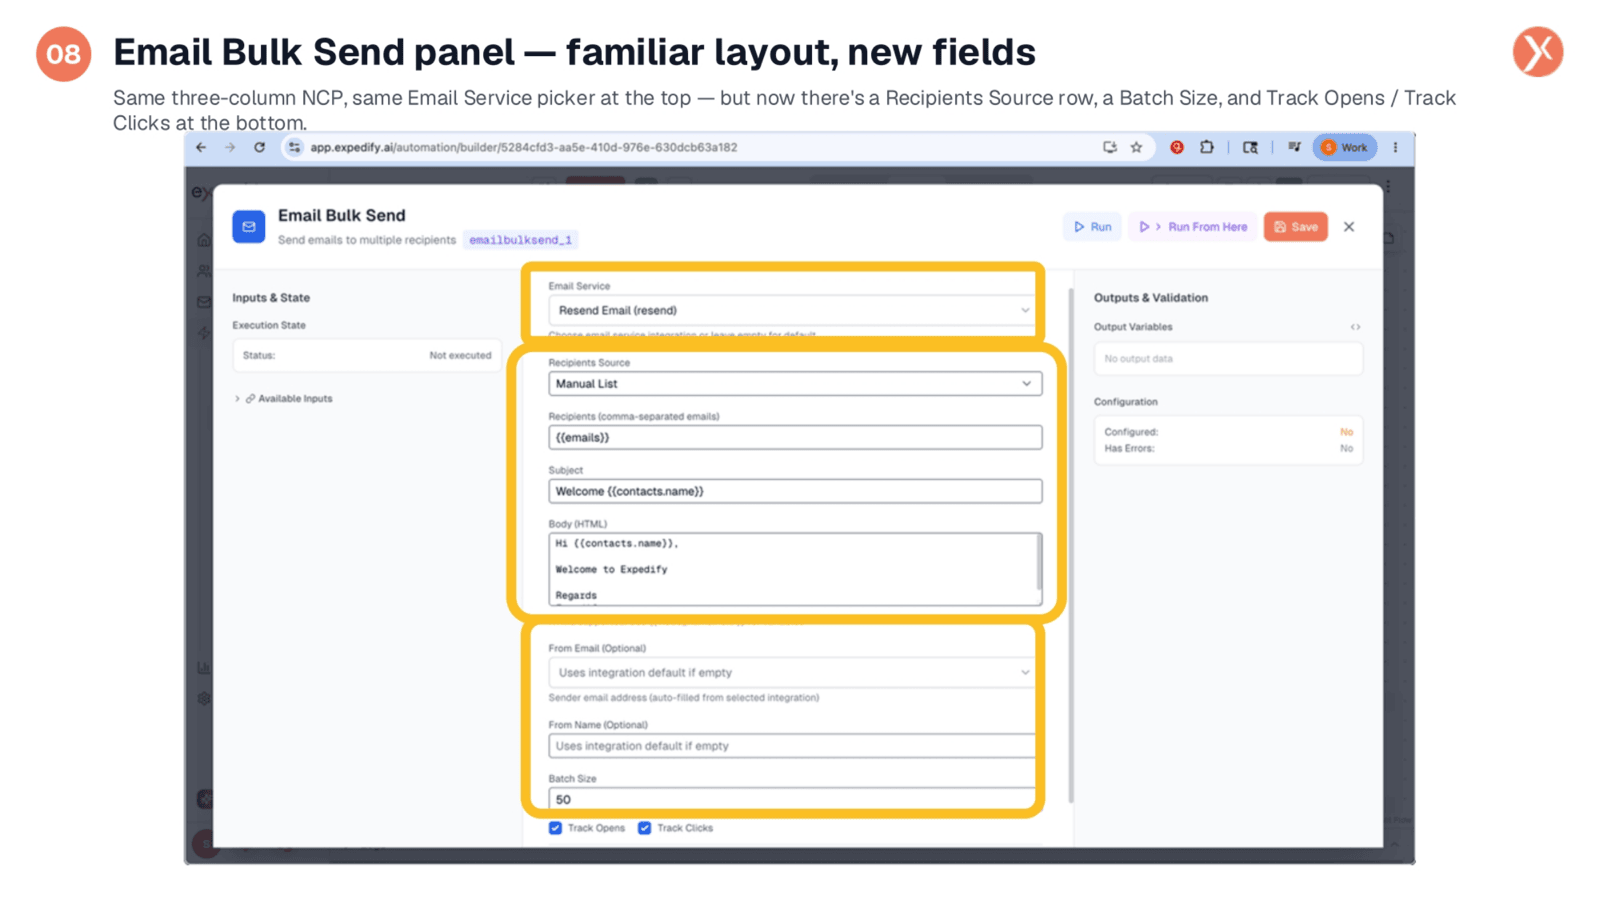
The Email Bulk Send panel maintains the familiar three-column layout, including Inputs and State, Configuration, and Outputs and Validation. While the Email Service picker and From overrides are similar to the Email Send node, this panel introduces new fields crucial for bulk operations. We'll focus on the 'Recipients Source' at the top, the continued support for designer HTML in the body, and the 'Batch Size' along with 'Track Opens' and 'Track Clicks' toggles at the bottom.
Choosing the Recipients Source
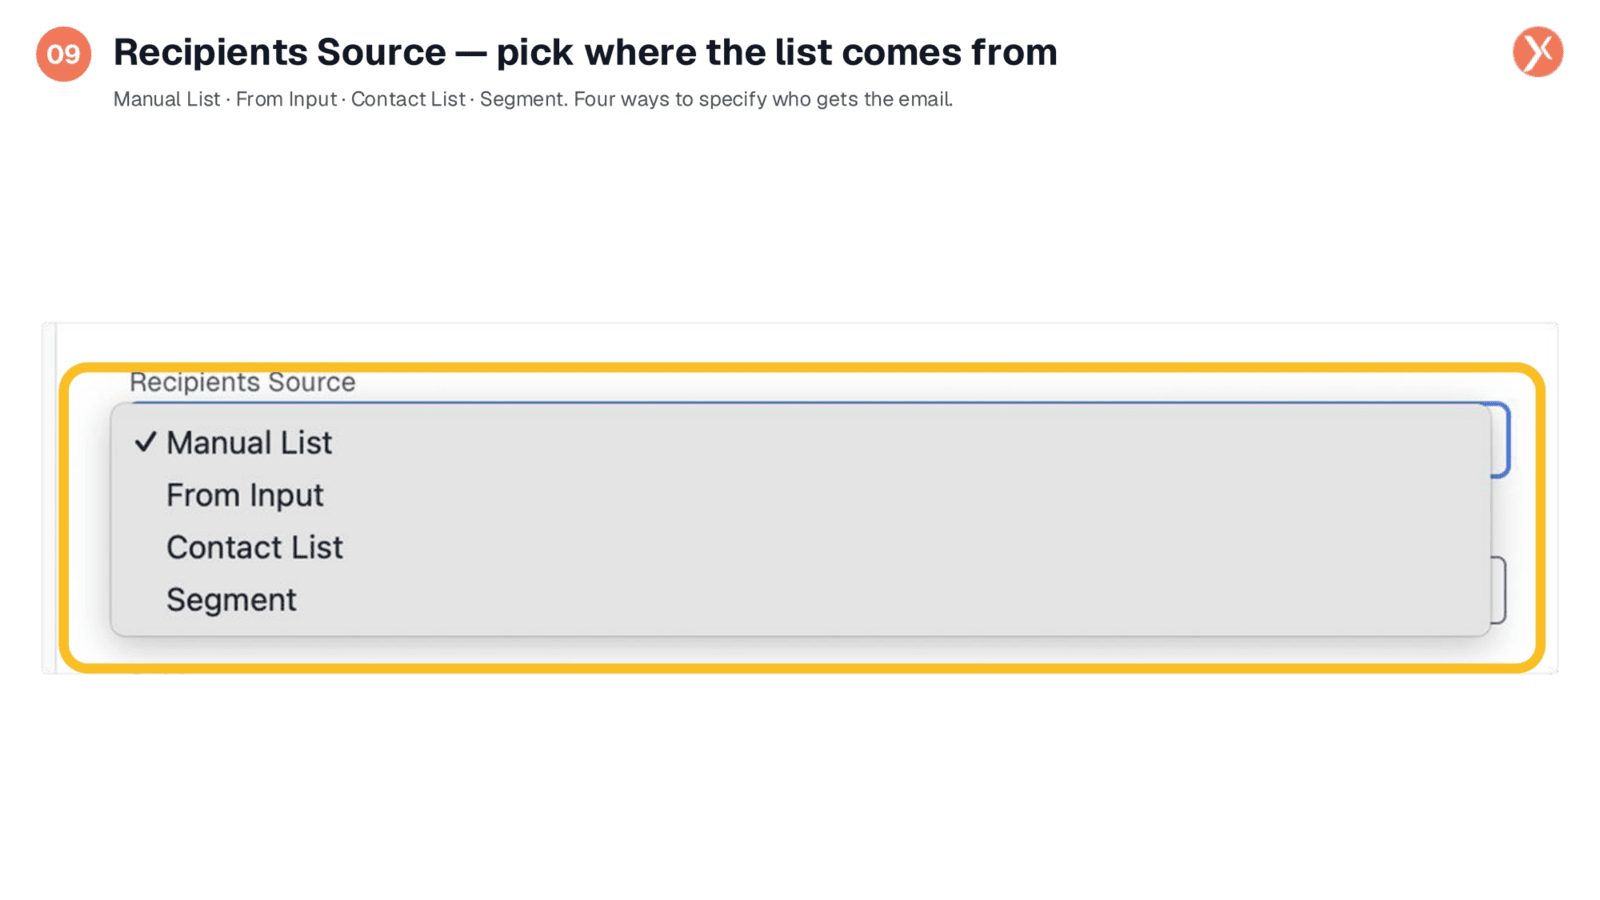
The 'Recipients Source' field offers four methods for defining your email list. You can use a 'Manual List' for comma-separated emails or a variable from an upstream node. 'From Input' directly uses recipients from the previous node's output, ideal after a database query. 'Contact List' allows you to select a pre-saved CRM list, while 'Segment' dynamically resolves matching contacts each time the workflow runs. Choose 'Segment' for ongoing campaigns and 'Manual List' for one-time sends.
Recipients, Subject, and Body in Bulk Send
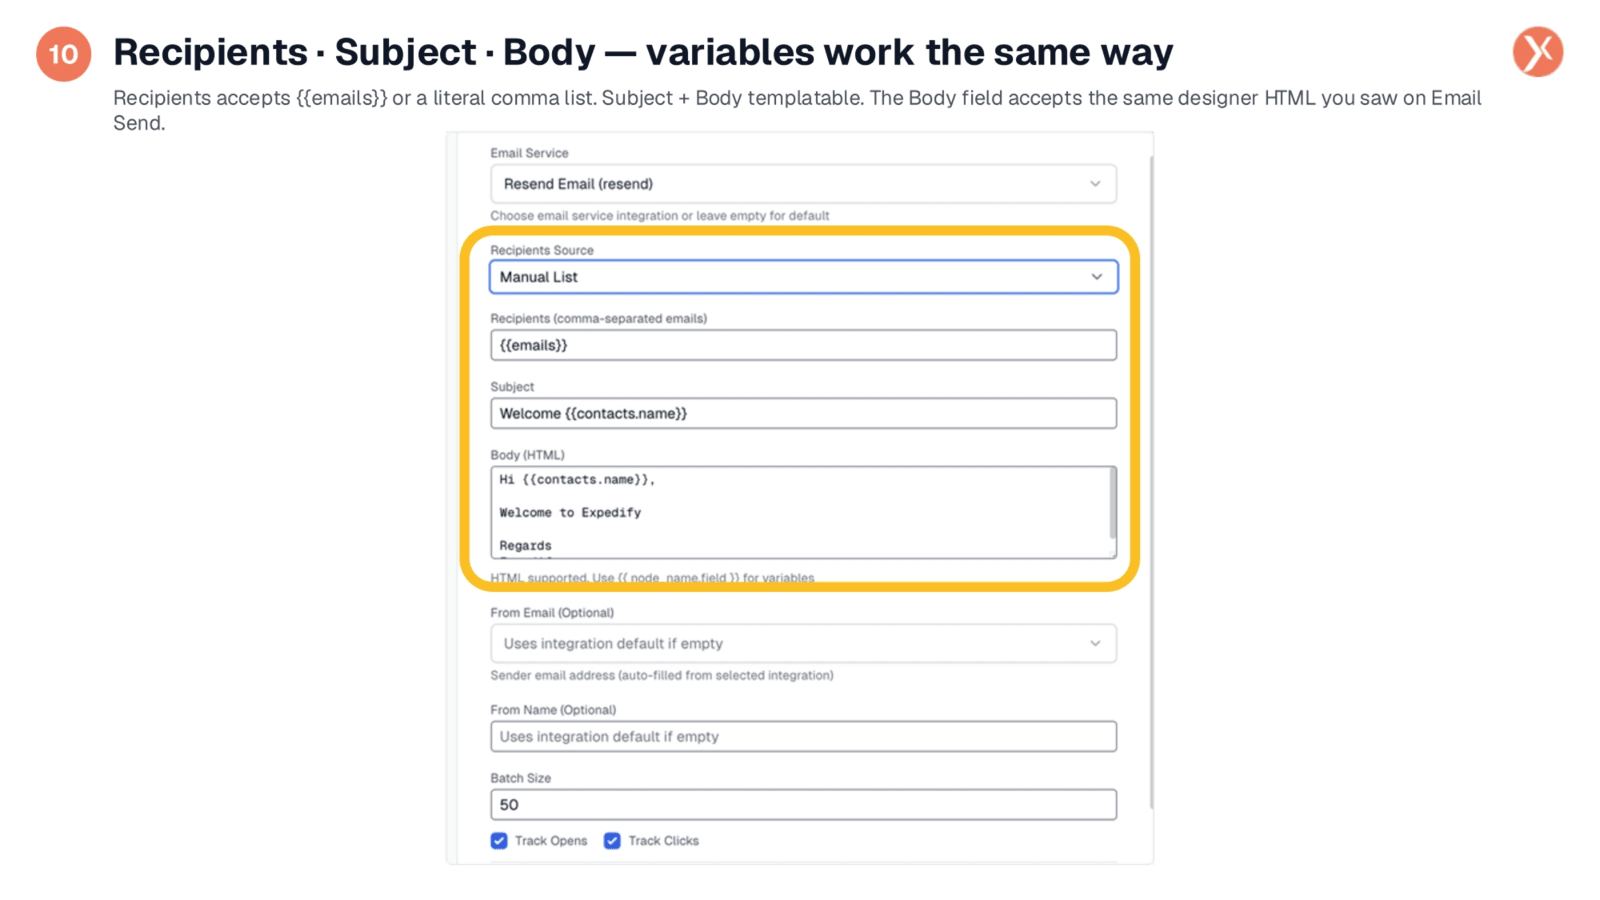
In the Email Bulk Send panel, the 'Recipients,' 'Subject,' and 'Body' fields function similarly to the Email Send node. The 'Recipients' field accepts either a variable containing a list of emails or a literal comma-separated list. Both the 'Subject' and 'Body' fields are fully templatable, allowing for dynamic content. Crucially, the 'Body' field supports the exact same full designer HTML, including head tags, style blocks, and embedded CSS. This means you can reuse your sophisticated HTML email designs for large-scale outreach.
Bulk-Specific Controls: Batch Size and Tracking
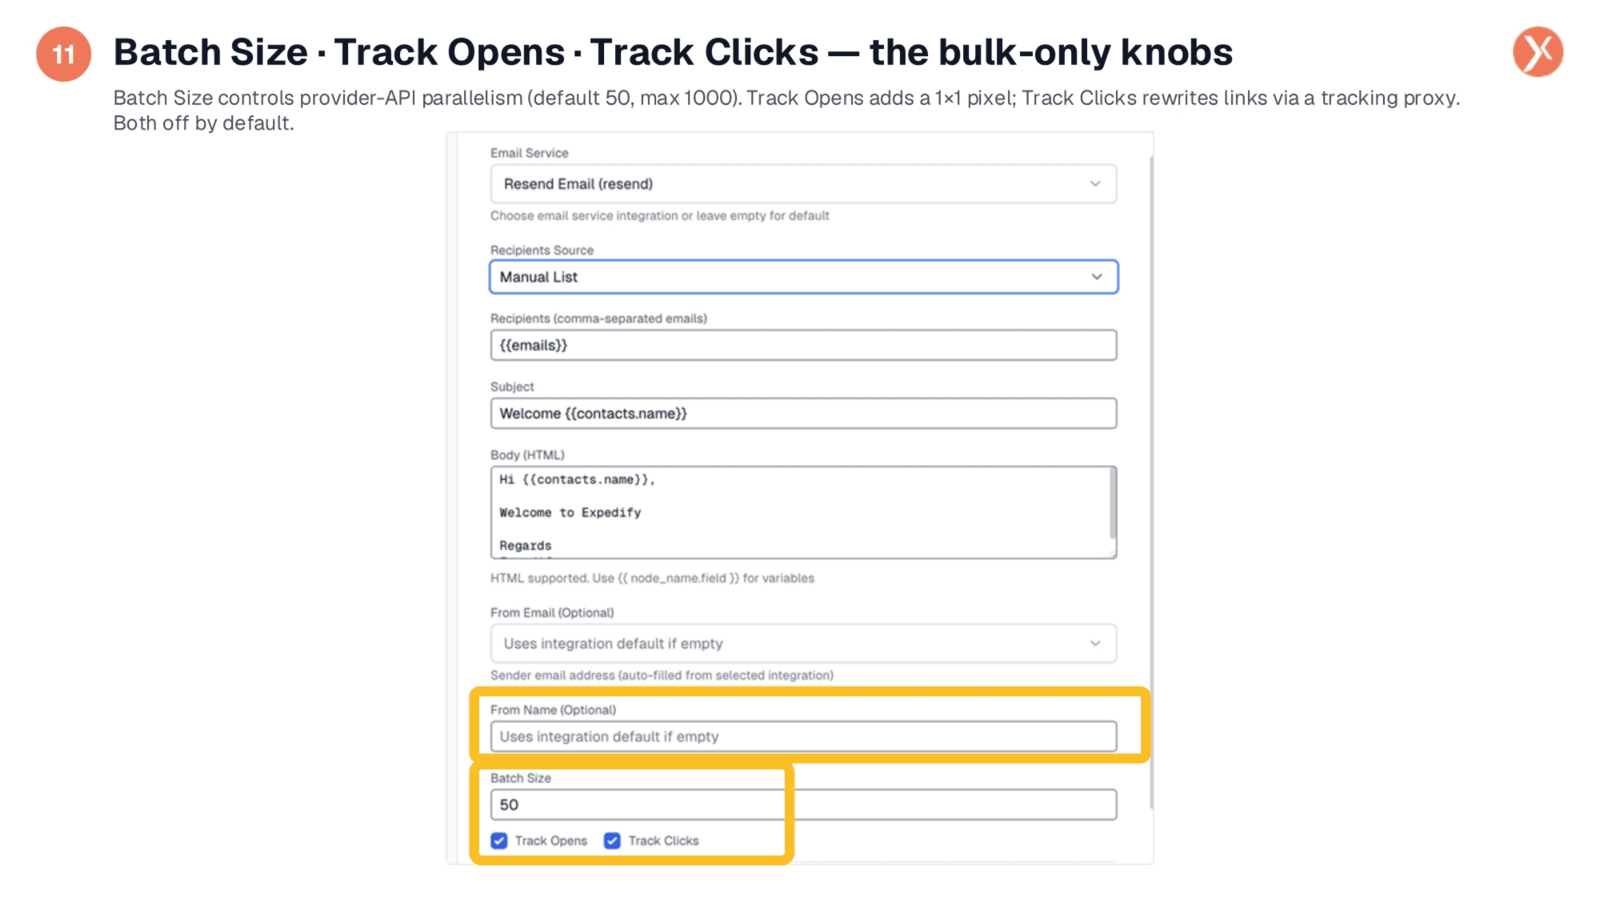
At the bottom of the panel are the bulk-specific controls: 'Batch Size,' 'Track Opens,' and 'Track Clicks.' 'Batch Size' regulates the number of emails sent per API call to your provider, with a default of 50 and a maximum of 1000. While larger batches can be faster, a range of 50 to 100 is often optimal to avoid rate limits. 'Track Opens' inserts a tracking pixel to monitor email opens, and 'Track Clicks' rewrites links to track engagement. Both tracking options are off by default but should be enabled for marketing campaigns to measure performance.
Email Bulk Send Node Outputs
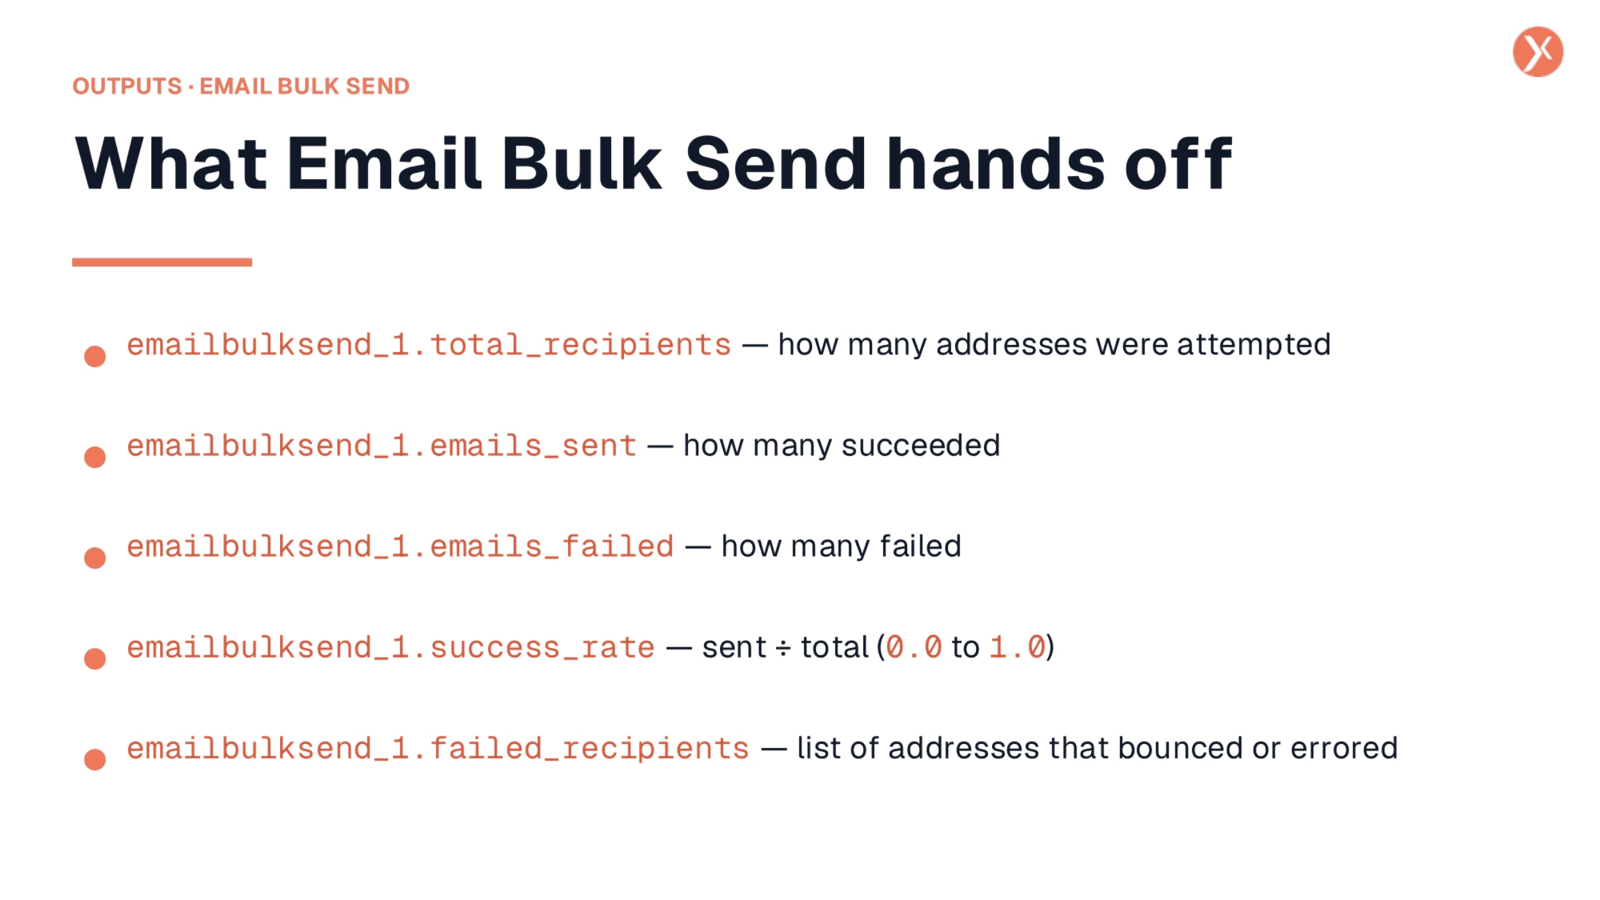
The Email Bulk Send node provides comprehensive outputs to monitor your campaigns. emailbulksend_1.total_recipients indicates the total addresses attempted, while emailbulksend_1.emails_sent and emailbulksend_1.emails_failed provide success and failure counts. The emailbulksend_1.success_rate offers a ratio for conditional branching in your workflow. Additionally, emailbulksend_1.failed_recipients lists addresses that bounced or errored, allowing for follow-up actions like updating CRM records or notifying your team. Further provider-level details are available through batch_results and message_ids.
Recap of Email Nodes
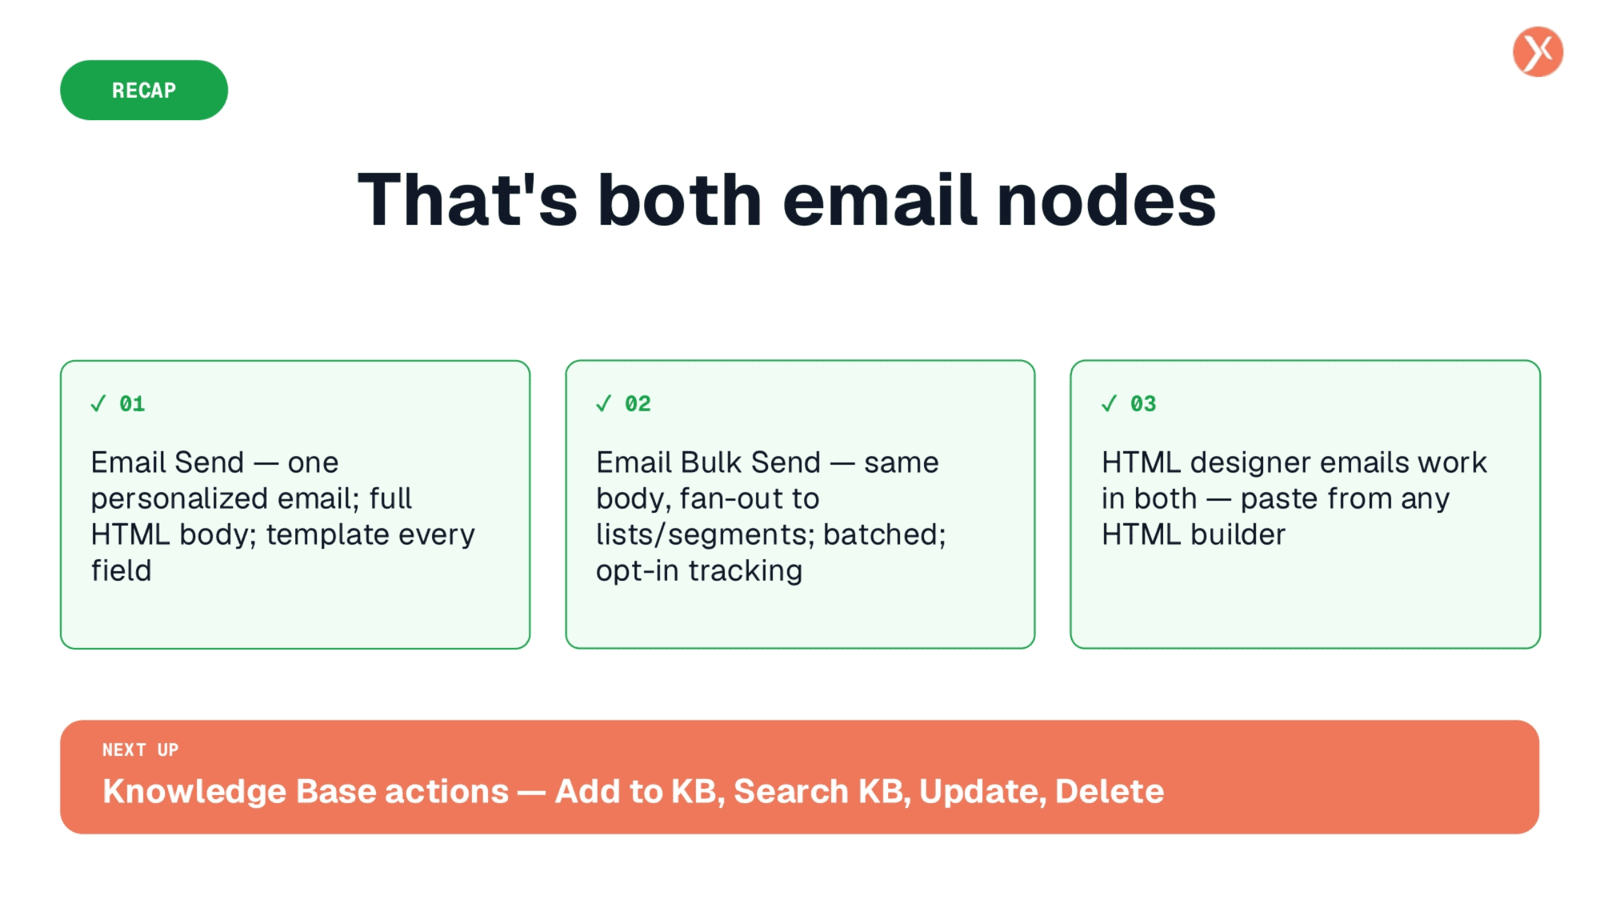
We've covered both Email Send for personalized one-to-one communications and Email Bulk Send for efficient, tracked outreach to lists. Both nodes fully support designer HTML, allowing you to create rich, engaging emails. Thank you for joining this lesson.