CRM Manager
The CRM Manager is central to automating your CRM actions, allowing you to manage contacts, deals, and segments directly from a workflow. We'll cover its key components: entity type, operation, and data, along with batch processing.
CRM Manager Demo Overview
Let's begin our demo of the CRM Manager.
CRM Manager on the Canvas
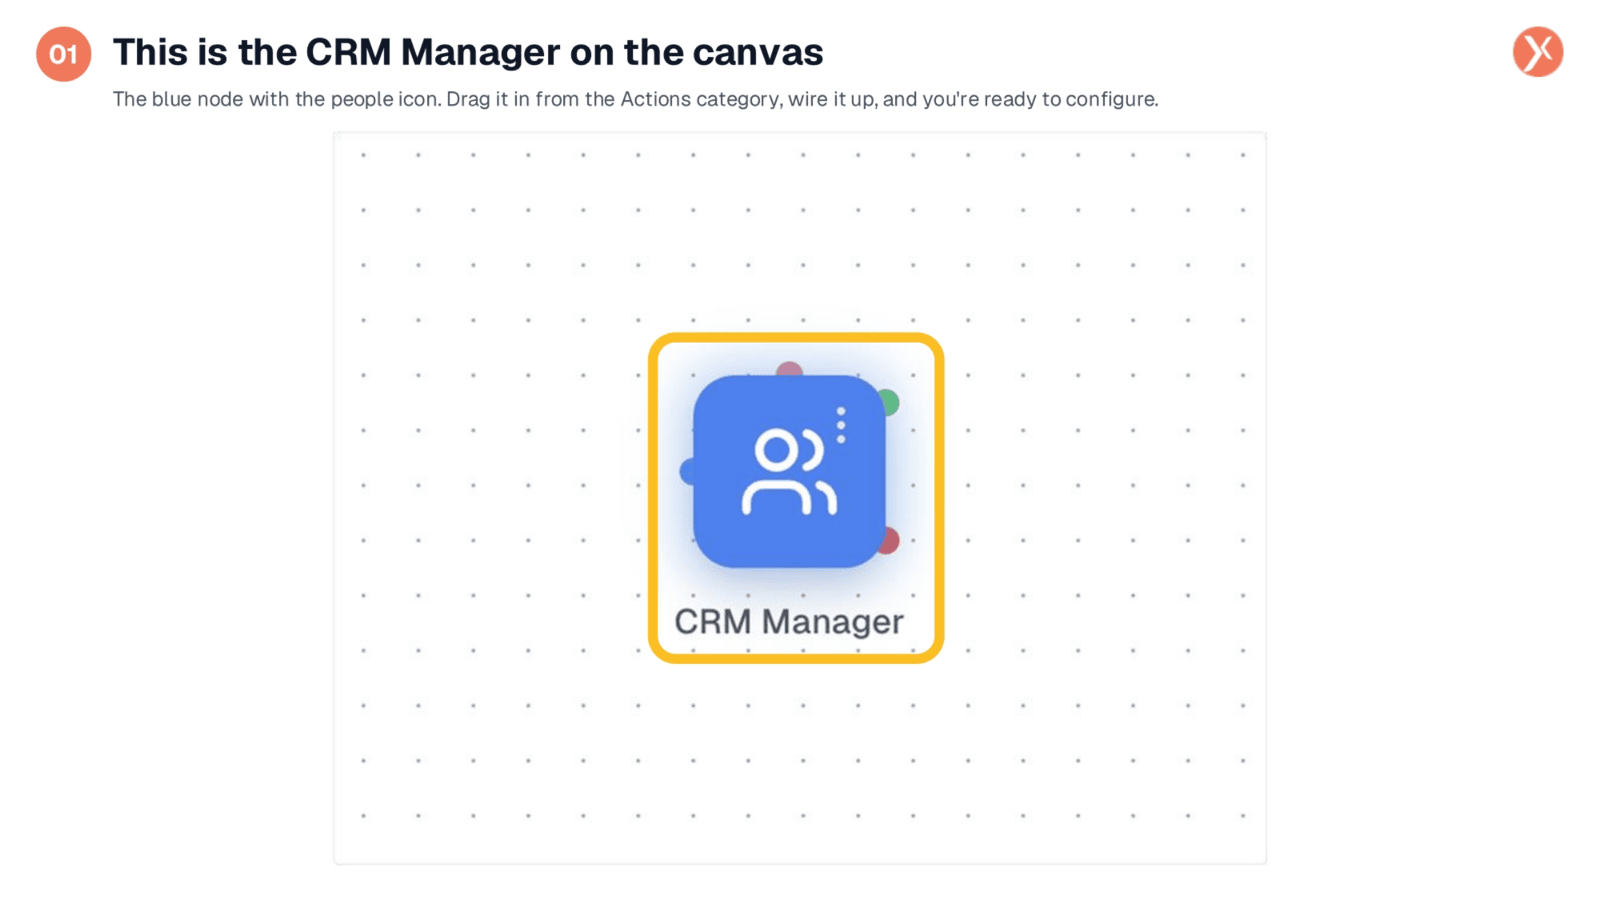
The CRM Manager appears on the canvas as a blue node with a people icon. You drag it from the Actions category in the Node Palette, connect it to your workflow, and then double-click to configure its settings. This is where all the powerful options reside.
Opening CRM Manager Configuration
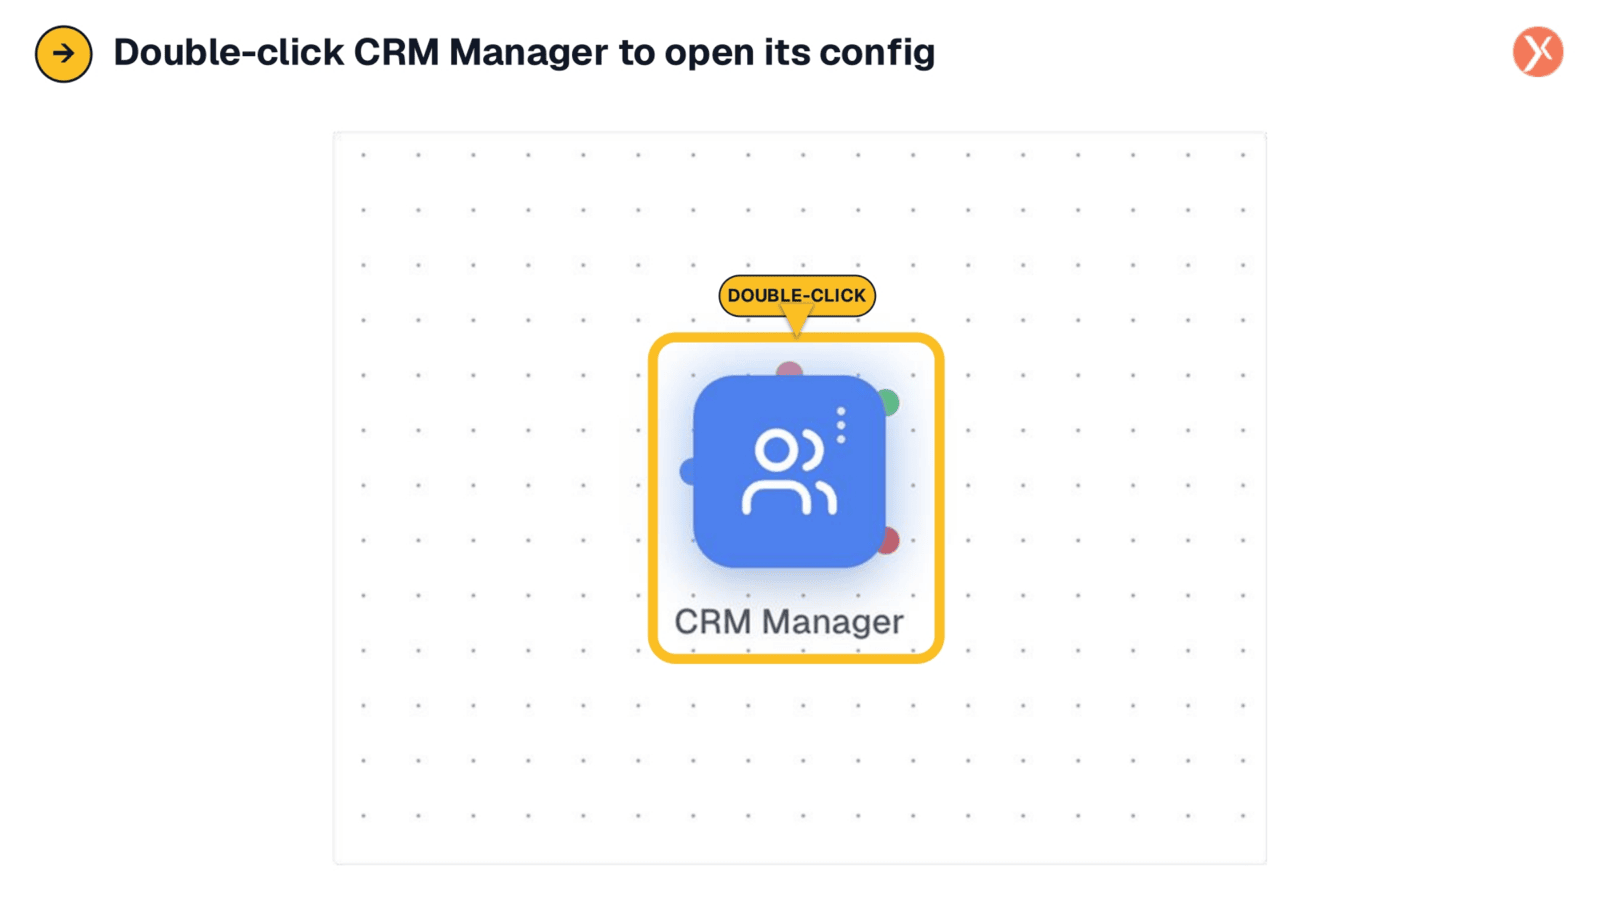
To access the configuration options and define its behavior, simply double-click the CRM Manager node on your canvas. This action opens the dedicated configuration panel.
Understanding the Configuration Panel
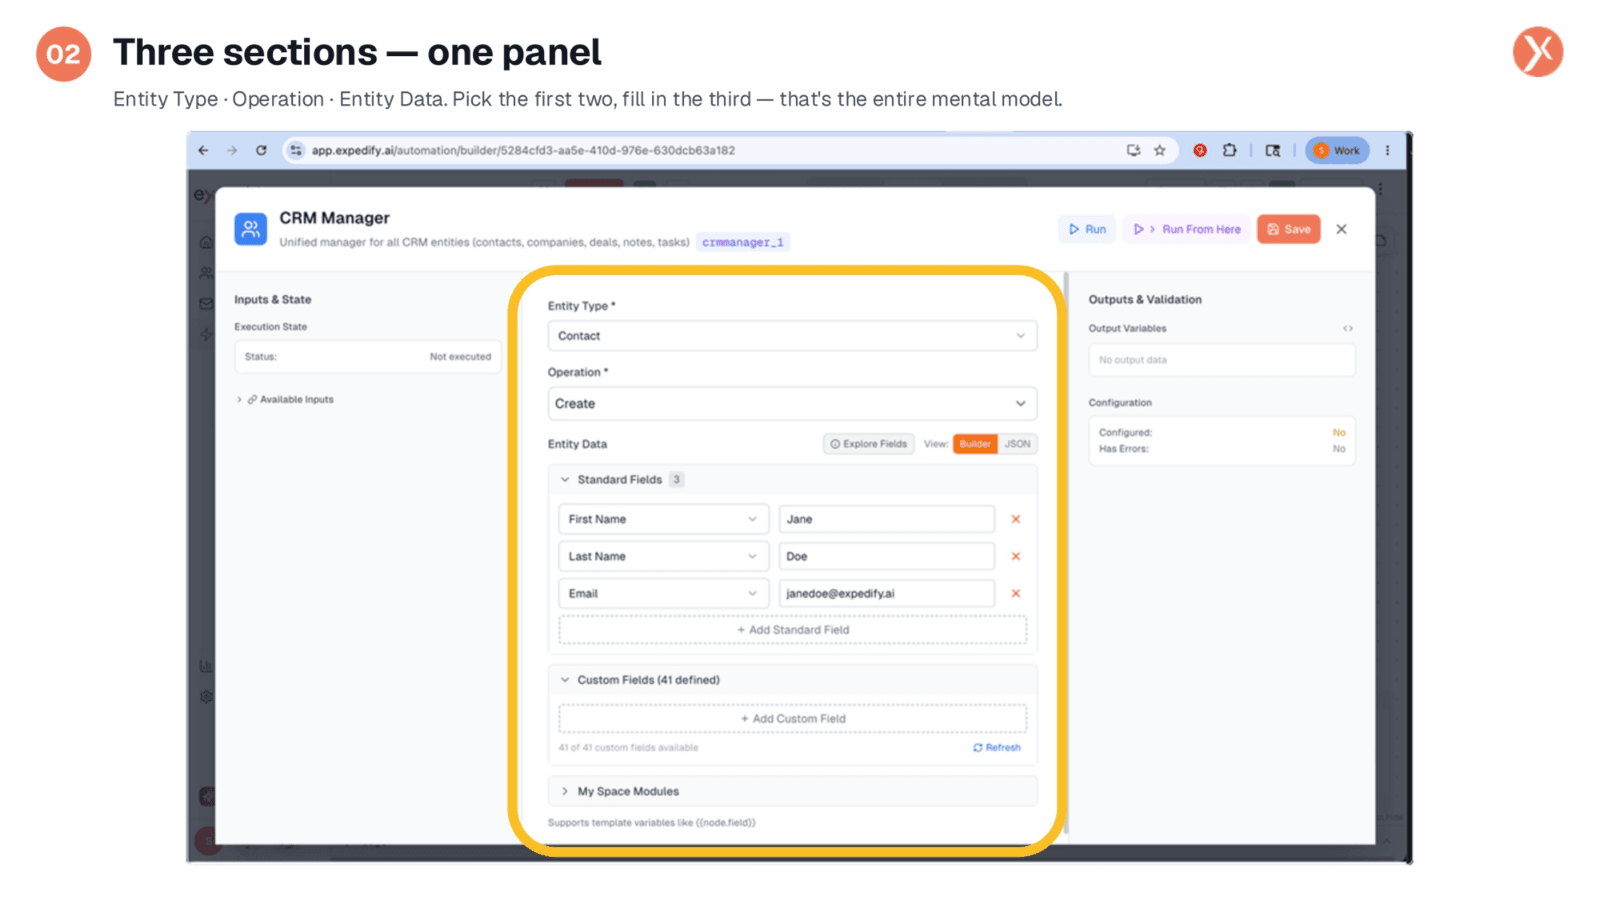
The configuration panel is organized into three main sections. The left column displays runtime information, while the right column shows outputs and validation status. The crucial middle column is where you configure the node, focusing on three stacked sections: Entity Type, Operation, and Entity Data. This straightforward mental model guides all configurations.
Selecting the Entity Type
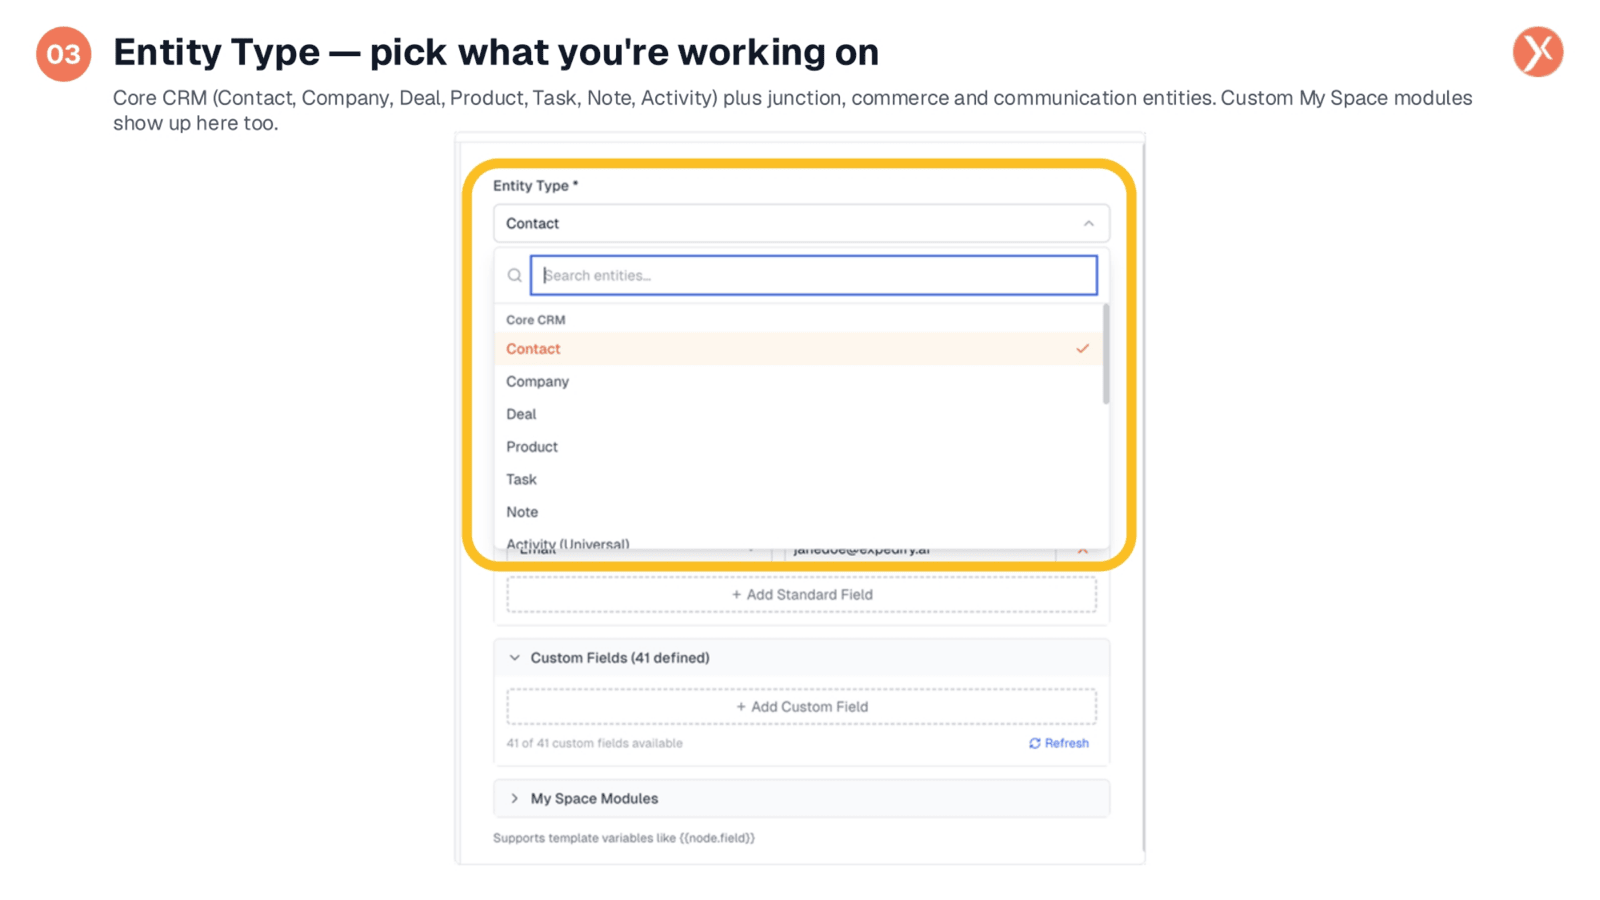
The Entity Type section is where you specify which CRM object you'll be working with. The CRM Manager supports all core CRM entities like Contacts, Companies, Deals, Products, Tasks, Notes, and Activities, including universal entities and custom modules from My Space. You select one entity per node; if your workflow requires actions on multiple entities, use separate CRM Manager nodes.
Configuring Standard Fields
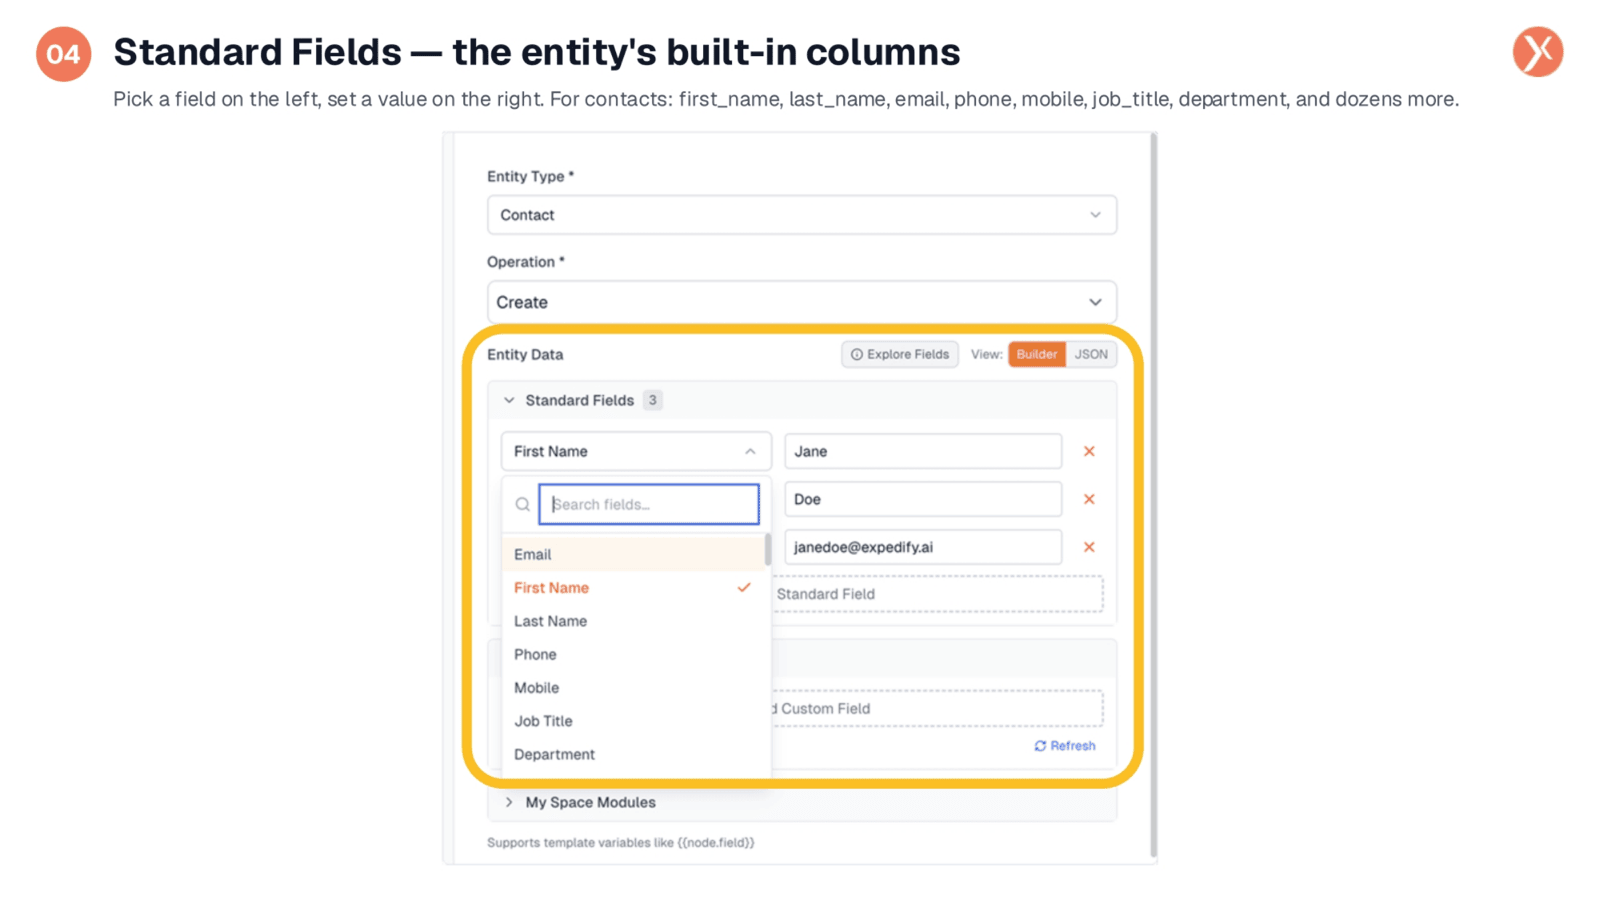
Entity Data is where you input the actual content for your CRM records. It's divided into Standard Fields and Custom Fields. Standard Fields are the built-in columns for an entity, such as first name, last name, email, and job title for contacts. You add fields one by one, selecting the field on the left and setting its value on the right, which can be a literal or a template variable.
Utilizing Custom Fields
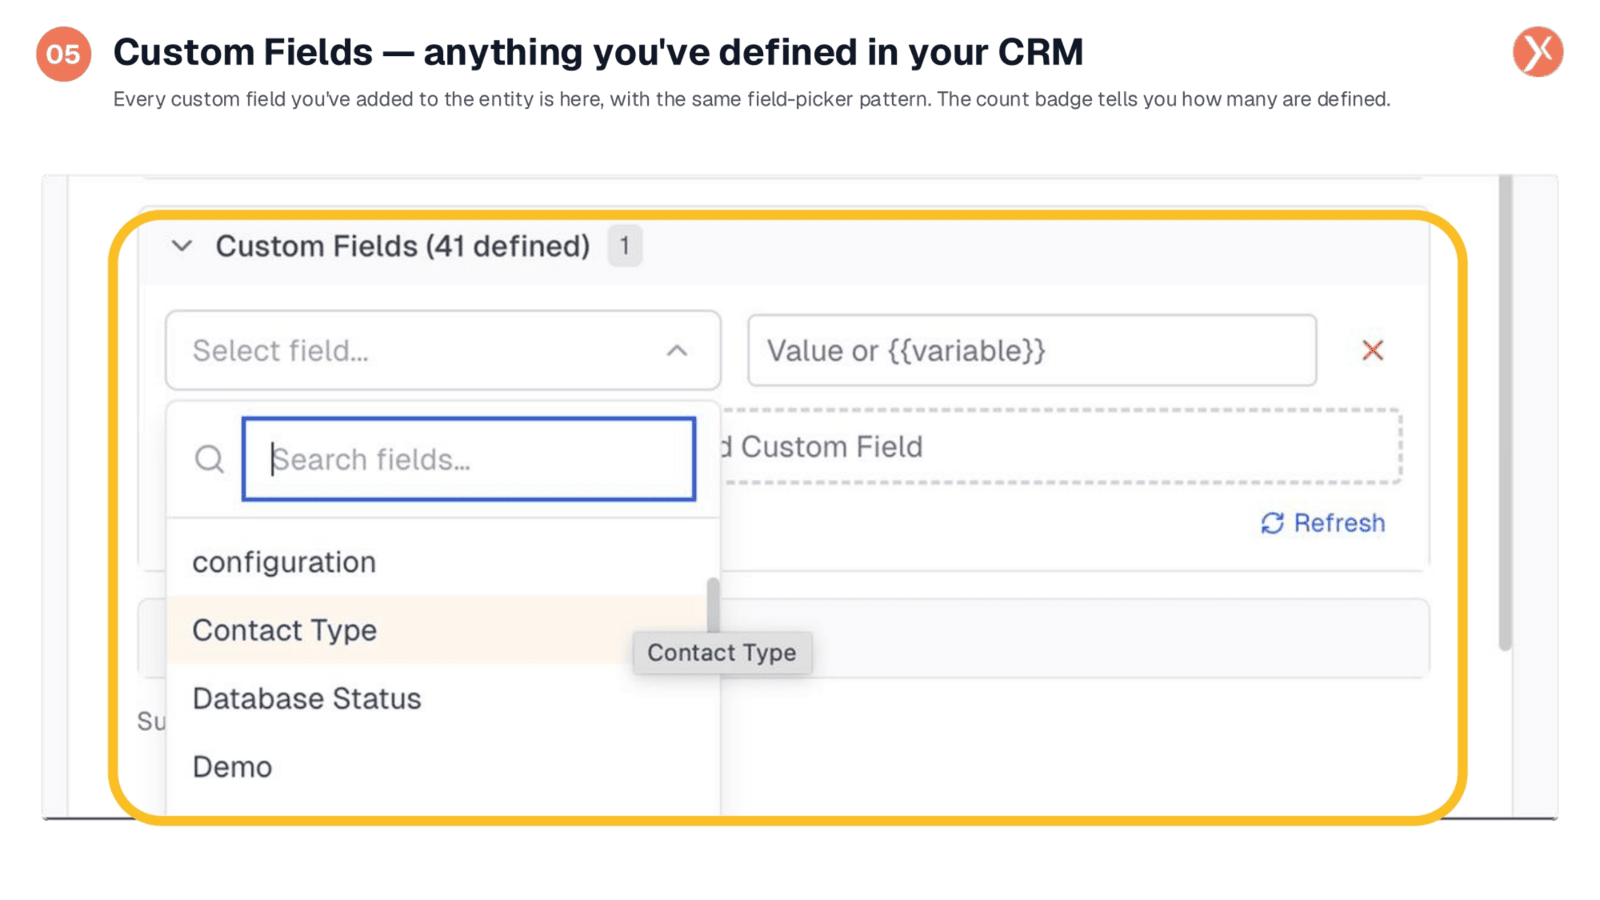
Below the Standard Fields, you'll find Custom Fields. These are all the additional columns your organization has defined for the entity within your CRM. The process is identical to standard fields: select a custom field from the dropdown and assign a value. This ensures full flexibility to manage all your unique CRM data points.
Updating Existing Records
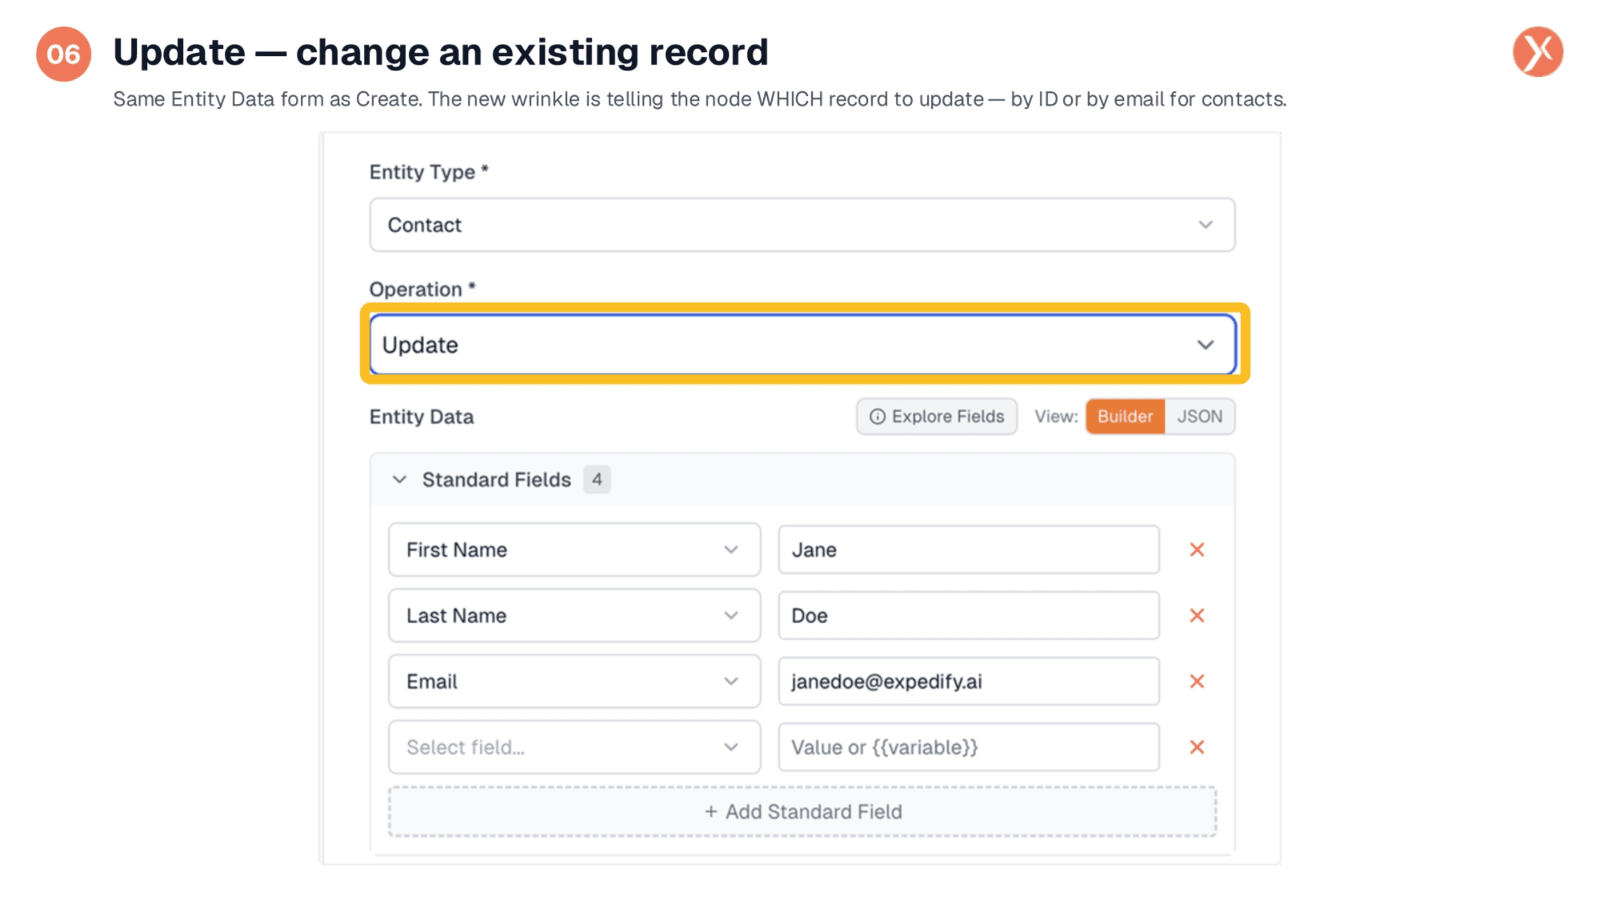
When you switch the operation to 'Update,' the data section remains largely similar, allowing you to modify specific fields. The key difference is that 'Update' requires you to specify which existing record to modify. Any fields you leave blank will remain unchanged on the record, ensuring precise updates.
Entity Identifier and Upsert Functionality
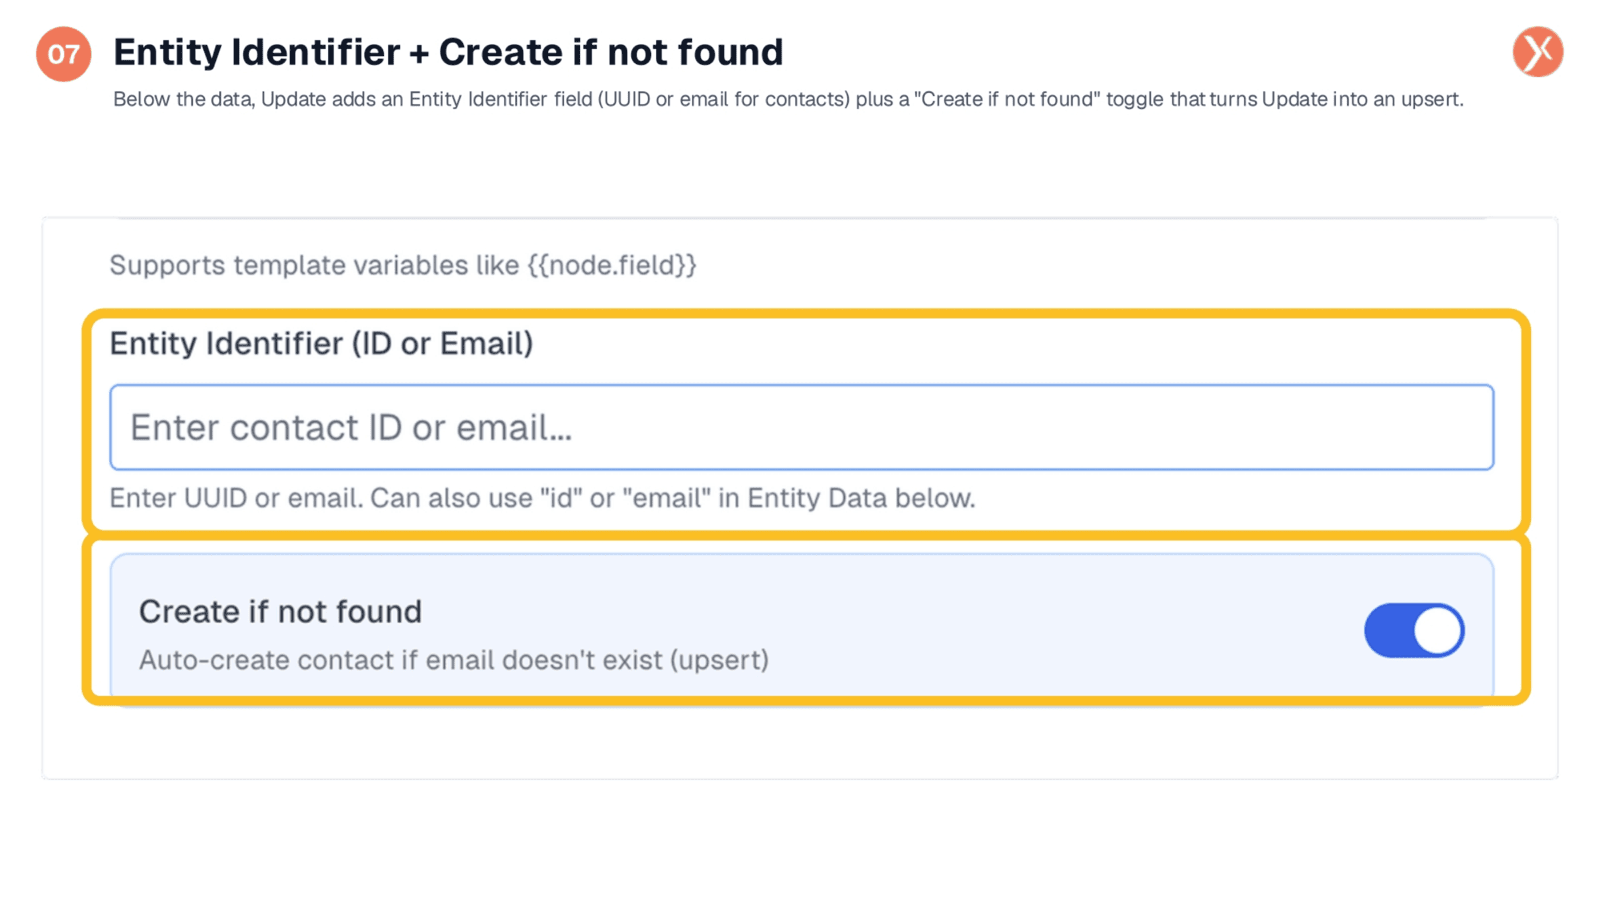
The 'Update' operation gains significant power with the Entity Identifier field, where you specify the record to update using a UUID or, for contacts, an email address. The 'Create if not found' toggle, enabled by default, transforms 'Update' into an upsert. This means if the record exists, it's updated; if not, a new one is created, streamlining lead capture workflows.
Retrieving a Single Record with Get
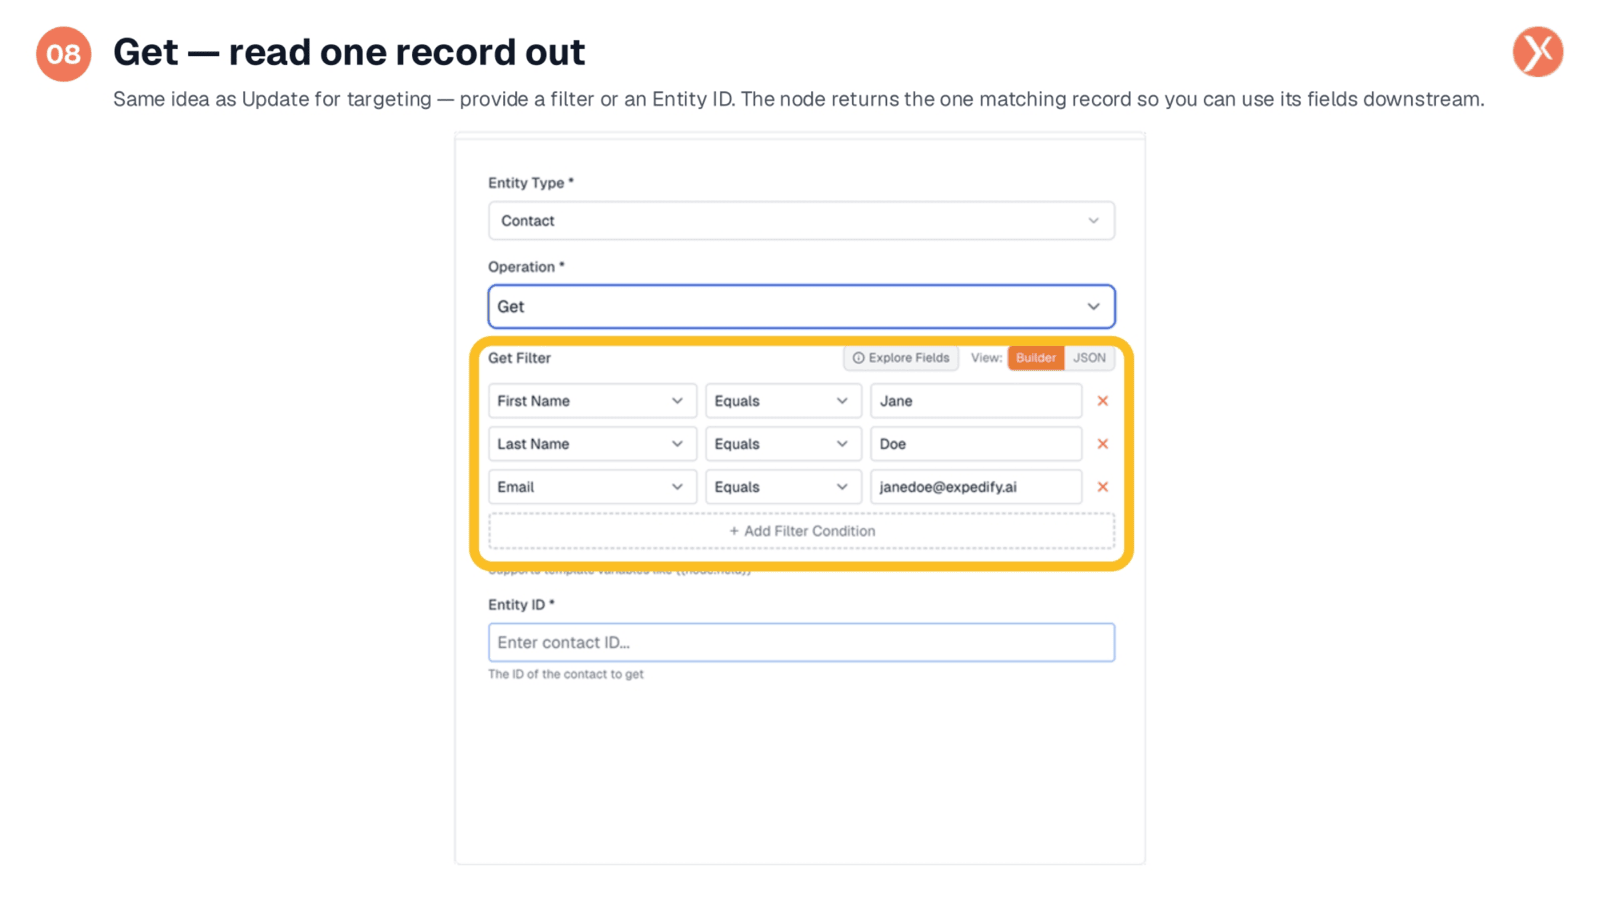
The 'Get' operation is designed for reading a single record. You can provide a filter, specifying a field, operator, and value, or directly input an Entity ID if known. The node then returns the single matching record, allowing you to reference its fields in subsequent workflow steps using operators like 'Equals,' 'Contains,' or 'Is Empty.'
Searching for Multiple Records
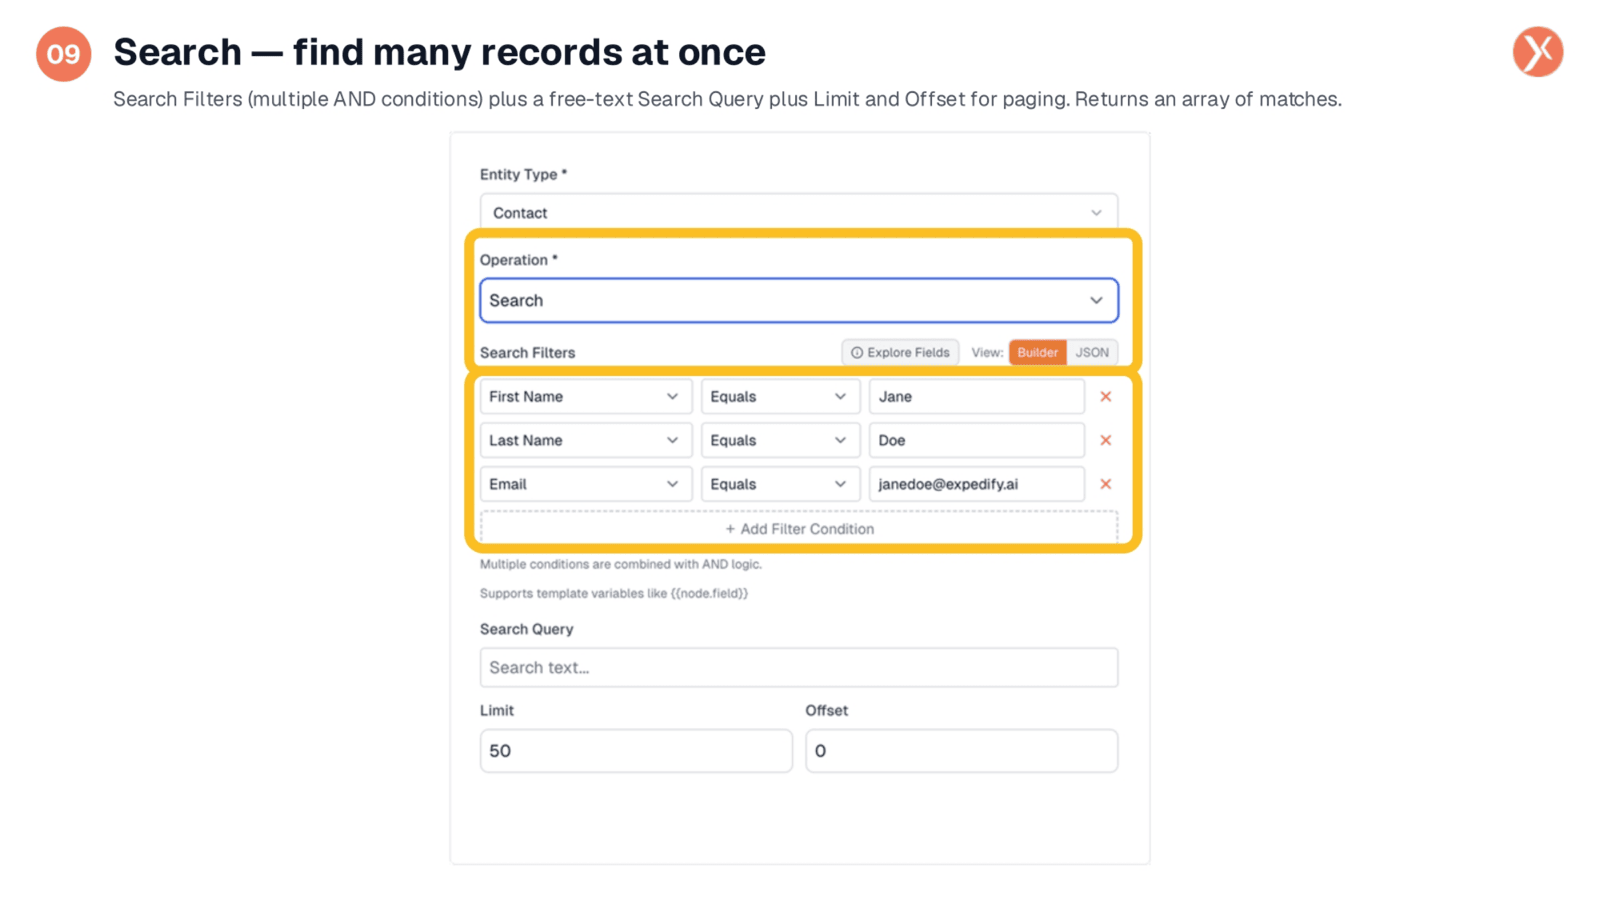
The 'Search' operation extends 'Get' by allowing you to find multiple records at once. You can combine several filter conditions using AND logic. A free-text Search Query enables broad text searches across name fields. You can also set a 'Limit' for the result count and an 'Offset' for paging through larger datasets. The output is an array of matches, ideal for use with a Loop node.
Deleting Records by ID
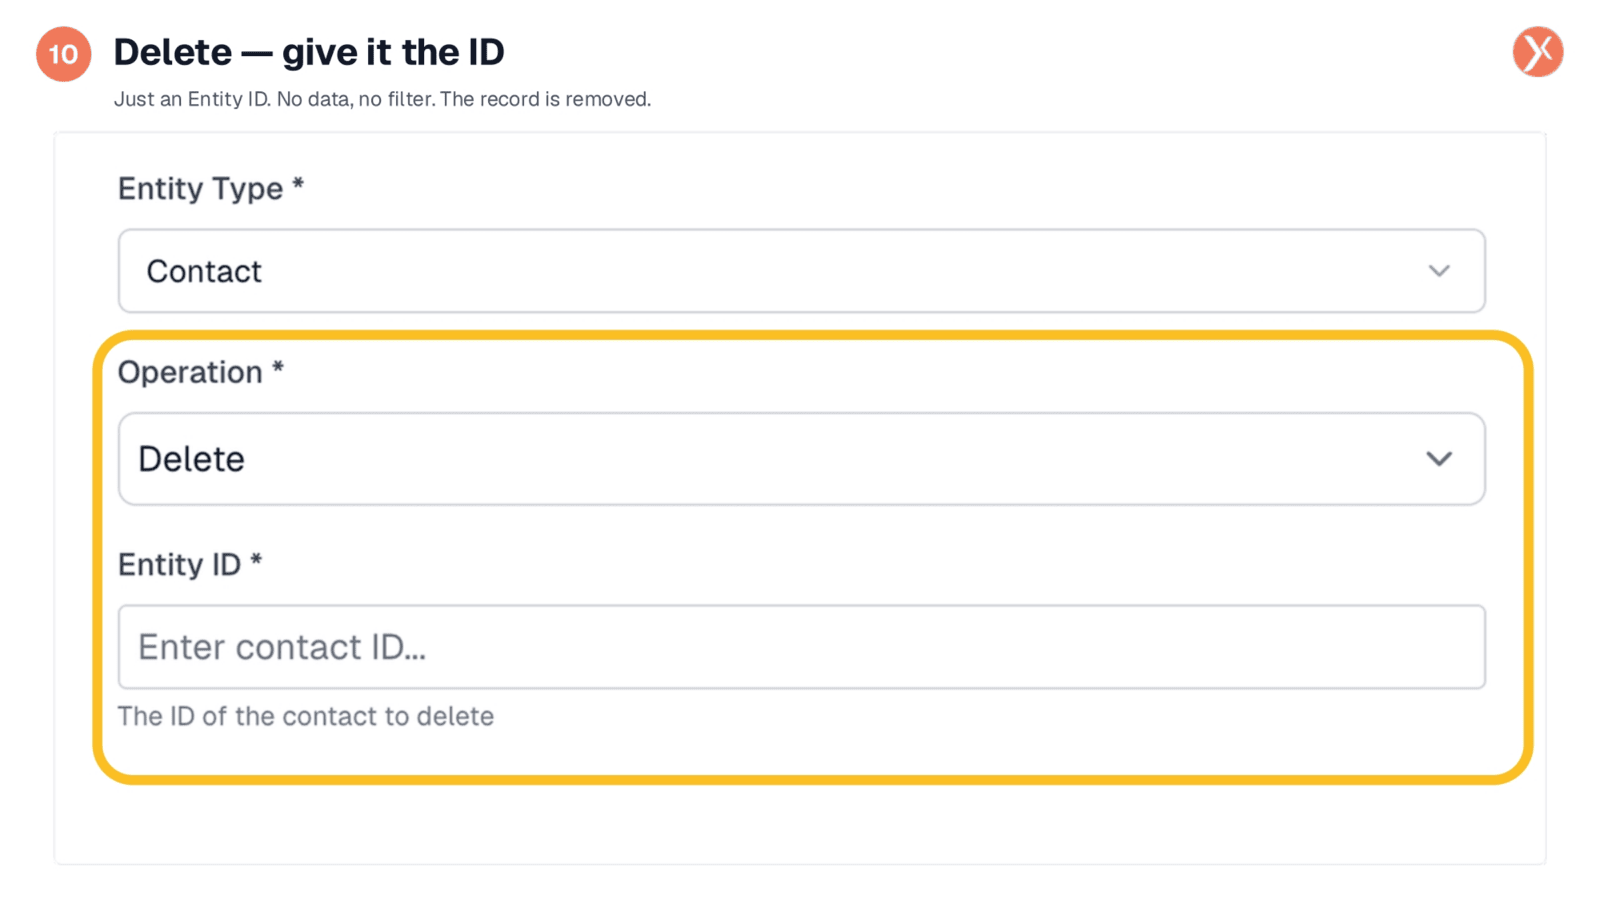
The 'Delete' operation is the simplest. After selecting 'Delete,' you only need to provide the Entity ID of the record you wish to remove. There's no data section or filter, as the ID directly targets the record. Exercise caution when using this, as deleted records are permanently removed.
Processing Multiple Records with Batch Operations
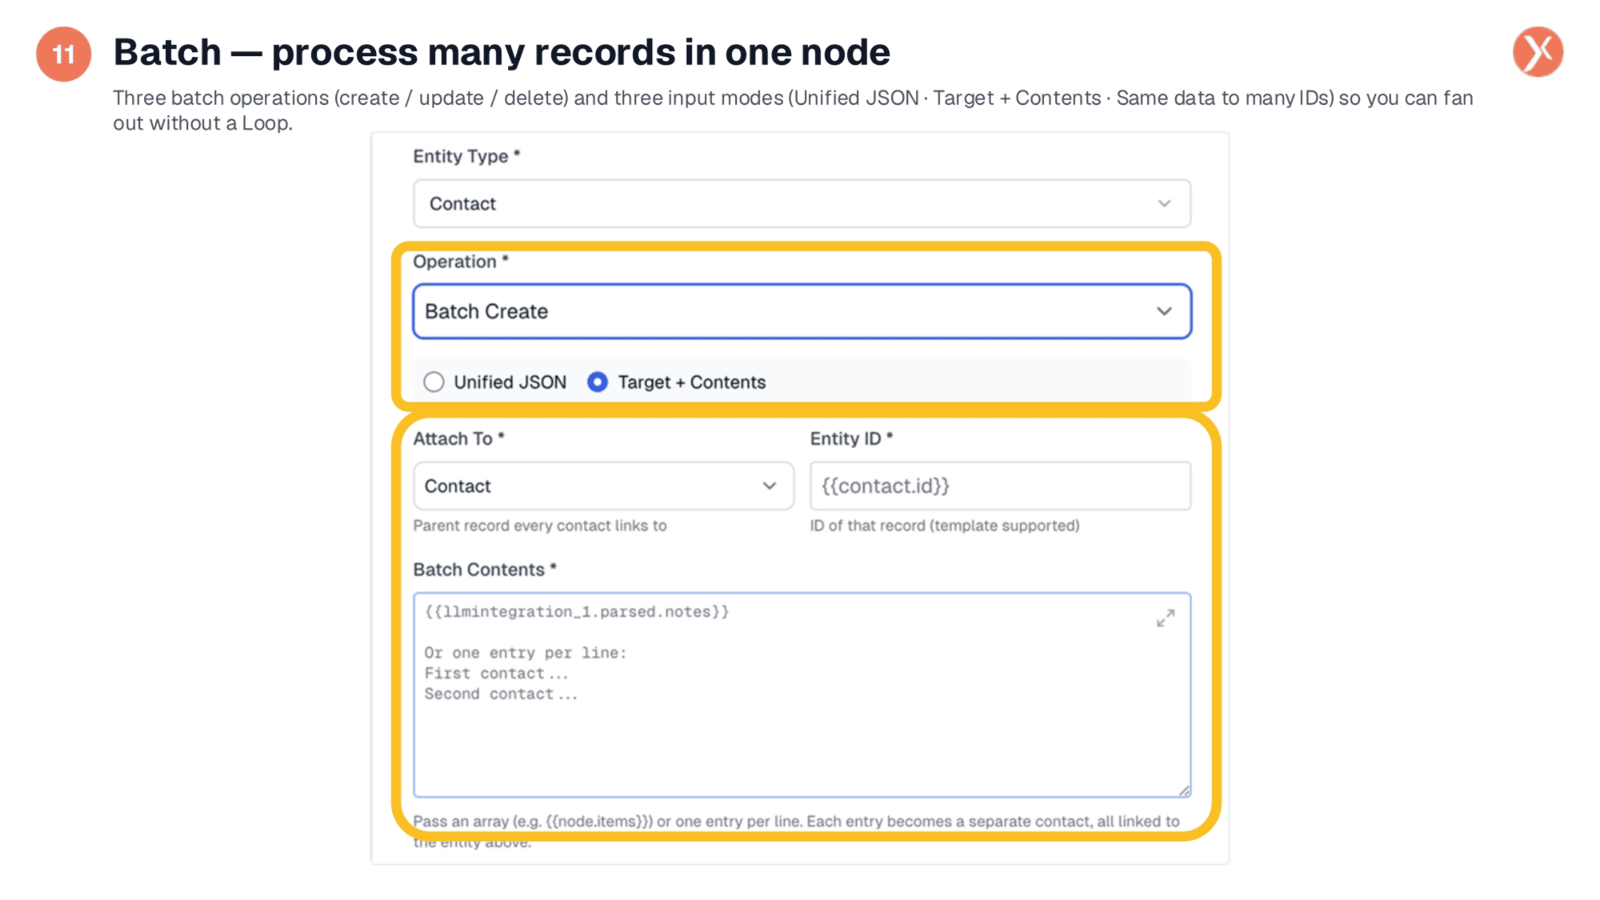
For acting on multiple records efficiently, batch operations are preferred over individual loops. The CRM Manager supports batch create, update, and delete. The 'Target + Contents' input mode, for example, takes a list of items and a parent record, creating a child record for each item linked to that parent. Other modes include Unified JSON and Same Data to Many IDs.
Understanding CRM Manager Outputs
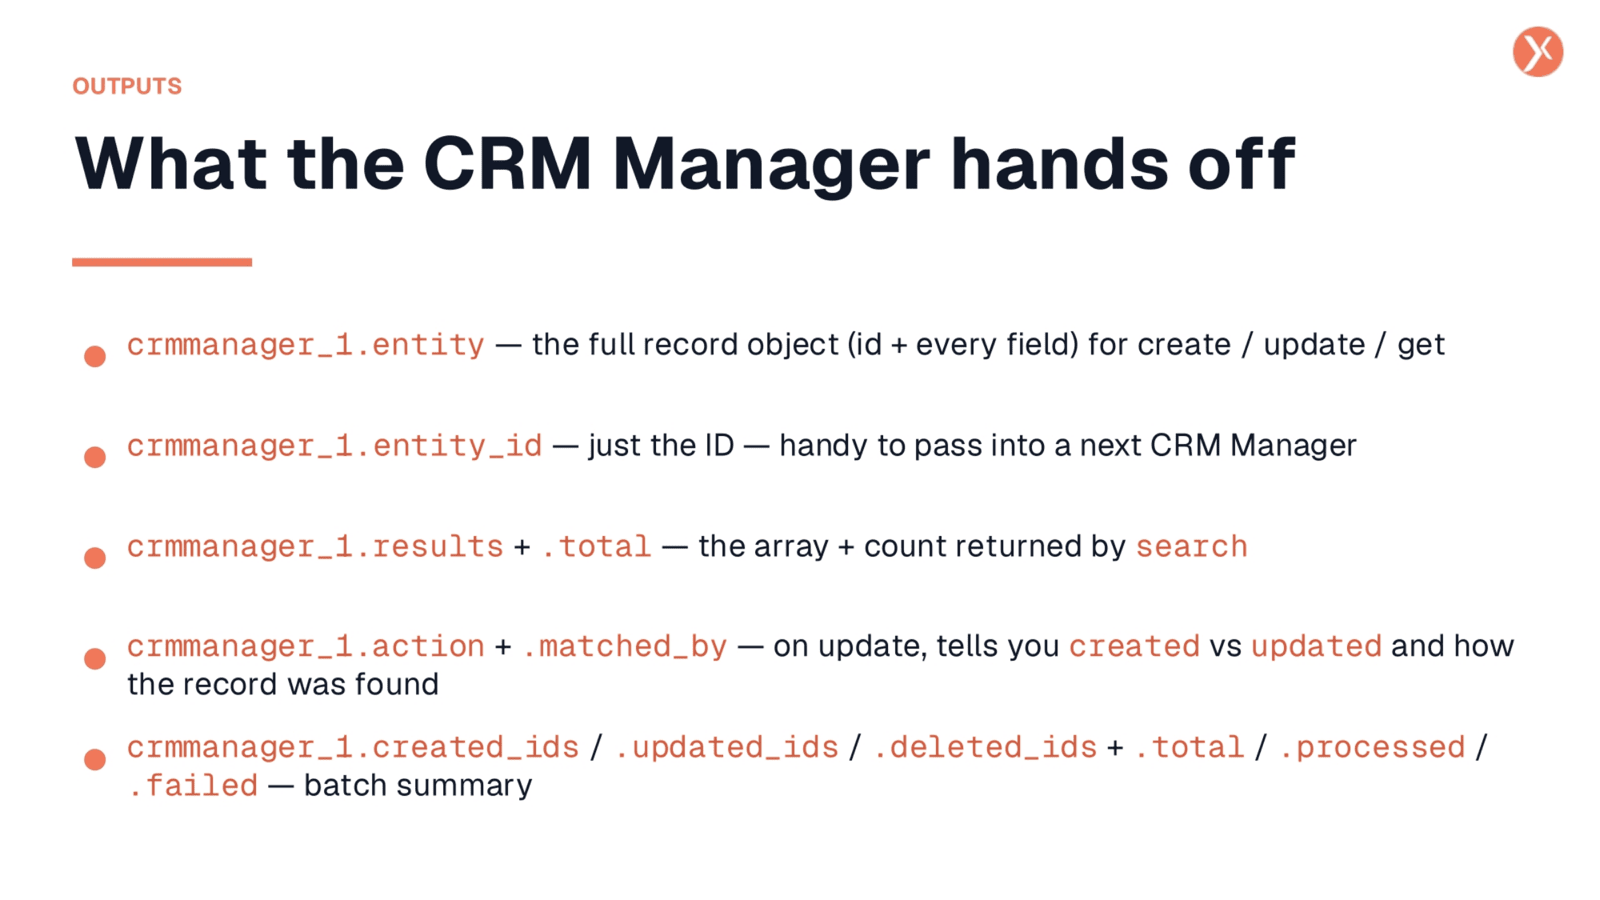
The CRM Manager provides various outputs for downstream nodes. For create, update, and get operations, crmmanager_1.entity provides the full record object. crmmanager_1.entity_id offers just the ID, useful for chaining CRM Manager nodes. Search operations return crmmanager_1.results (the array) and crmmanager_1.total (the count). For updates with upsert, crmmanager_1.action indicates if a record was created or updated, and matched_by shows how it was found. Batch operations provide created_ids, updated_ids, or deleted_ids arrays, along with total, processed, and failed counts for verification.
CRM Manager Recap
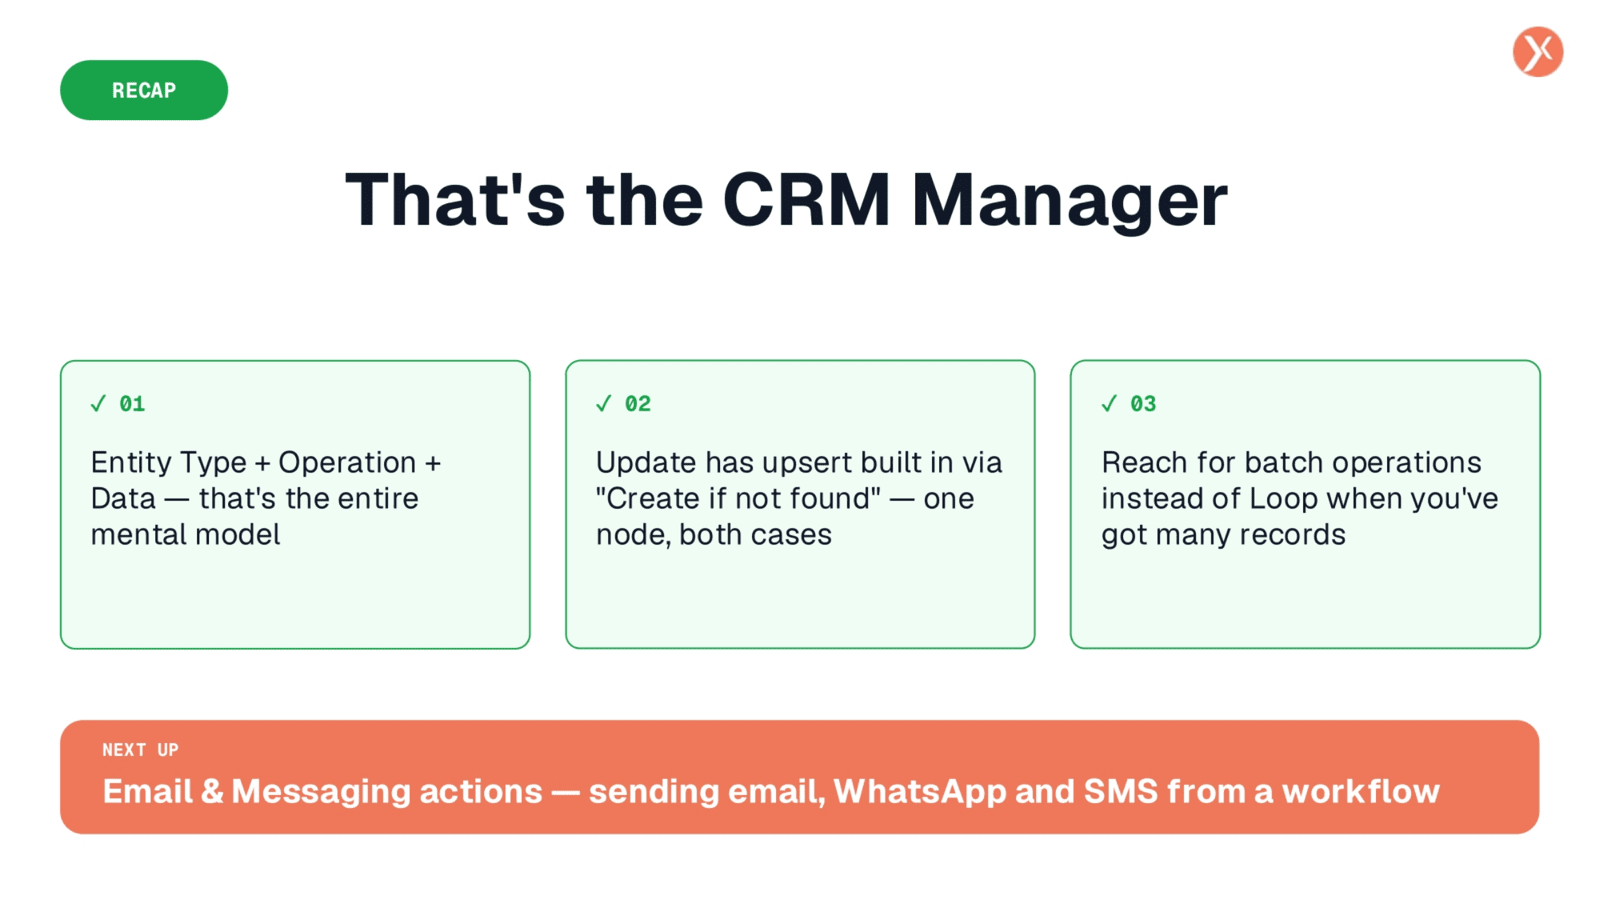
We've explored the CRM Manager's comprehensive capabilities, from managing various entities and operations to leveraging upsert behavior and efficient batch processing. This node is essential for flexible CRM data management.